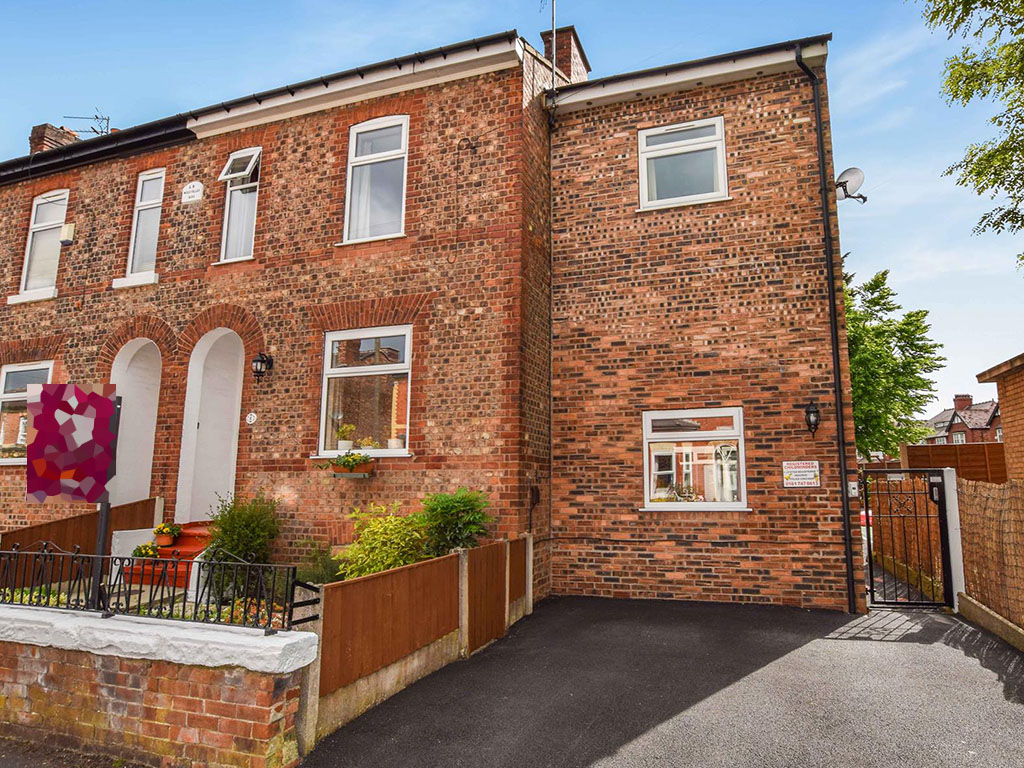
We’ve been living in our Victorian home now for over two years, and whilst we have dabbled a little with the decor, making it feel a little more like our own one paycheck at a time, the major renovation work has only just begun. We waited this long, not just because we needed to save some cash, but because one lesson learned from our first renovation is that sometimes you need to live in a space before knowing what you want from it.
Well, now we know. The time has come.
Why do we need a renovation?
You can see what the house looked like when we moved in over in our video house tour but, as a recap, we plan to renovate this home in two major projects. This is the first and will involve the entire of the first floor. The second will be the entire ground floor to happen in around two years time.
We aren’t adding any square footage, but rather re-structuring the rooms we’ve inherited. Our previous owners had extended the property, with the intention of giving their elderly relatives an independent living space. As a result of this, we have a flat on the first floor encompassing a lounge, kitchen, bedroom and bathroom. These are in addition to the house’s master bedroom and master bathroom. This is superfluous to our needs so decided when we purchased the property, that these rooms would need converting.
What rooms are being renovated?
This project will include all rooms on the first floor, with the exception of our master bathroom. Why? It’s the only room which isn’t re-locating or requiring structural change. That room will follow this project, when budget allows. Below is a floorplan of what the house looked like when we bought it, versus the current renovation work which has been completed, to help give some context to how the spaces have been altered. Then, I’ve outlined each room’s change of usage, and where we are up to so far. When each room is complete, I’ll do a complete before and after blog post including all the dirty renovation work in detail.
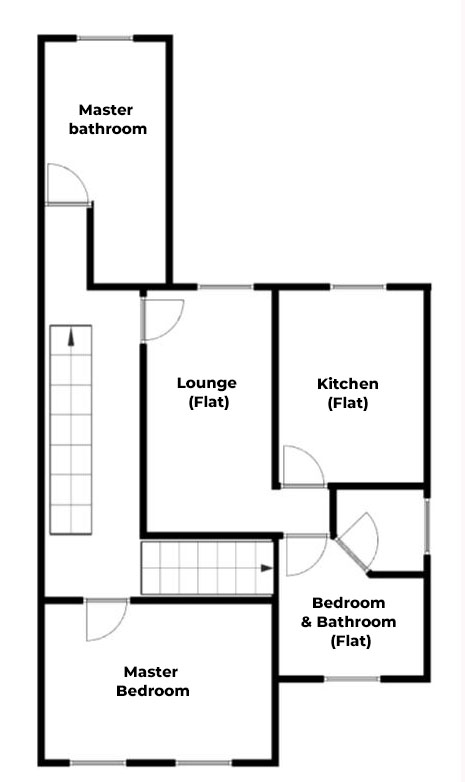
BEFORE 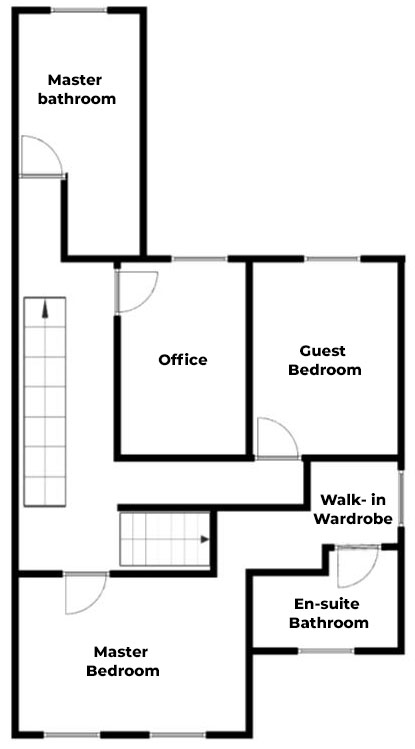
AFTER
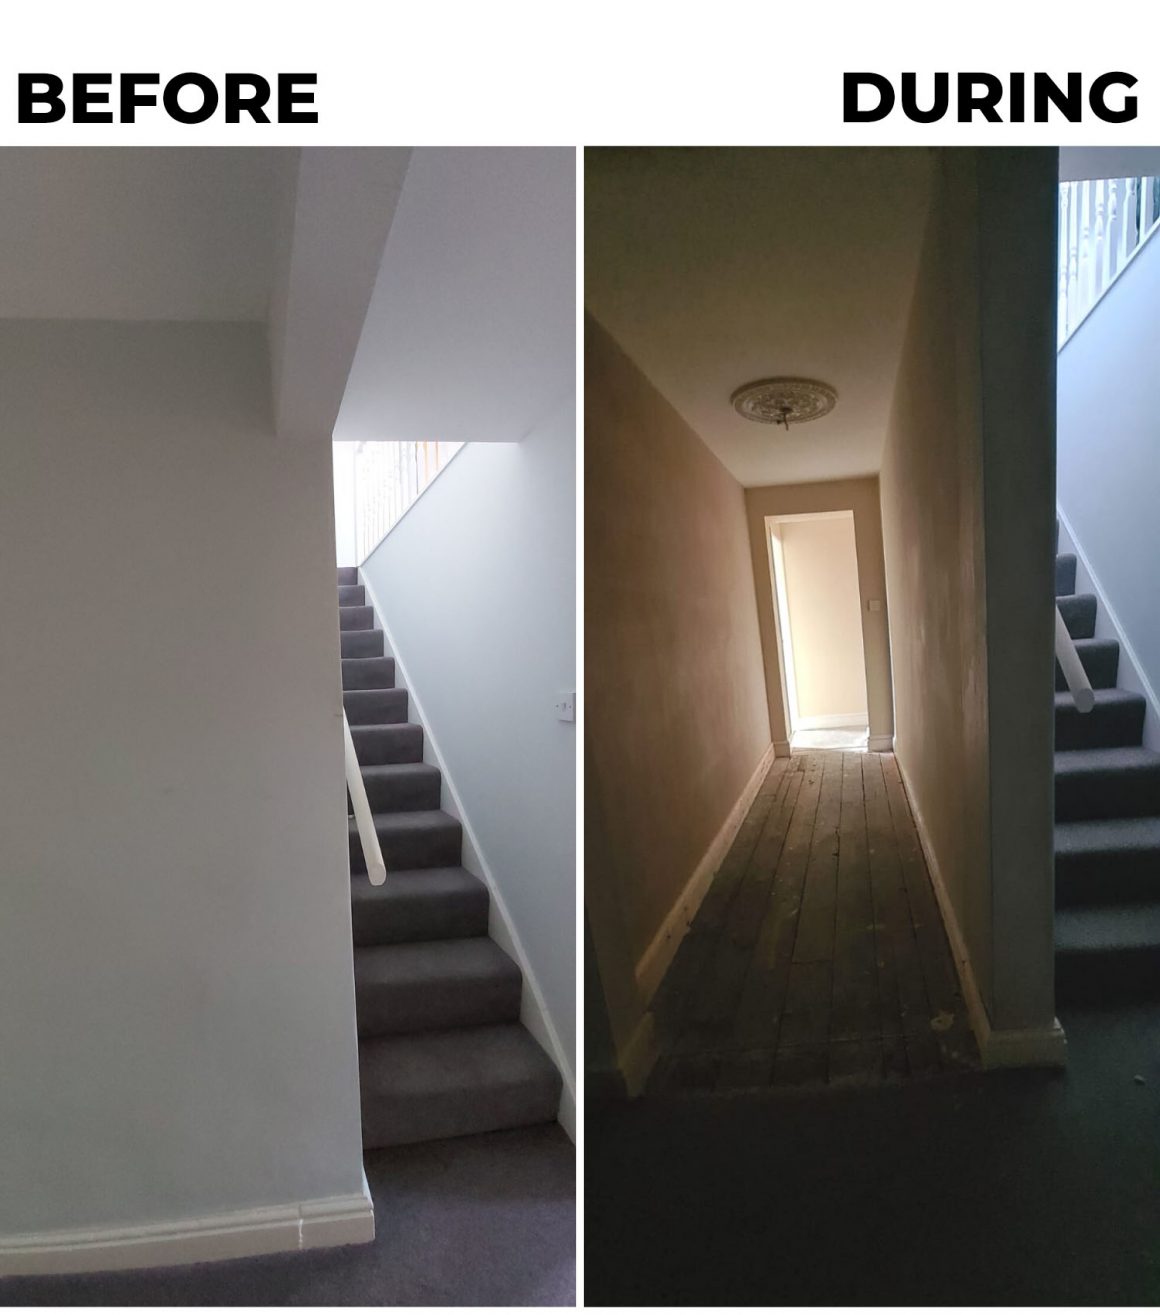
CURRENT ROOM: Lounge (in the flat)
CHANGING TO: Home office & a new hallway
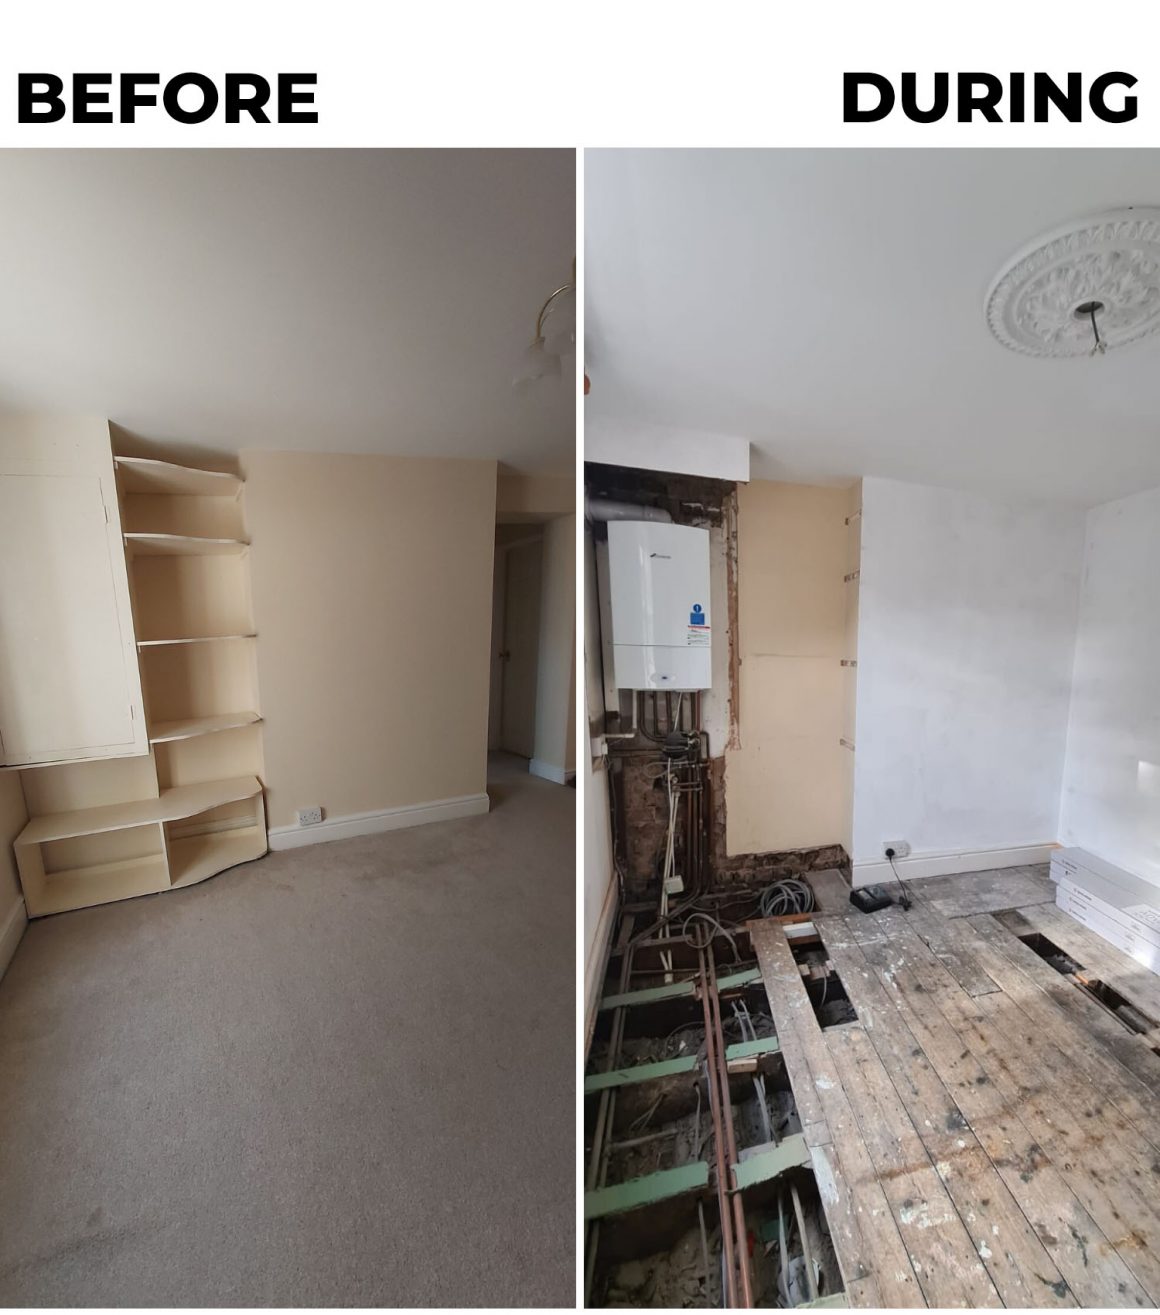
In the original Victorian house, this room would have been the traditional second bedroom. As the previous owners extended, this became the access to the flat, and was used as a living area. Because we would like the rooms beyond ‘the lounge’ (through the doorway you see below) to be accessible from the main hallway, this room will be split into two. A new hallway will be created to access the rooms over the extension. The remaining space will become a home office. Our home’s boiler resides in this space and whilst it was an option to move it somewhere more discreet (the cellar for example), that would have been an enormous project with a large price tag, for very little extra space. Instead, we will replace the dated cupboard and shelves with a custom-built unit to give us future access to the boiler as well as useful office storage.
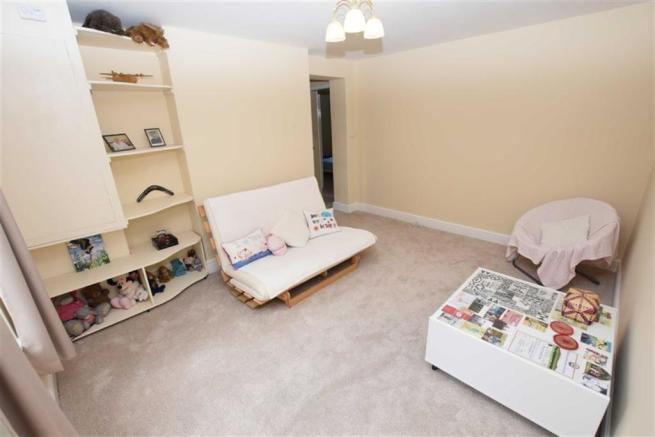
Work completed so far:
- Carpet removed entirely
- Wall created to separate the space into one office, and one hallway granting access to the adjoining rooms
- New doorway created in the main hallway for the ‘new hallway’
- Plastering completed across all new walls
- Existing lights relocated to fit the new centre of each ceiling, and ceiling roses installed
- Cupboards removed
- Surplus pipes (for the adjoining kitchen being removed) have been taken out or relocated.
- New walls have been white-washed ready for paint
- Work on evening out the floorboards has begun
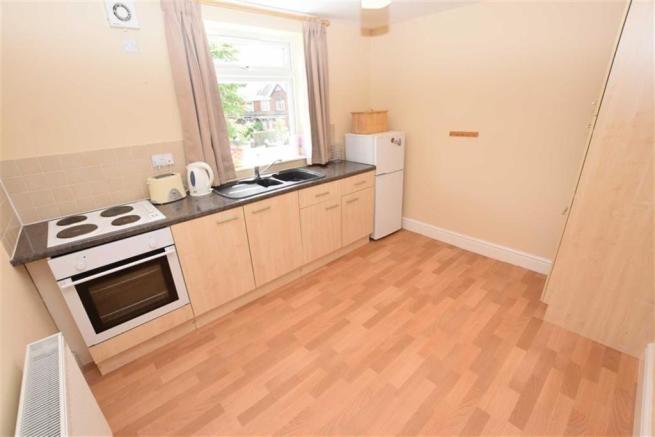
CURRENT ROOM: Kitchen (in the flat)
CHANGING TO: Guest Bedroom
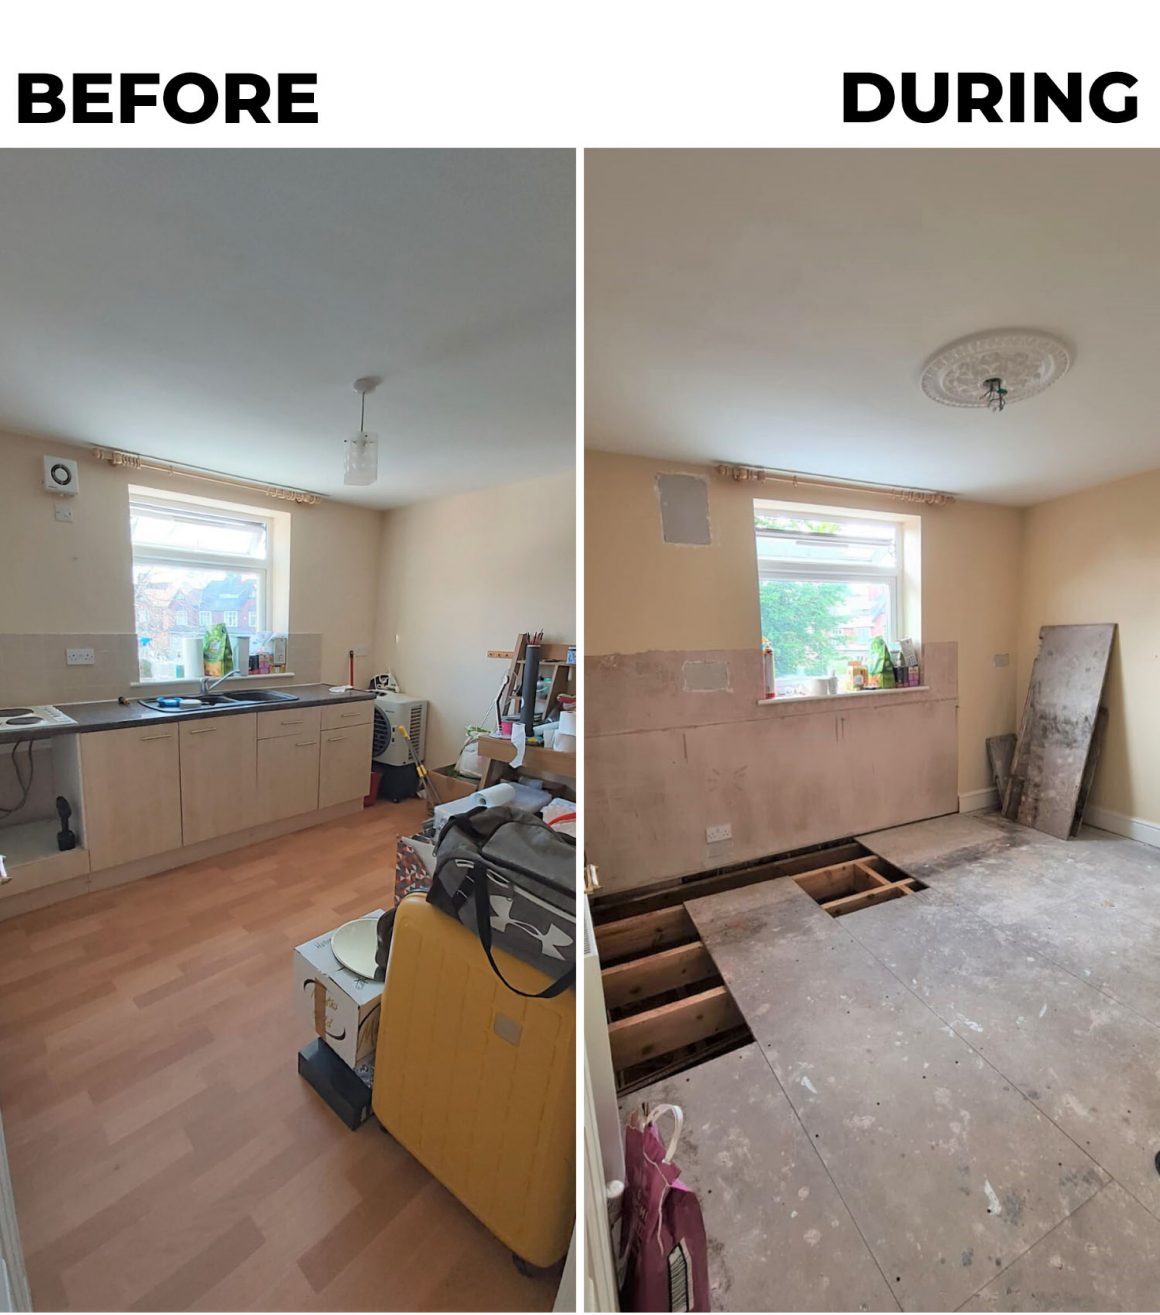
I’m not going to lie, it’s been quite handy having a spare kitchen! But ultimately, it’s totally unnecessary and thus, wasted space the longer it remains a kitchen. The flat’s bedroom is being removed, as detailed below, so this space will be the new guest bedroom of the house. All units need removing, and the water and gas pipes need disconnecting. The extractor fan needs taking out and patching up. Once all evidence of the kitchen is gone, some parts of the wall will just need a simple skimming, and it will be ready for decorating.
Completed so far:
- Storage, flooring and all kitchen units removed
- Extractor fans removed and covered
- Pipes for kitchen appliances disconnected and buried into the walls
- Walls behind old units smoothed down ready for skimming with plaster
- Plugs relocated from kitchen worktop height to floor level
- Ceiling rose installed
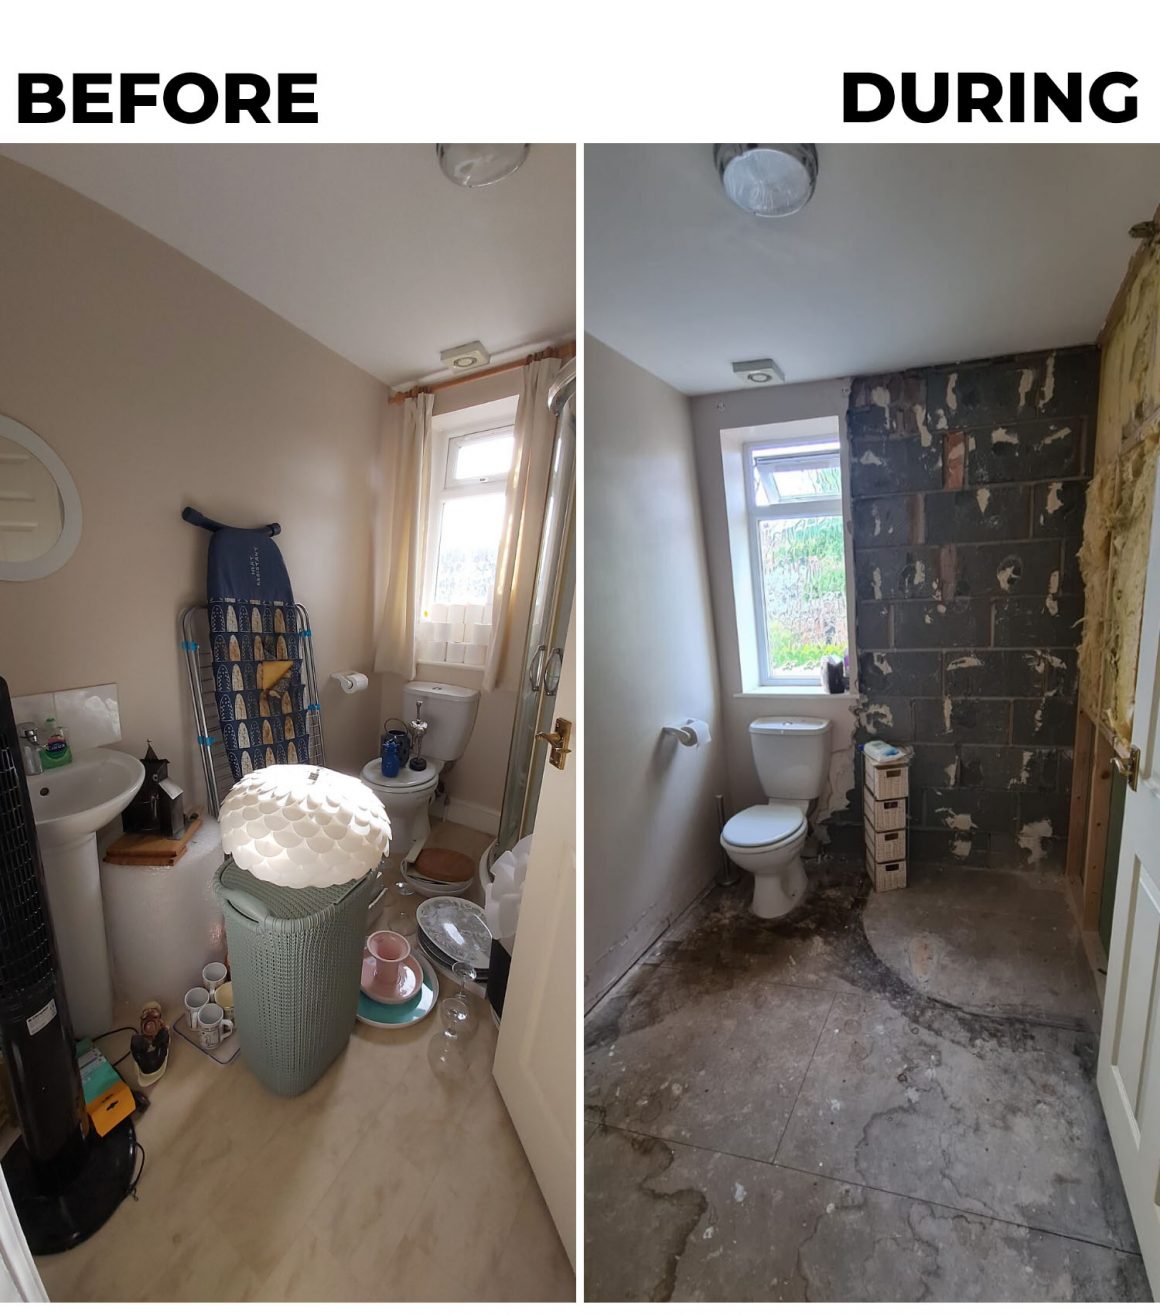
CURRENT ROOM: Bathroom (in the flat)
CHANGING TO: Walk-in wardrobe for the master bedroom
The flat’s bathroom was only accessible via the flat’s lounge. However, as part of the new hallway build, access to the existing bathroom and bedroom have been blocked off – on purpose. We only want these to be accessed via the master bedroom in the future. What is currently the bathroom to the flat will become our master bedroom’s walk-in wardrobe. Storage will be floor to ceiling and be custom built for the space by our joiner. This might sound odd not to make the existing bathroom into the new en-suite, but it’s simply been about making use of the room sizes. This small bathroom will make a good size walk-in. I am ridiculously excited about this one.
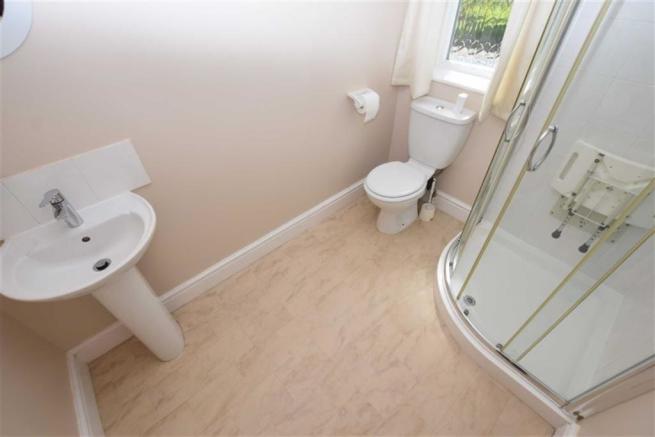
Completed so far:
- All storage from this room relocated elsewhere (don’t judge – this is renovation reality!)
- Flooring removed and skirting boards removed.
- Entire bathroom suite, except toilet, un-installed.
- All fixtures removed including curtains, extractor fan, mirrors & tile.
- The shower wall stripped back to stud work, ready for a new door placement to the future en-suite.
- Existing door removed for re-using later
CURRENT ROOM: Bedroom (in the flat)
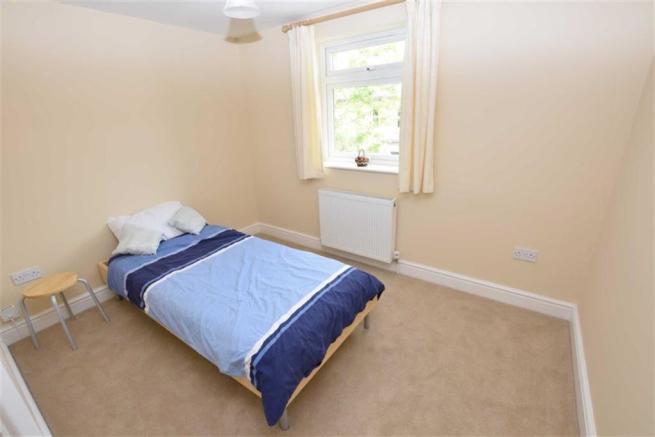
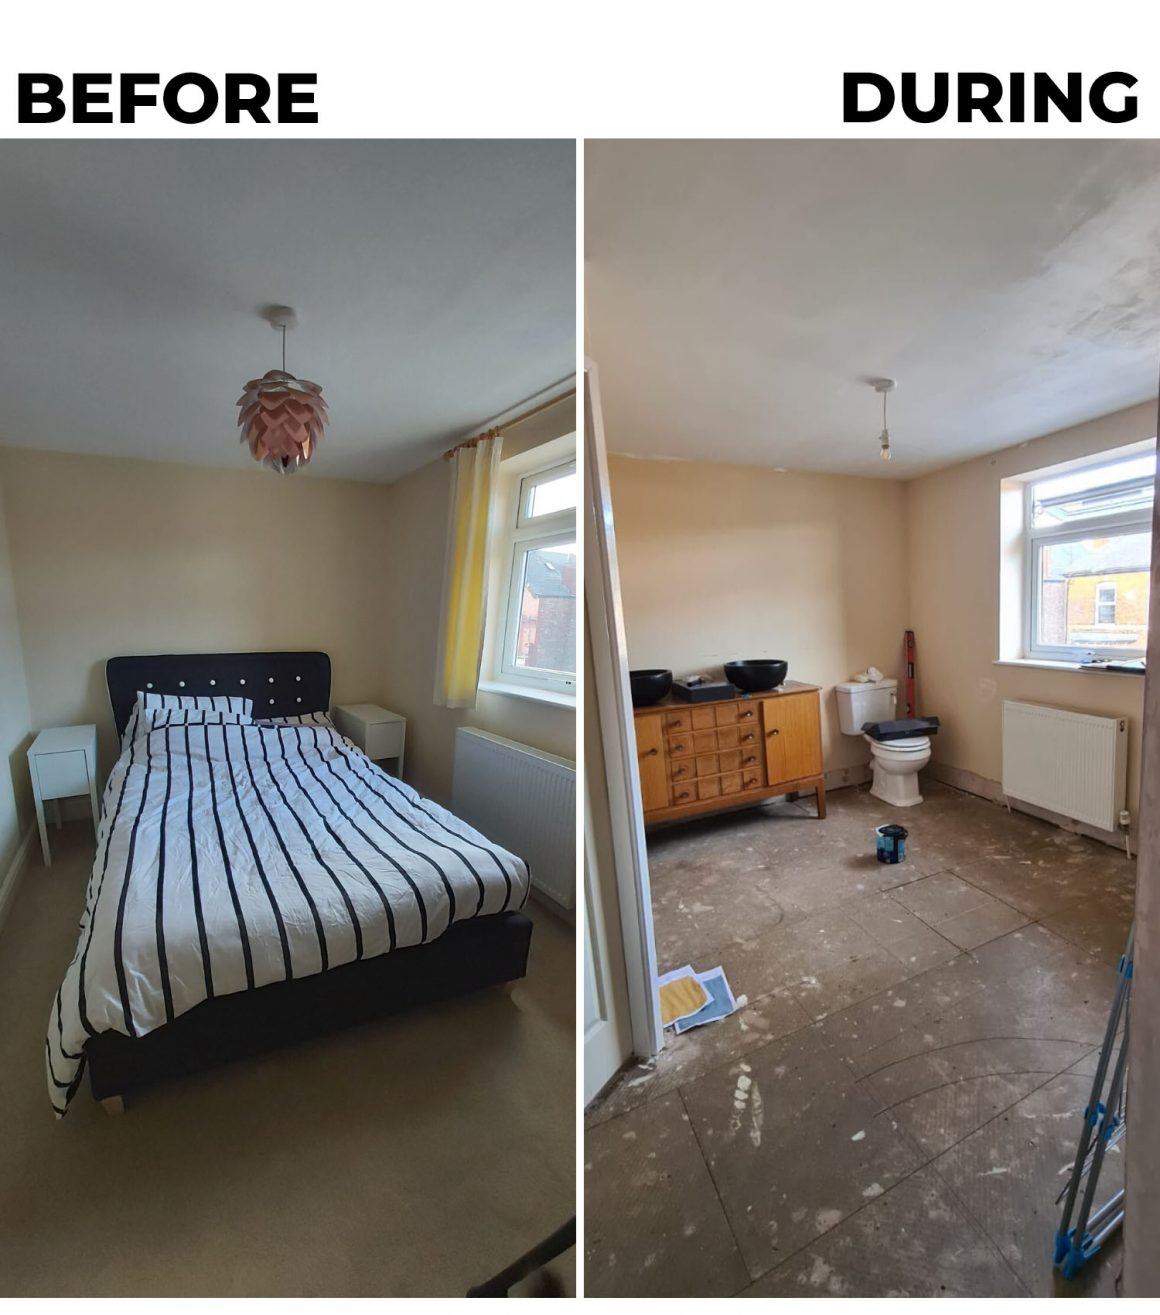
CHANGING TO: En-suite bathroom for the master bedroom
Currently being used as our guest room as mentioned above, this space will soon be our new en-suite bathroom, accessed via the walk-in wardrobe, exclusively for the master bedroom. Thanks to the close proximity of an existing bathroom and kitchen, any access to water and waste pipes are already there so is mostly a straight-forward transition. We have made the decision to have a 4-piece bathroom in here, which will be tight on space but we simply couldn’t resist making our dream come true of having a freestanding bath just for us. No kids allowed!
Completed so far:
- Bedroom furniture dismantled and stored away.
- Carpet and curtains removed.
- Ceiling re-painted in white but in a bathroom finish (it will need a few more coats though!)
- As bathroom furniture and fixtures start to arrive, we’ve started to collate them in this space.
CURRENT ROOM: Master Bedroom
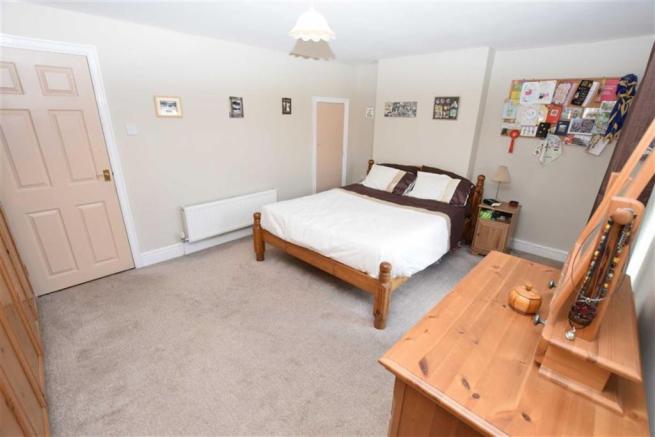
CHANGING: Opening the room up to gain access to the new en-suite and walk-in wardrobe.
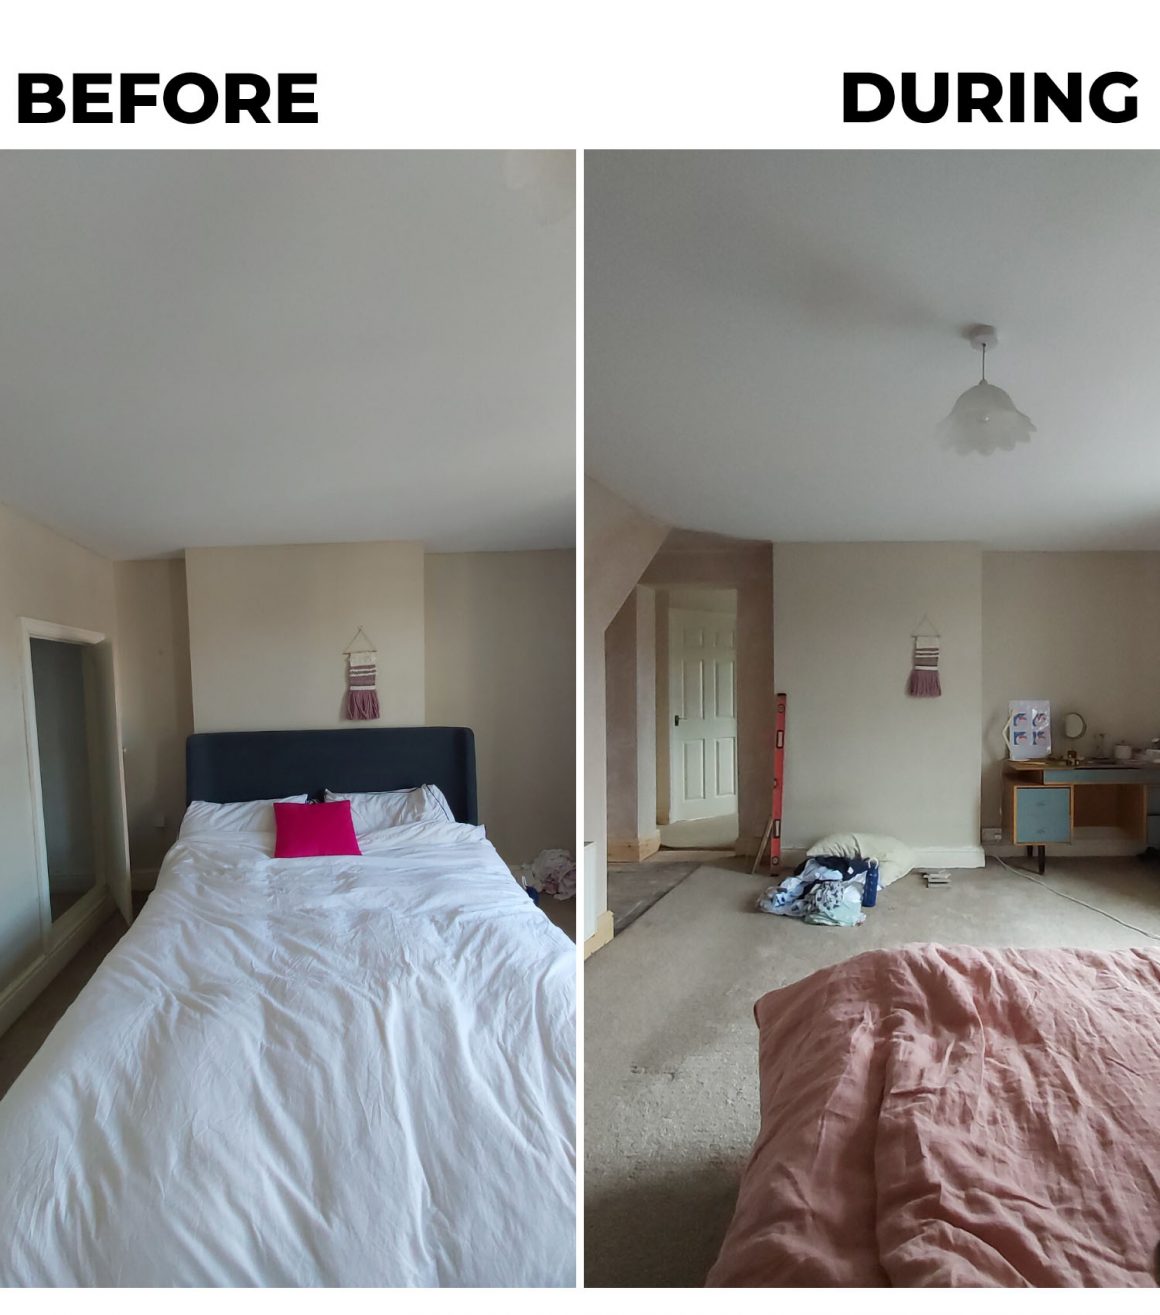
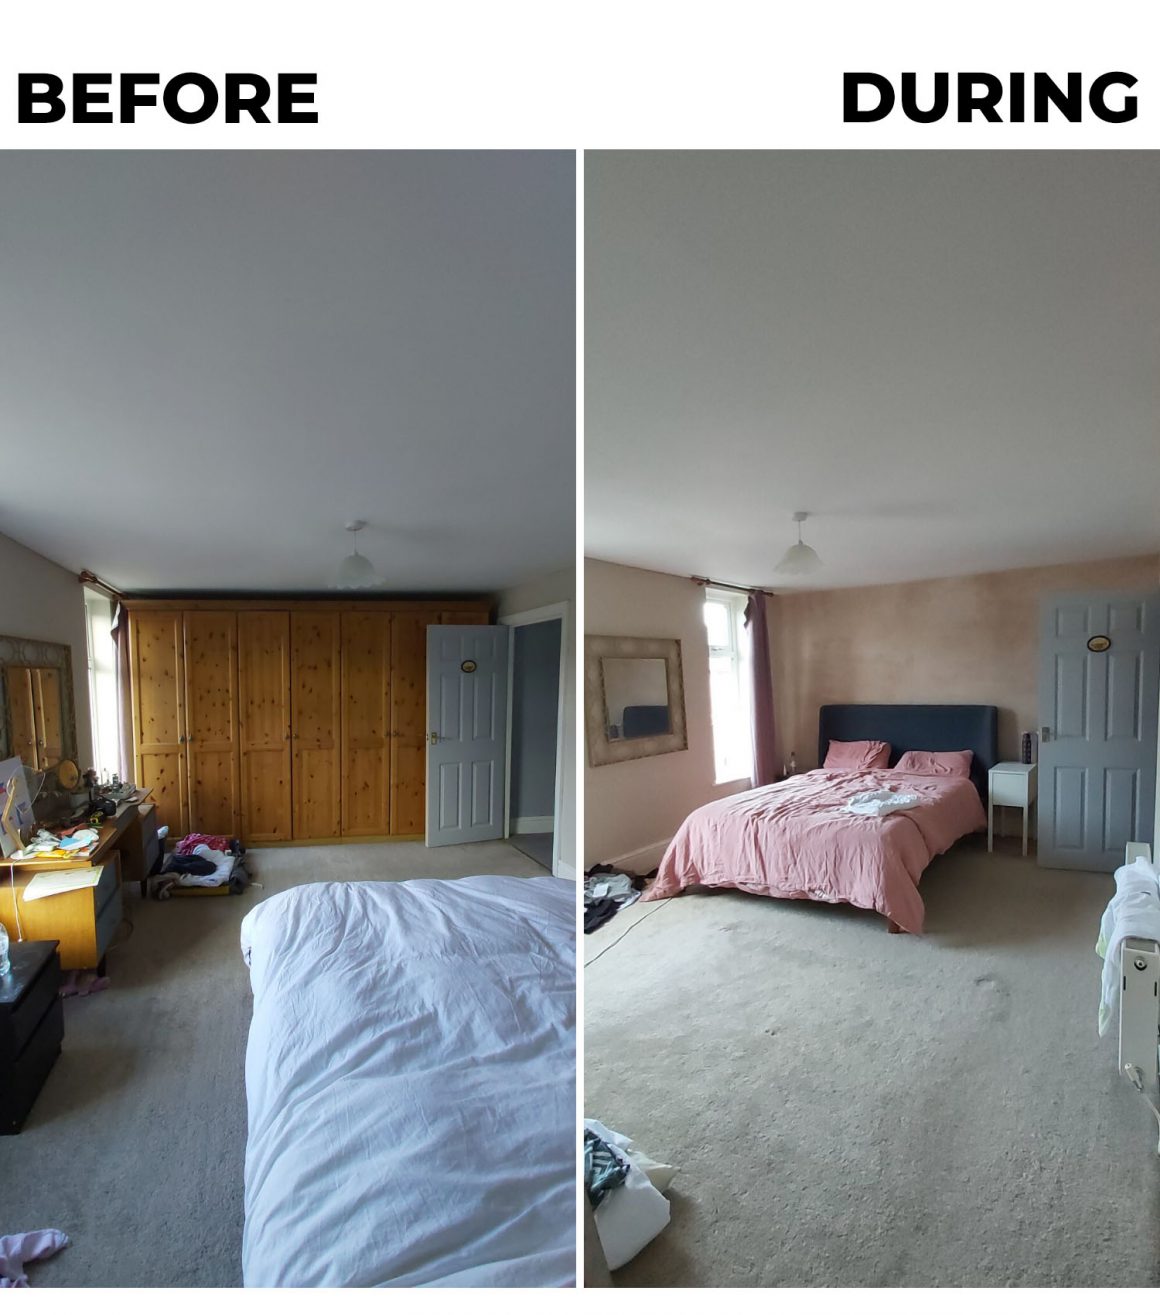
The master bedroom will remain in the same place but is to be opened up. The existing layout was ill-thought out and not using the square metres available to its maximum potential. To the first wall are large wardrobes which came with the house. Useful temporarily, sure. But not required long-term if we are to have a walk-in wardrobe. they also block half of a window restricting light, so it was always planned to find a new wardrobe solution. Removing these will free up enough room to re-locate our bedroom to this side of the room. Towards the other side of the room are two uneven alcoves, either side of the original chimney breast and an under-stairs cupboard (stairs to the loft conversion). All these elements had previously made the room feel wonky, and quite unnatural to put anything against. The solution? Remove the under-stairs storage and knock through the left alcove. This will grant access to the brand new walk-in wardrobe and en-suite, as well as widening this side of the room making it feel far larger. We also want to re-instate a chimney. All original features from this room have been removed through heavy renovation works in the 1990s. This entire first floor has even lost all of its full-height ceilings, as this was requested in order to add the loft conversion, so as part of the re-working we will be adding moulding, ceiling roses and a Victorian fireplace as a nod to the room’s original character.
Completed so far:
- Built-in cupboard (under the stairs to the loft, and also in the left alcove to the chimney breast) has been ripped out to make room for entranceway to the new walk-in wardrobe and en-suite.
- A steel lintel has been placed above the new doorway for structural support.
- The new opening has been plastered, with skirting board fitted.
- The old ‘space under the stairs’ has also been plastered ready for a custom cupboard build in the remaining space.
- The wardrobes to the other end of the room, adopted with the house, have been dismantled and sold, allowing the bed to move to this end of the room.
- The wall which sat behind the wardrobes was also in need of re-plastering.
Will the renovation need planning permission?
As we are only changing internal walls and not extending, we do not require planning permission. However, the wall being knocked through in the master bedroom is a structural wall (basically, a wall which contributes to stopping the house collapsing!) so this one does need to be signed off by the council’s building surveyors to ensure the work is up to code and is safe.
What’s the budget for the renovation?
As always, we are working to a tight budget. We have taken money out of our home’s increased equity to fund this project and would like to keep the whole project under £15,000. We estimate 75% of this to go on labour costs (we are bringing in professionals for the building work and bathroom fitting), and the remaining 25% for decorating. I’ll let you know when it’s all finished if we managed it!
When will the first floor renovation be finished?
The structural work (aka the moving around of rooms) was completed in February and took around a week and I was so impressed with our builder’s work.
Sadly, COVID-19 then came along and of course left us all very confused, so the project was put on hold. As we are now into June, we have just started work again starting with the walk-in wardrobe and en-suite bathroom. This should leave just a few bits of plastering and skirting boards in the other rooms before being considered finished and ready for decor. We estimate this to happen by July.
