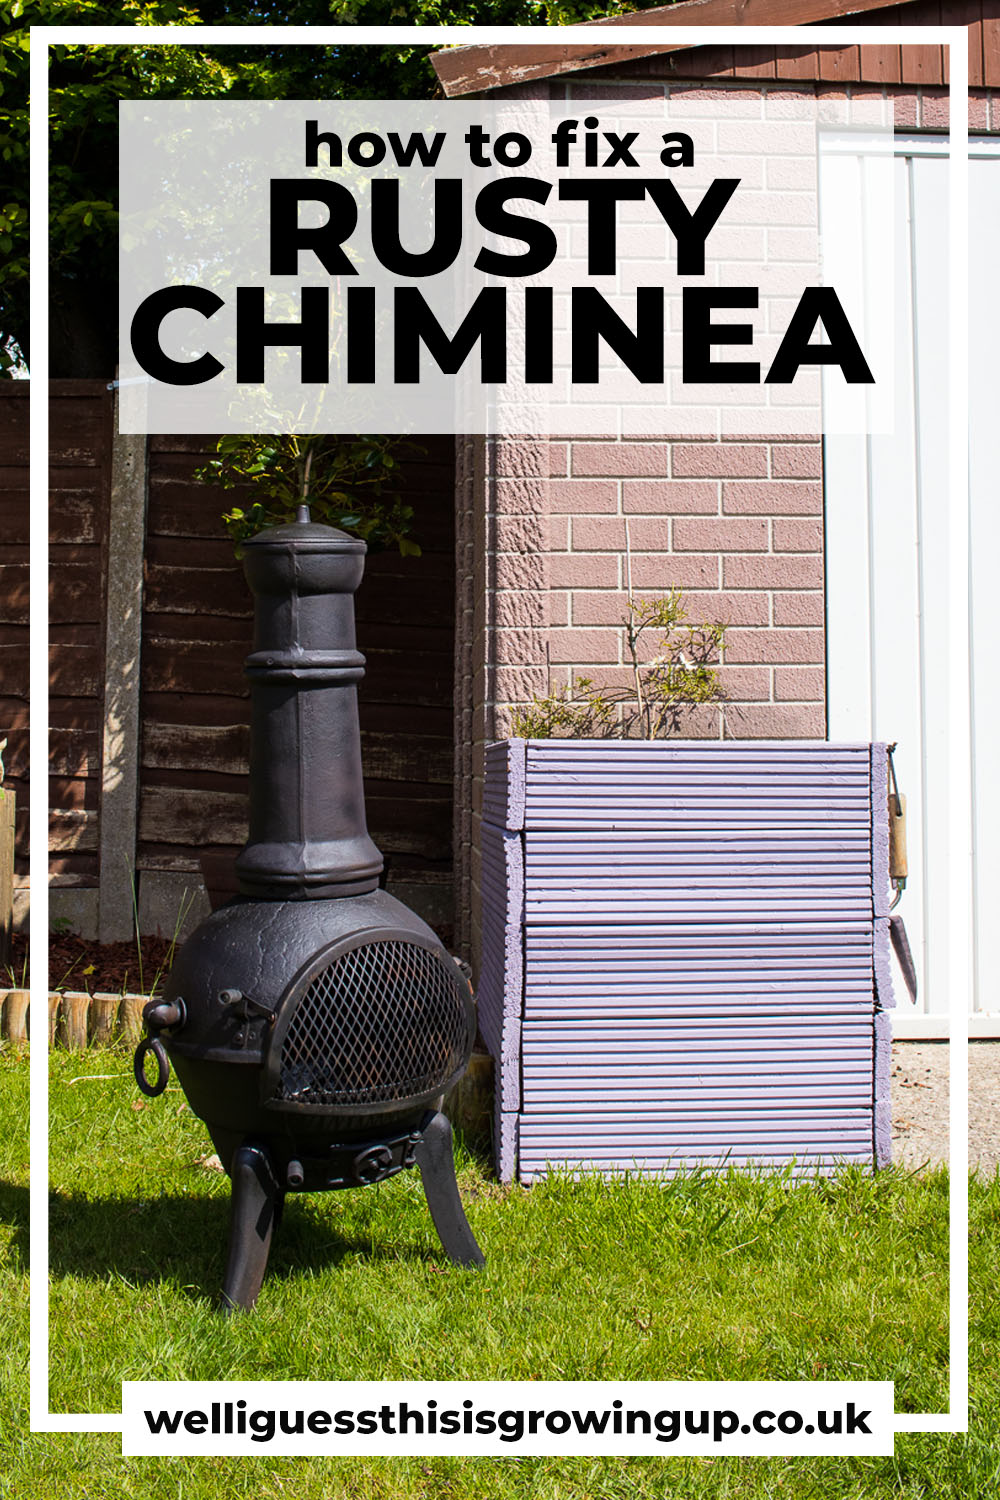
A chiminea was high on my wishlist when we bought our first house. Having moved out of a flat, I knew it would be a great addition to our first ever garden – and we’ve spent many Summer evenings sat around the flames to this day. But over time, thanks to plain old wear and tear, as well as living in one of the rainiest parts of Britain, our modest chiminea is looking a little tired and rusty. Here is how we gave it a mini makeover on a budget, making it look brand new! A ‘shopping list’ is provided further down for everything you need.
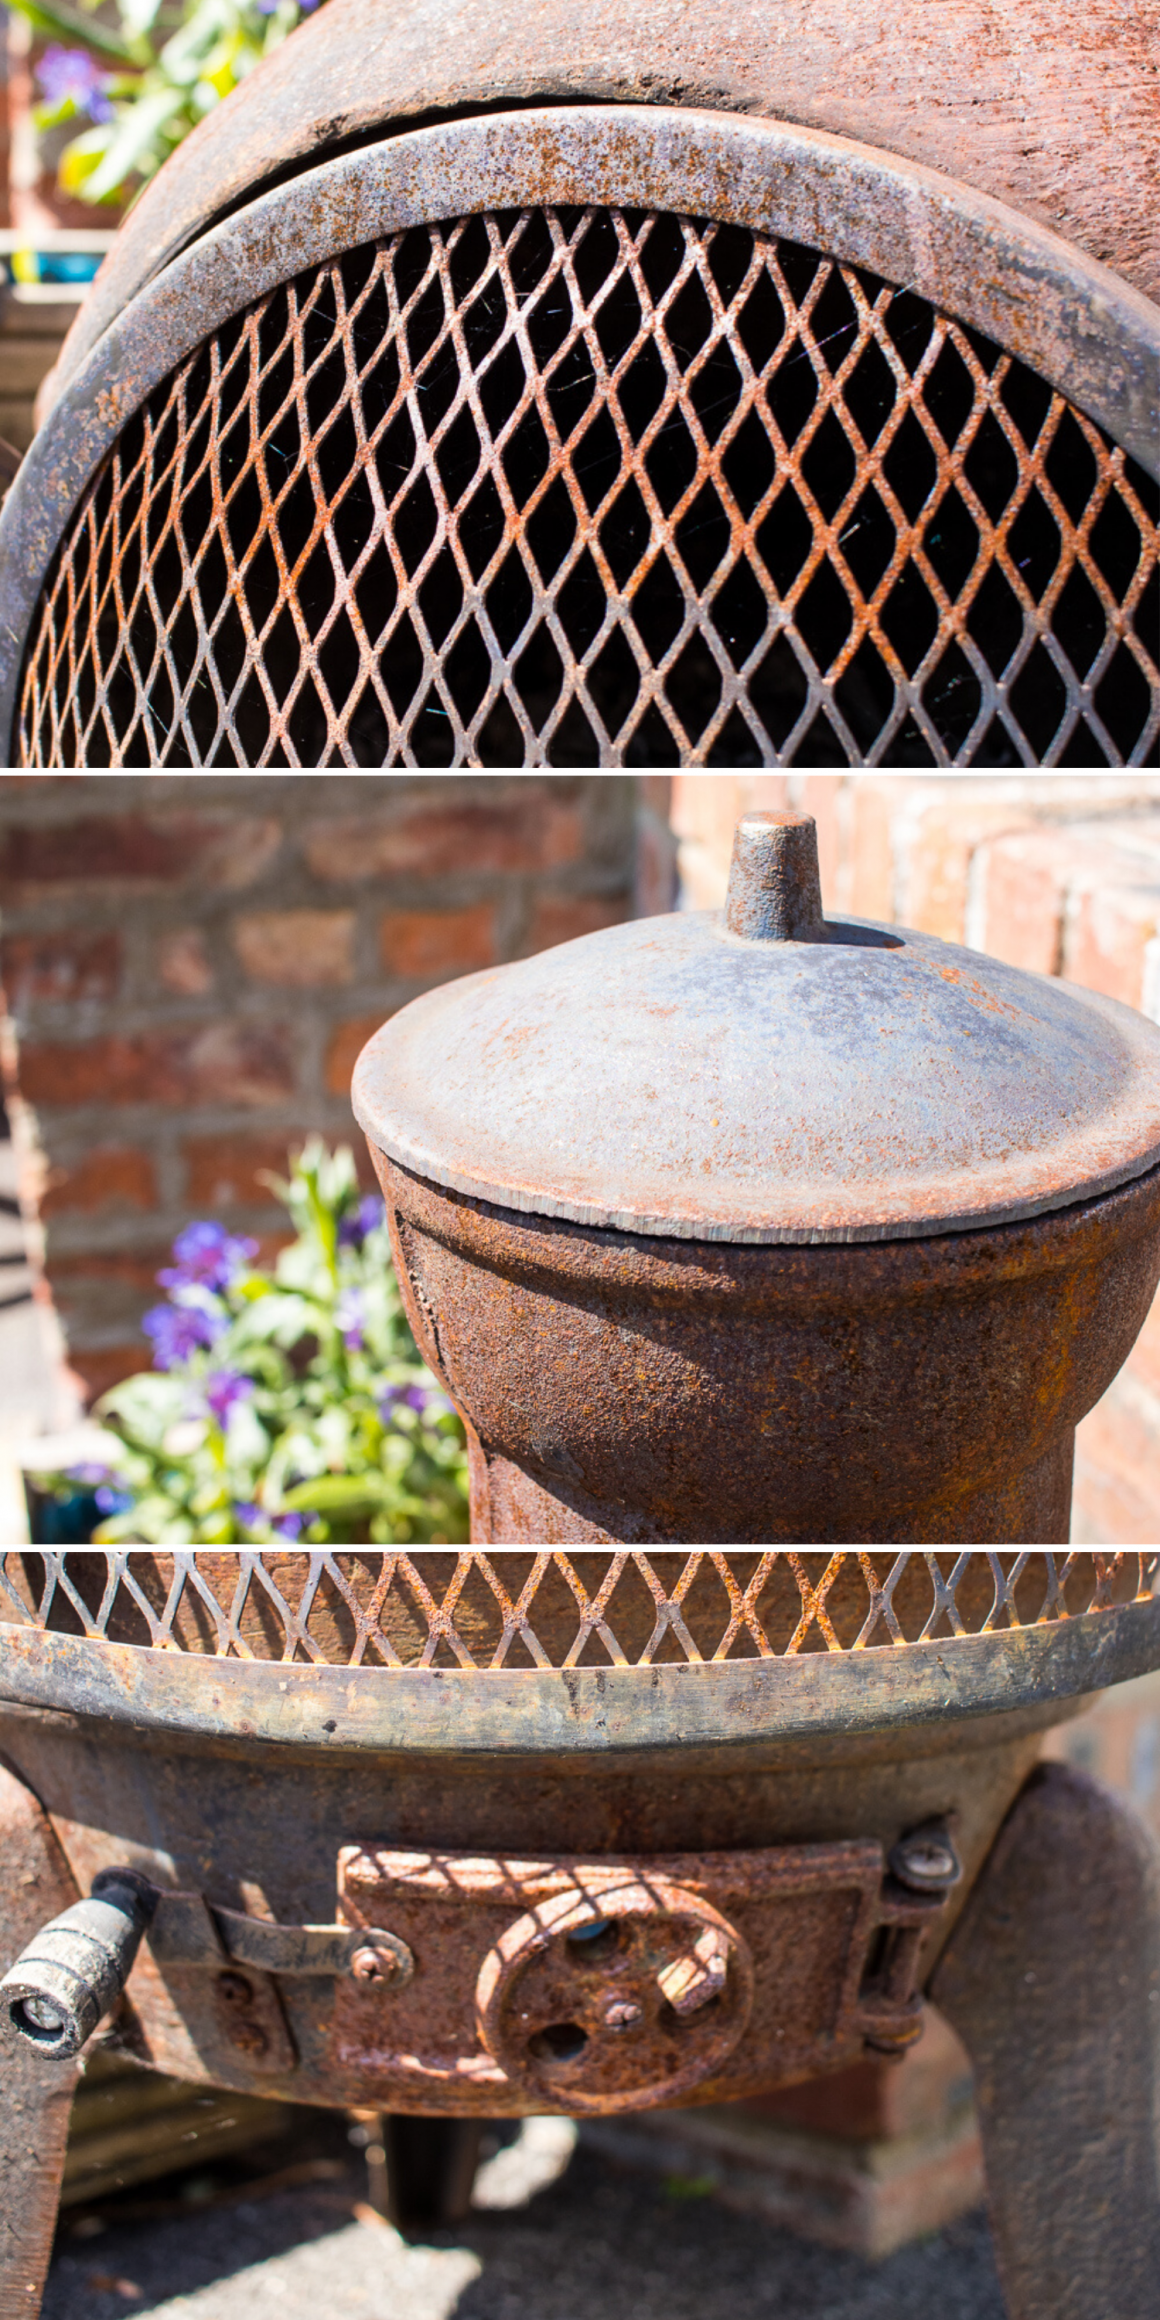
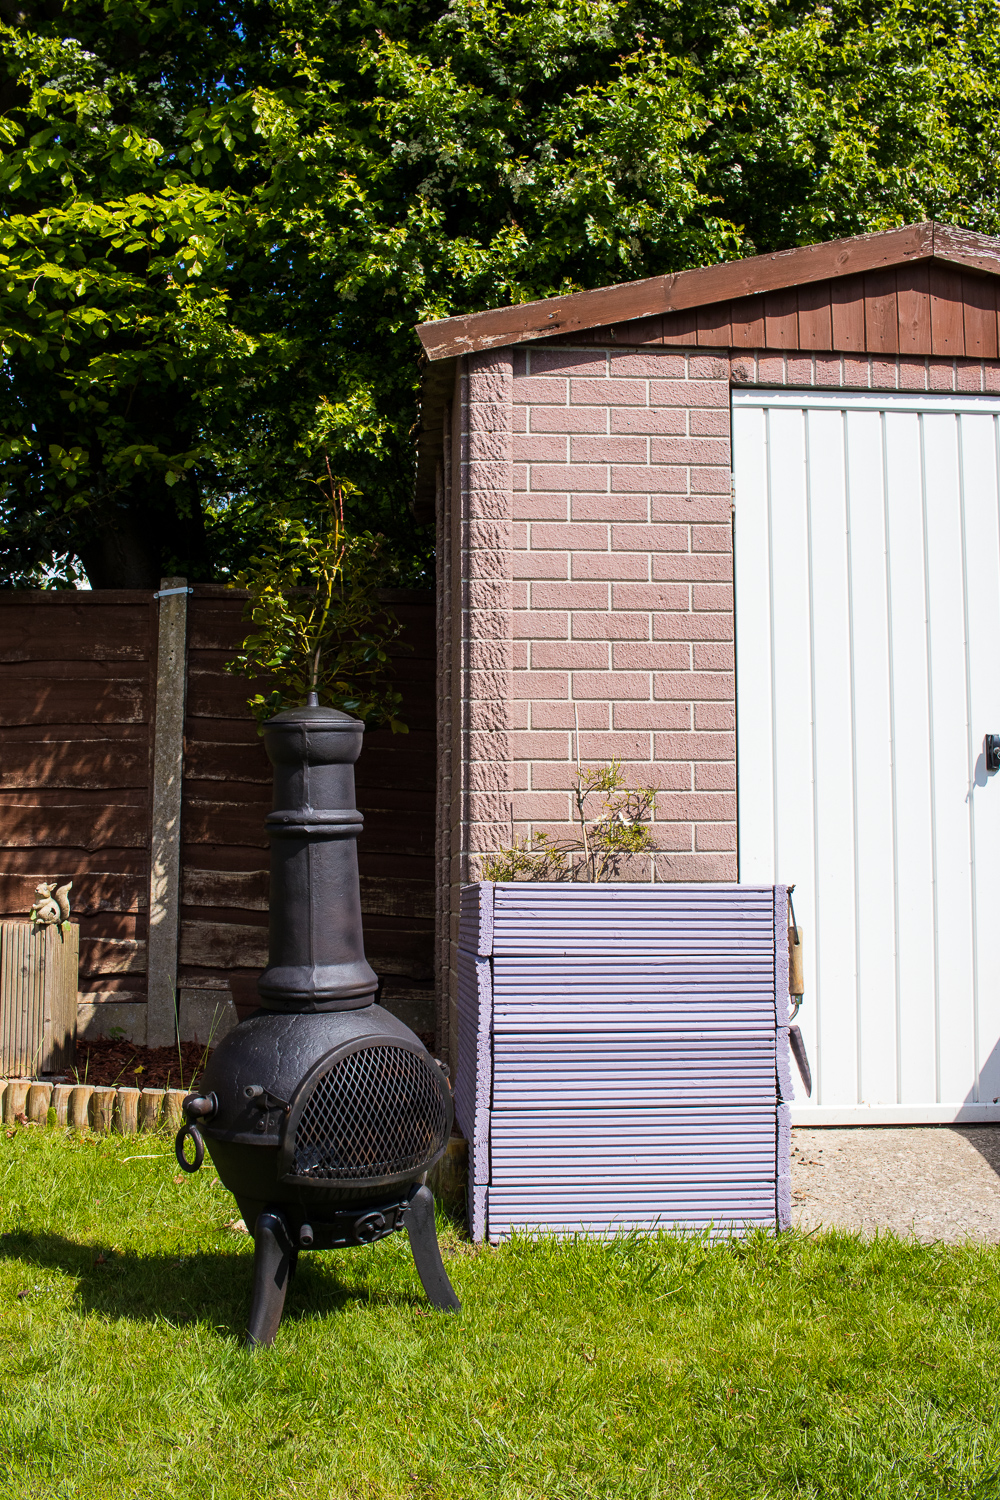
Turn your rusty chiminea from this…

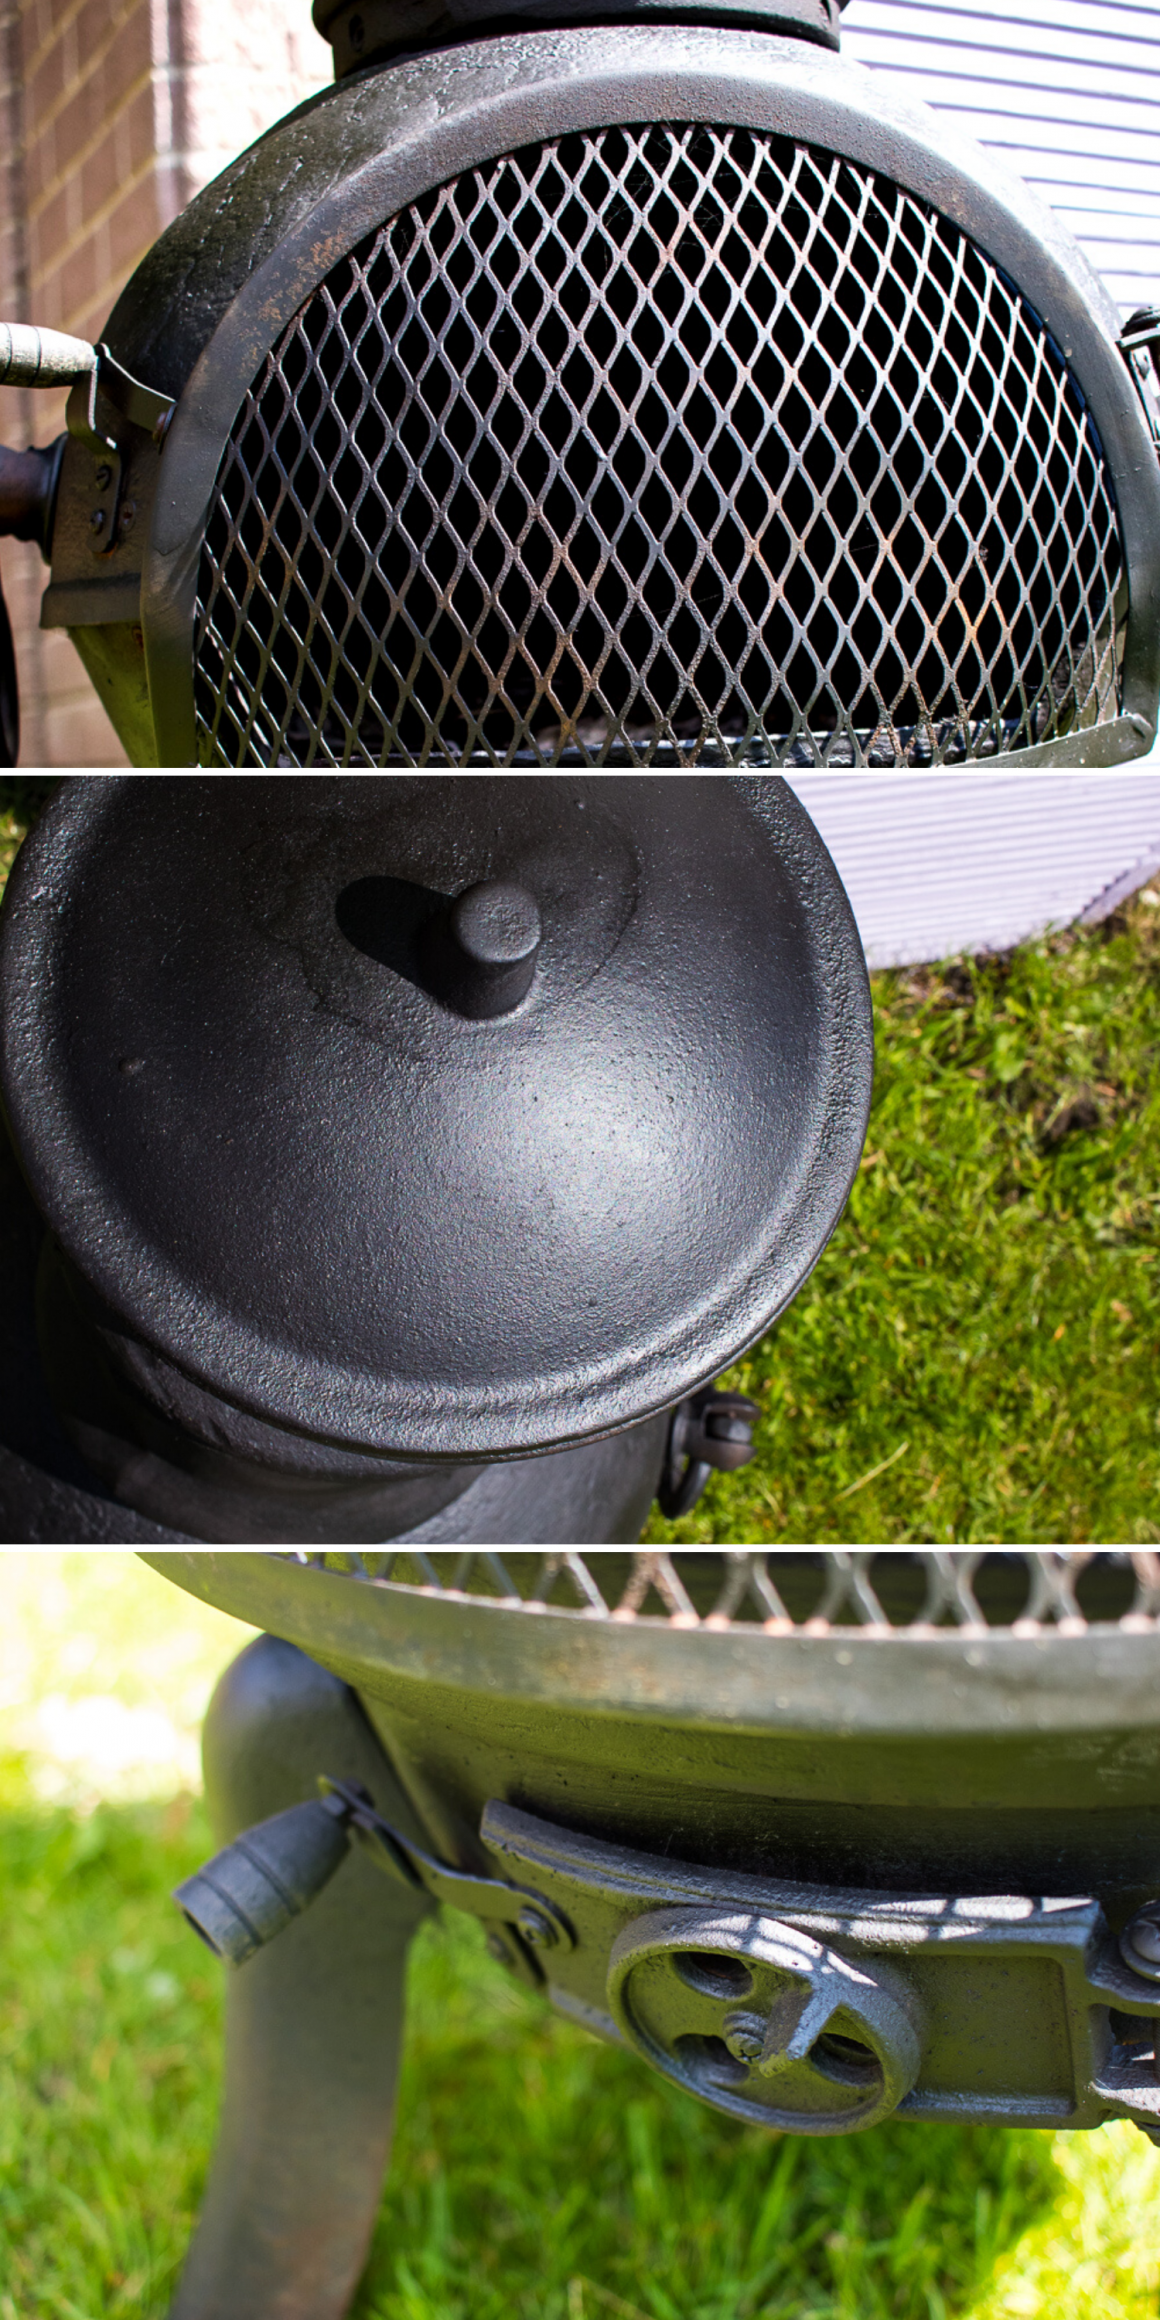
…to this! For less than £10
How to prepare a chiminea for a makeover
It’s important to note that our chiminea is made from cast-iron. Clay chimineas are popular on the market but as these can often crack after heavy use, we decided that this wasn’t for us, not having the longevity we desired. The guidance below is therefore recommended for restoring cast-iron models.
- Start by clearing your chiminea out. Remove any leftover ash, or discarded burning materials. If you leave anything within the burning chamber, it will become coasted with any treatment you’re using, to be burned later on potentially resulting in a toxic smoke.
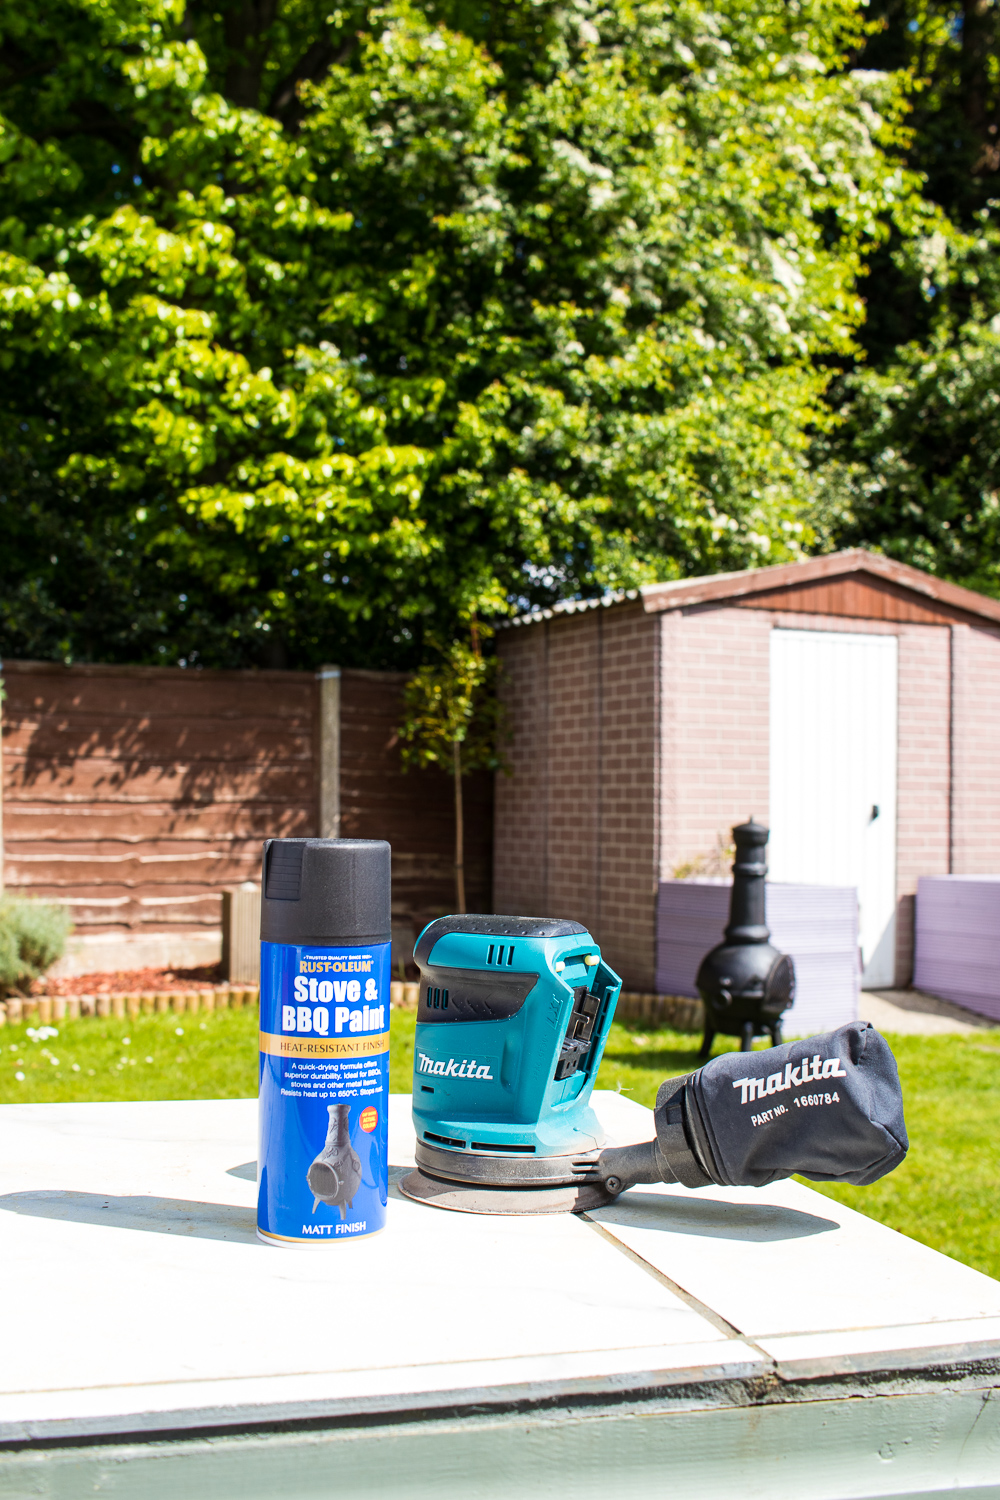
- Whilst you won’t always be able to make your chiminea 100% rust-proof, you can certainly remove some of the existing damage. Give your chiminea a light sand to ensure that any protruding pieces of rust are smoothed down, giving a much better surface for paint to adhere to, as well as ensuring a far better finish.
TIP: An angled sanding block is my favourite to use for sanding surfaces with lots of detail, as it can reach into nooks and crannies really easily – so keep this in mind if your model is very intricate. These are cheap and widely available. In this instance, our chiminea model was suffering from quite a lot of rust damage so to make the job a faster one, we used our cordless sander instead. - Clean the surface well but don’t soak it. Remember, the moisture is the reason the chiminea has rust in the first place, so don’t add to the problem. Use a damp cloth or some sugar soap wipes to get any of the powder or dirt still remaining on the surface following the sanding.
How to get rid of the rust on a chiminea
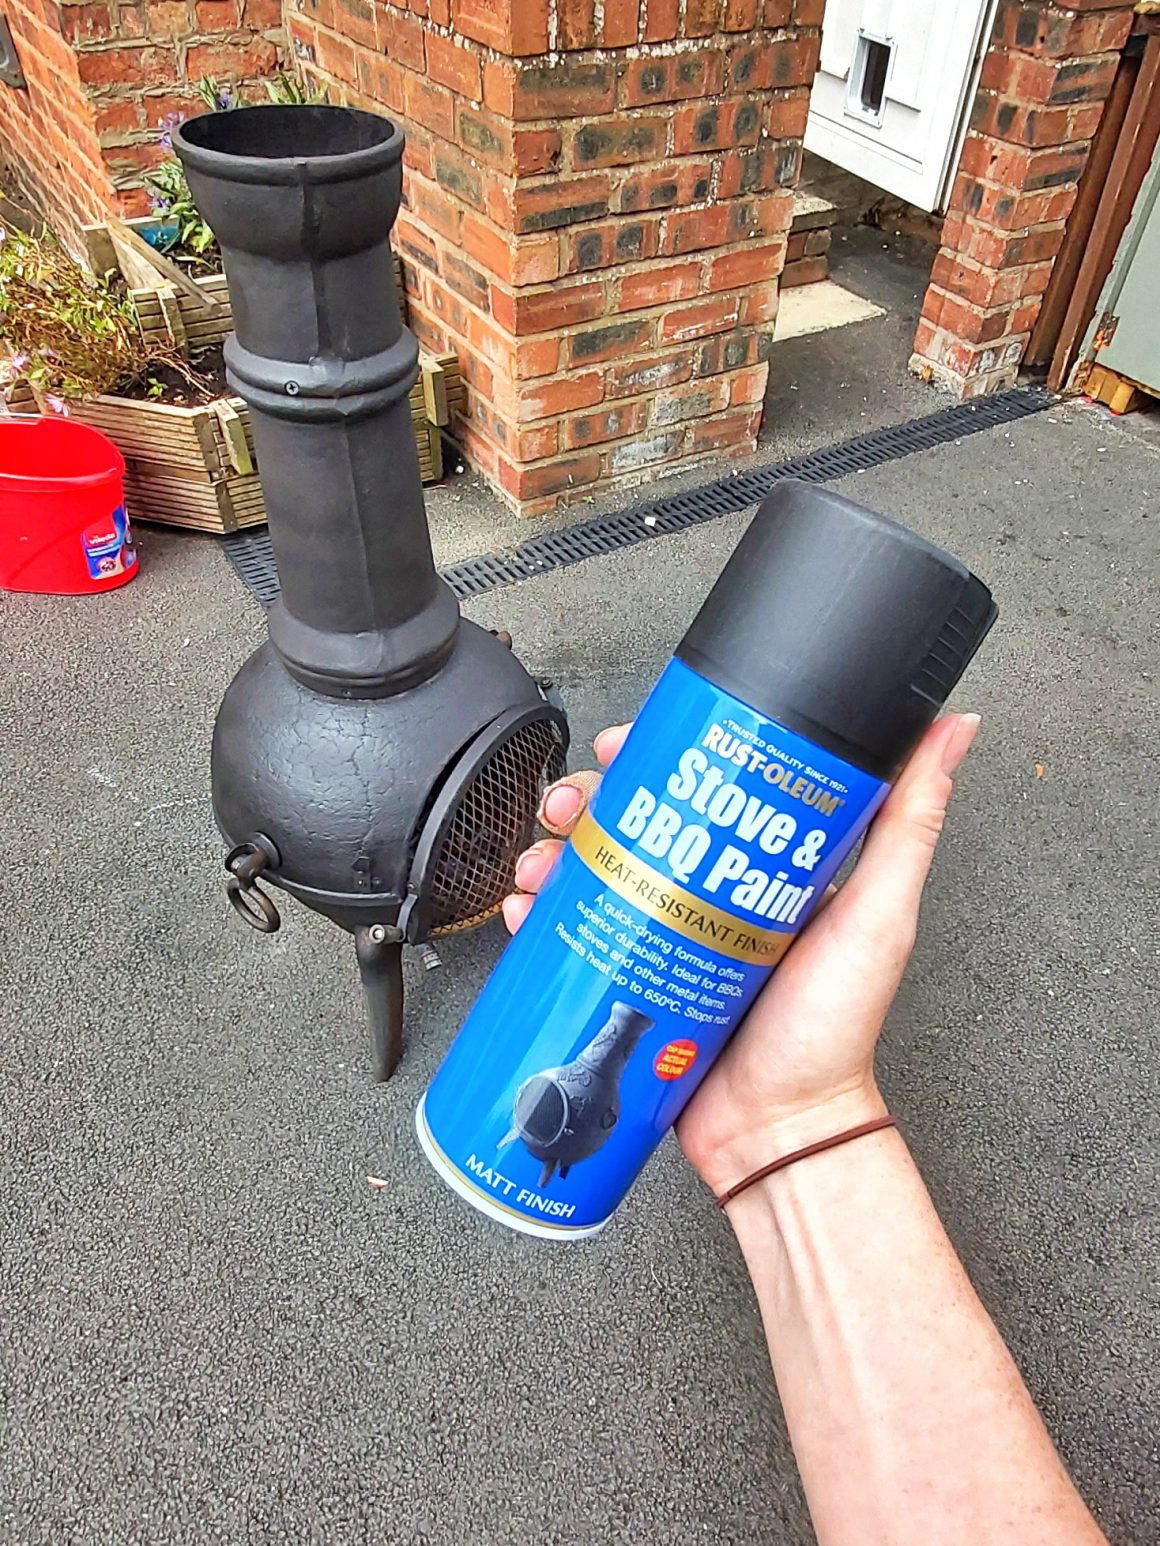
- Use a specialist paint on your chiminea. We used the Rust-Oleum Stove & BBQ Paint which is designed to withstand not just the elements of the outside, but also the extreme heats of the fire. Many primers and traditional paints are available which can cover a chiminea, but if you want this to be a 10-minute job and ensure all the fiddly bits are coated evenly, I’d highly recommend a spray paint. This was a bargain at £8.
- Even if the coverage looks good, it’s always a sensible idea to do at least 2 coats to ensure you’ve covered the entire surface and reduce patchiness. The video below shows me giving the chiminea a light sand before starting on the first coat of spray paint. It’s amazing how quickly the rust disappears before your eyes.
Before & After
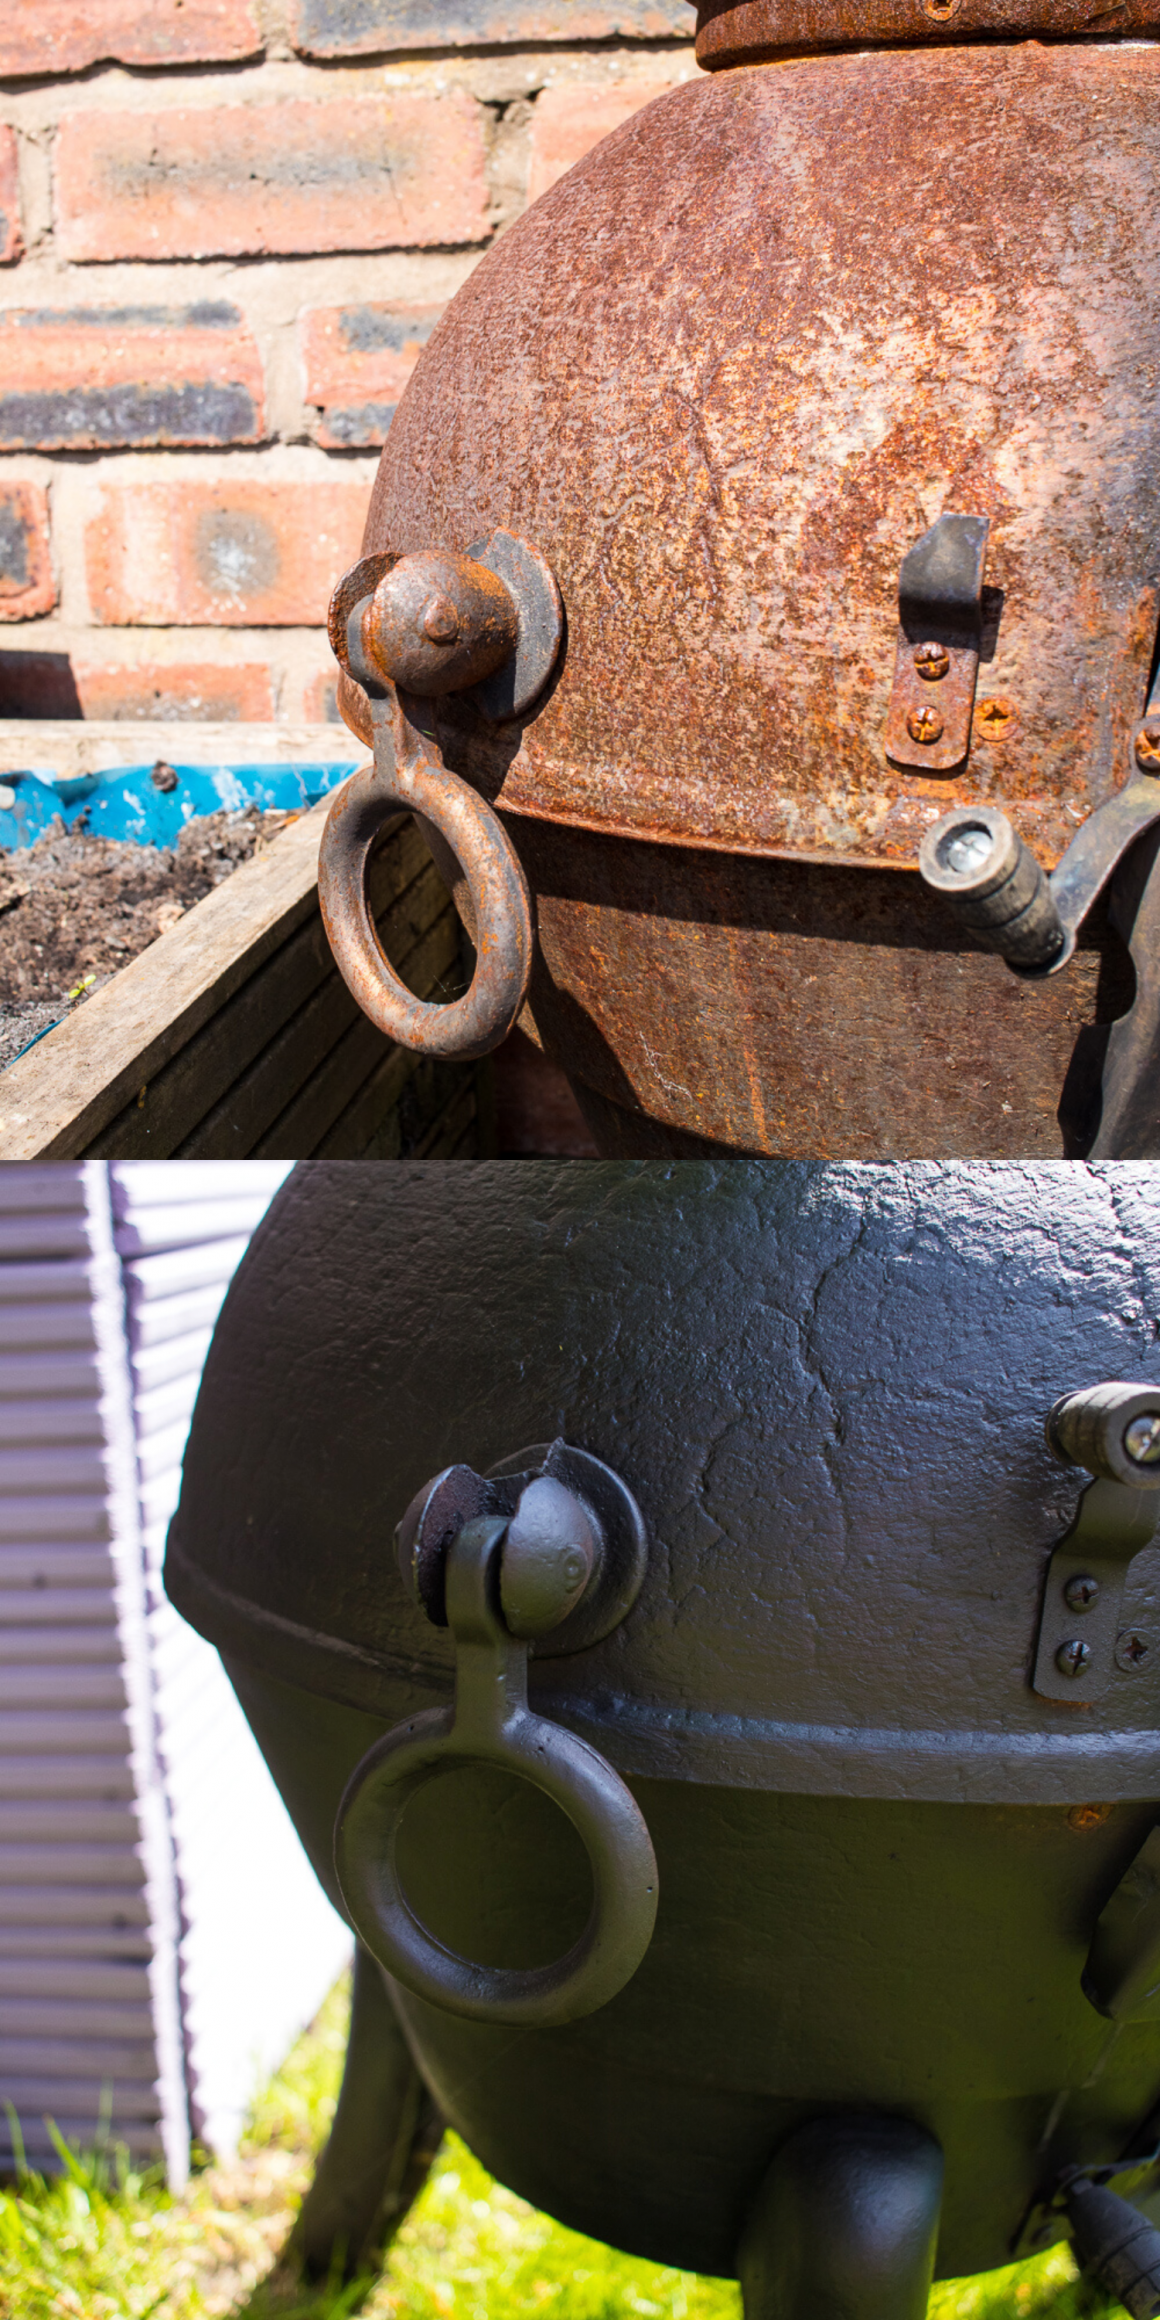
The great thing about rust damage is that once you get rid of the texture , it really is just a cosmetic problem. It will look so much worse than it really is! So as soon as you get a lick of paint on there, it will transform very quickly. Take a look at the images below to see the difference before and after.
The Shopping List
Overall it took 2 coats. I think a third coat would have been good for the grill area of the chiminea but that’s more to do with my execution rather than the paint. For sleek and seamless spraying, aim to paint in low-wind areas outdoors, or a well-ventilated area indoors. Use smooth and steady strokes to get the most even finish and avoid drips. My spray paint tin still has plenty in it so I might also tackle some cast-iron fencing in our front garden. If I do, I’ll feed back with how it goes!
So that’s it. Really simple but effective, and incredibly cheap. We already have sanders in our household so this refresh cost only £8 for the spray paint and was even achievable in the space of our baby’s naptime. The perfect sunny day DIY.
Like this post? Read more in our DIY section or see where we’re up to in our Victorian home renovation
🠻🠻🠻 PIN FOR LATER 🠻🠻🠻
