I never dreamed that we would one day own a house with its very own playground, but now that that it’s happened,
I can’t imagine living without one!
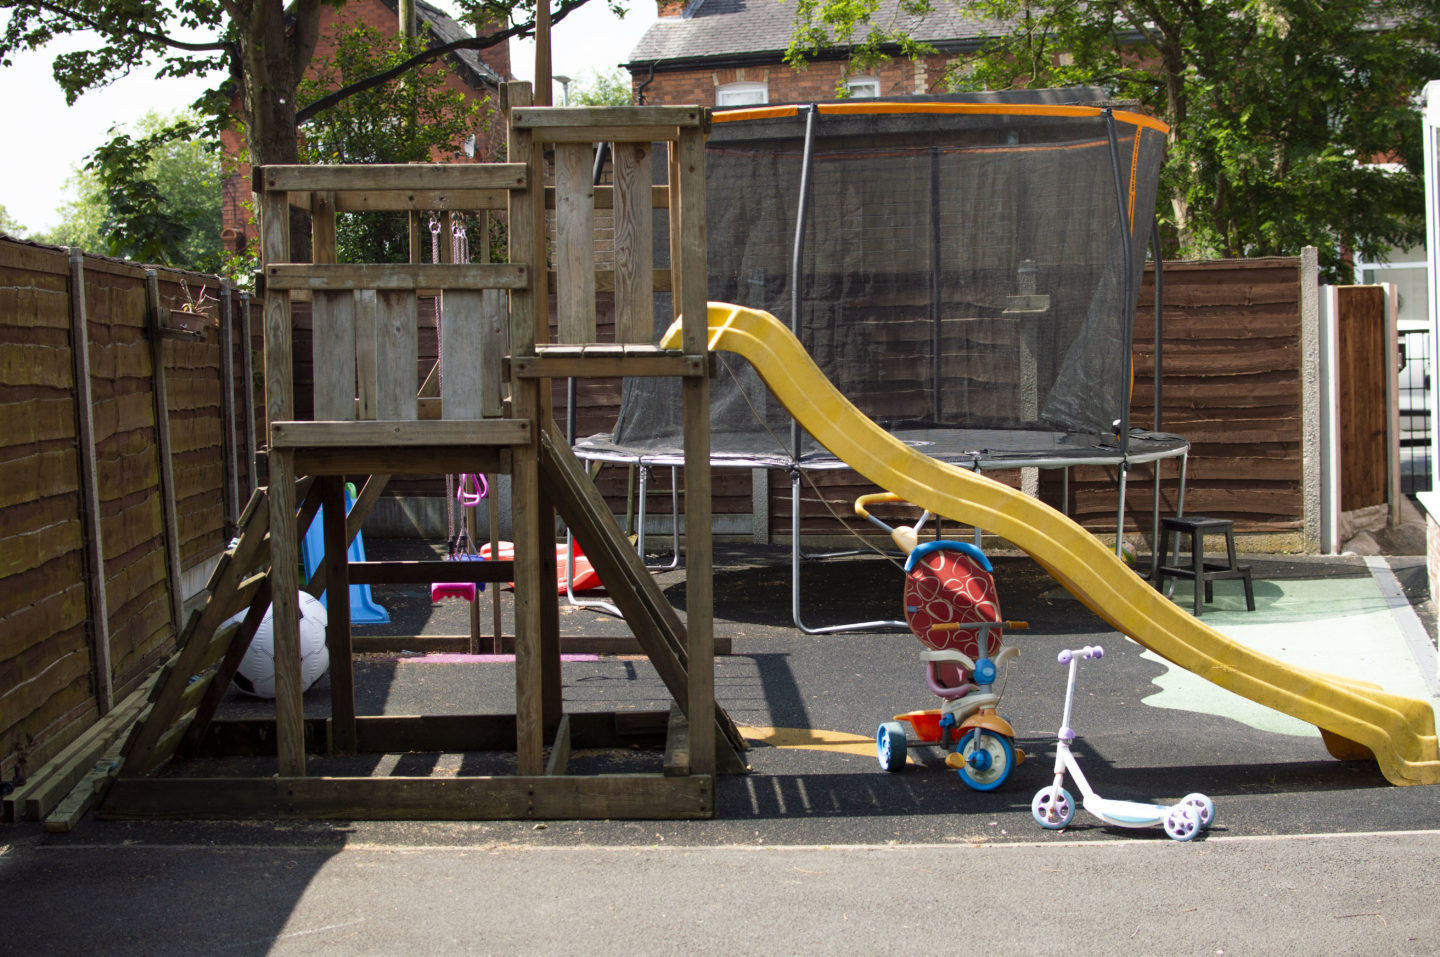
Tip number one: Buy a house which was once customised to host about 20 kids and the hard work is done for you. At least, that’s how we’ve managed to wing this one! You see, our house was previously a childminder (you can see a full house tour here) and with that has come an abundance of child-specific features. A teeny toilet. A ginormous playroom. Hidden loft spaces for toys. Oh, and an actual playground!
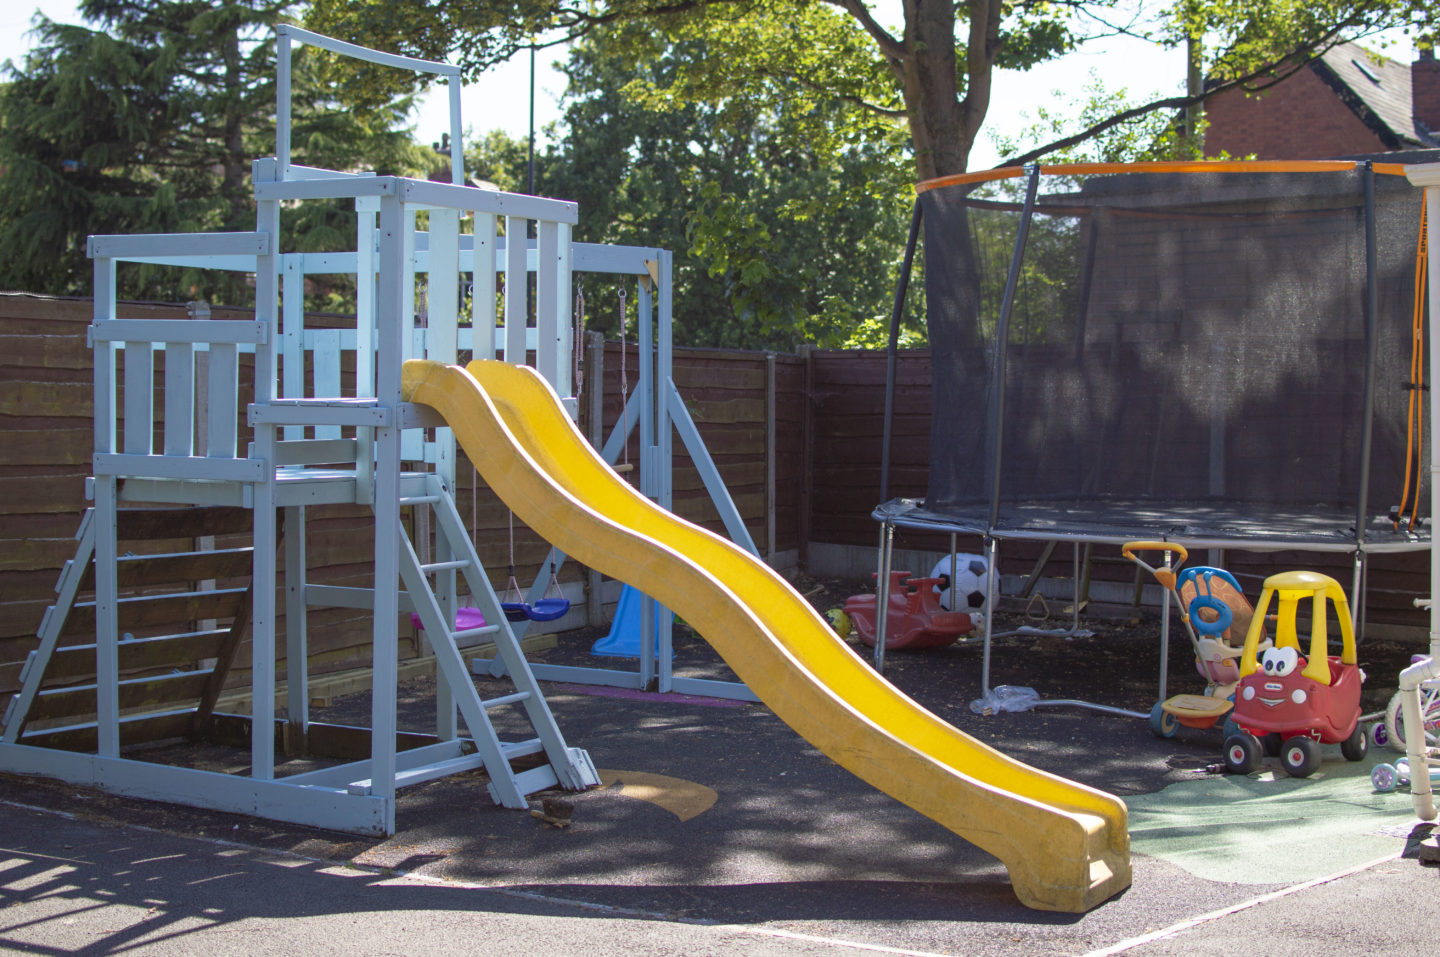
Everything you see in the images we’ve brought with us, so I appreciate it all looks a little “dumped” (you know me, keeping it real) so we still have some filtering out to do of the toys. You’ll notice – because it’s hard to miss – the trampoline as our little girl is a gymnast in the making. And how awesome is the rubberised floor with colourful images? I imagine that was a costly job. But also, there is the climbing frame.
The Climbing Frame
There’s a wonderful story behind it actually. A close friend of my husband had owned this for 30+ years in a rural forest-backed home not far away from Manchester. Now that his children have flown the nest, we were very generously gifted this wonderful structure. However, after many years of use, it’s looking a little tired.
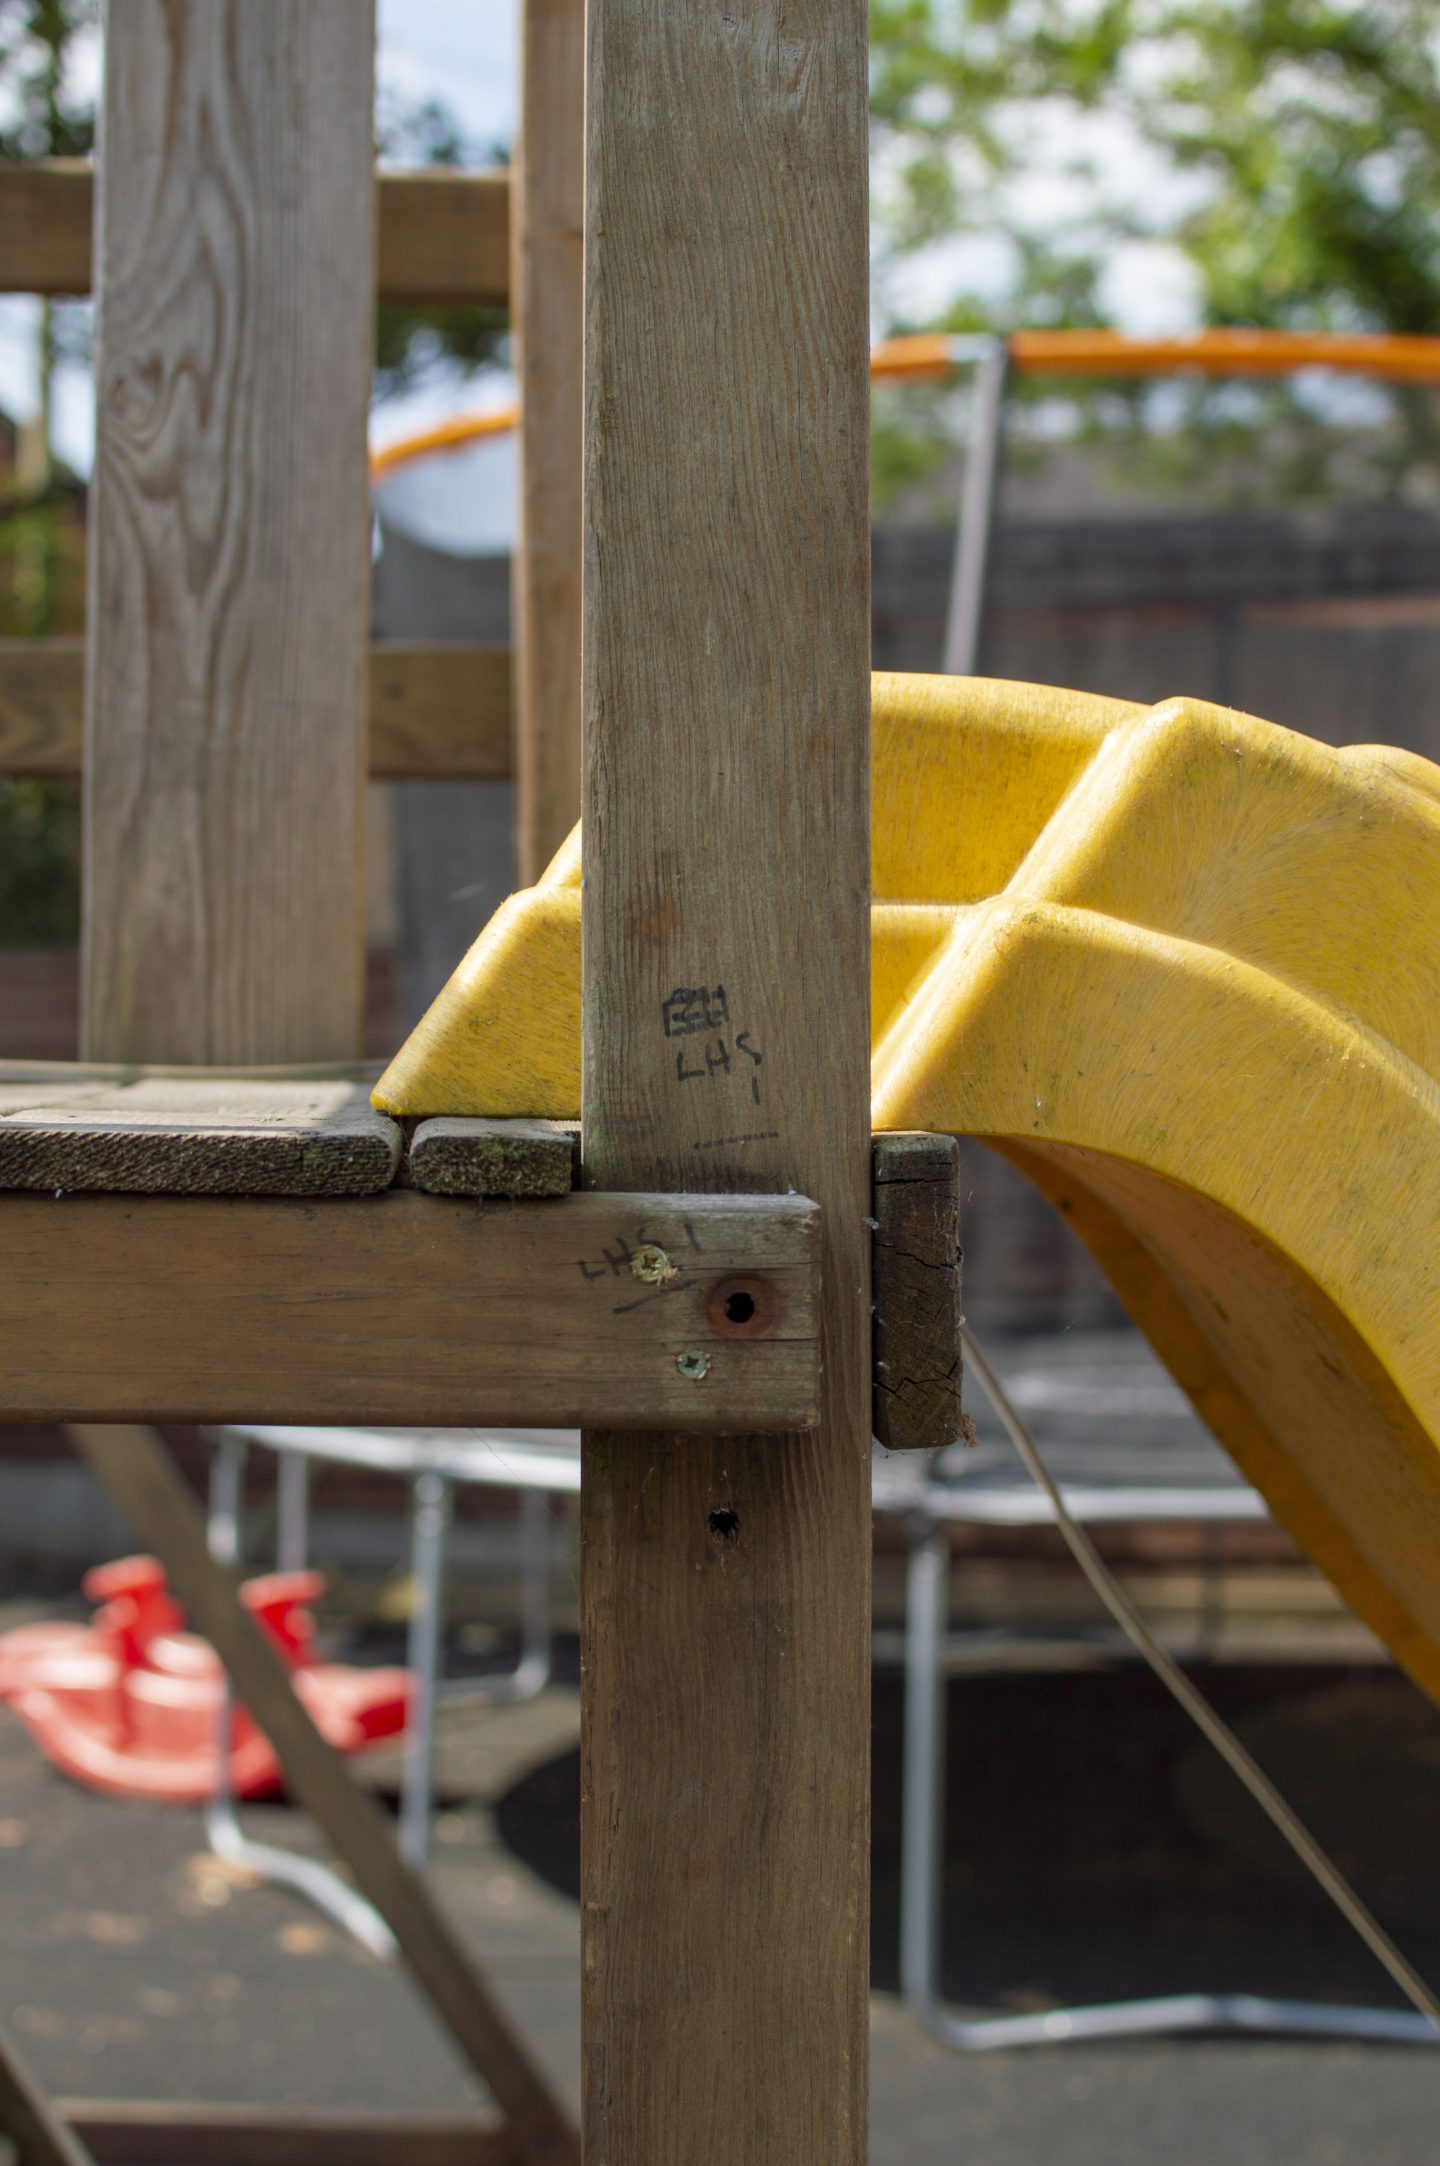
It took us a little while to get it back in one piece after the big move (you’ll notice each piece labelled “LH7” or “RH3” denoting how we should rebuild it. Think of it as an over-ambitious game of Lego) We have managed to give the slide a good scrubbing, and have bought some new swings and a little trapeze monkey bar for practising some killer circus skills, but now that it’s finally been put back together. the first step to our playground mission is to treat the wood to protect it for another generation.
The Paint Job
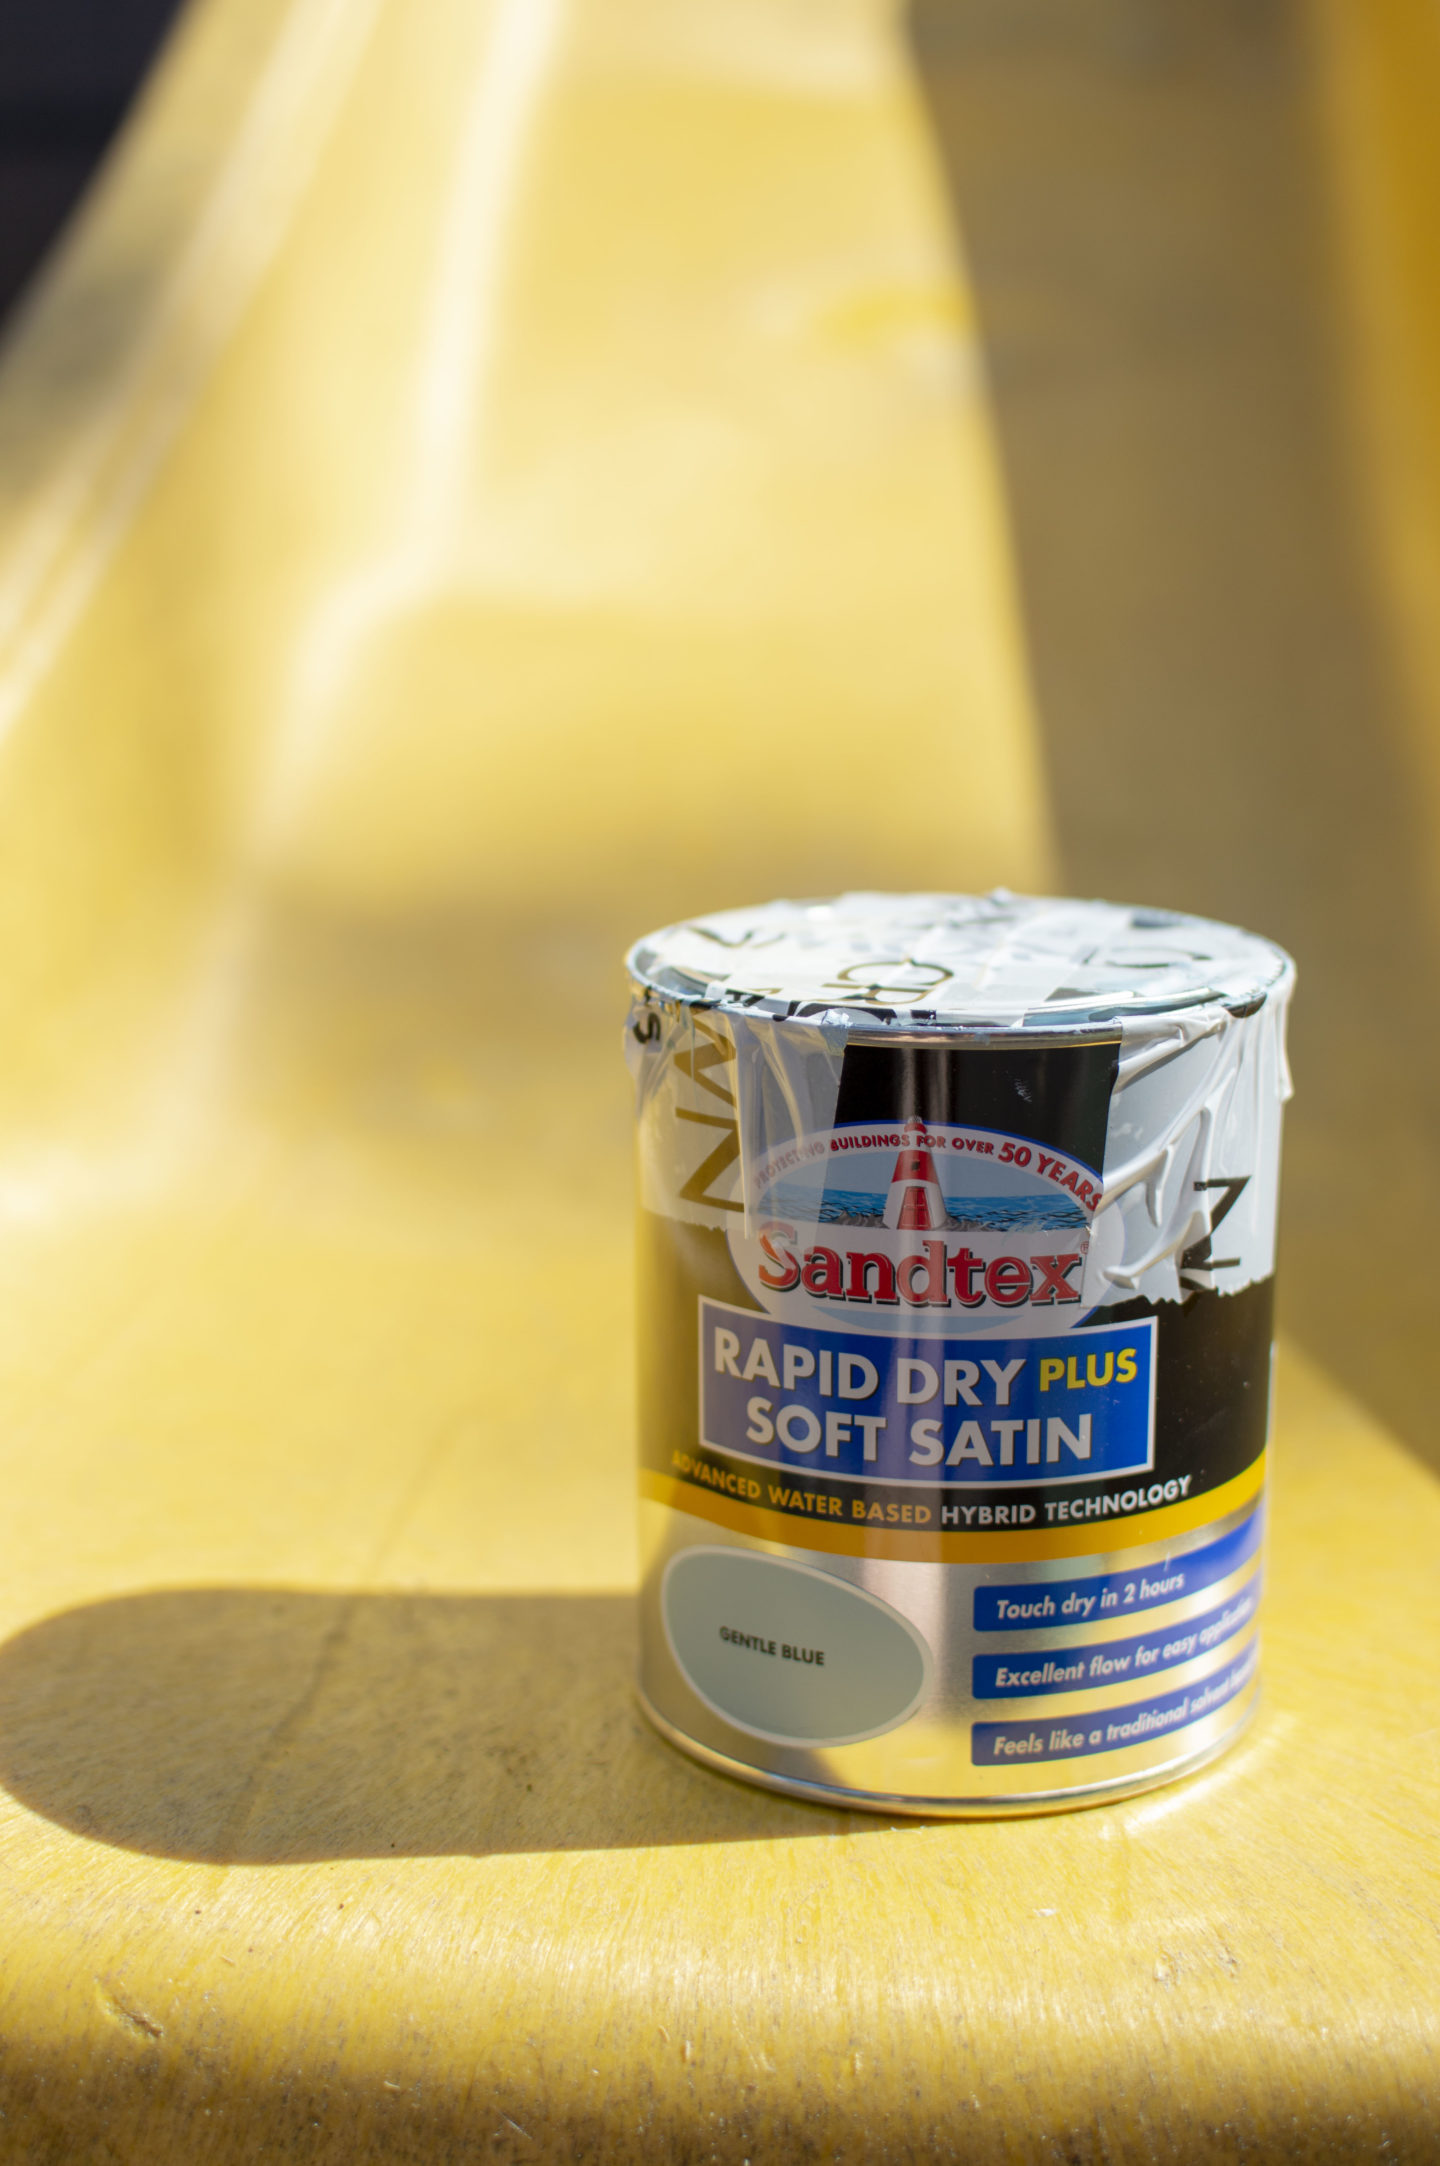
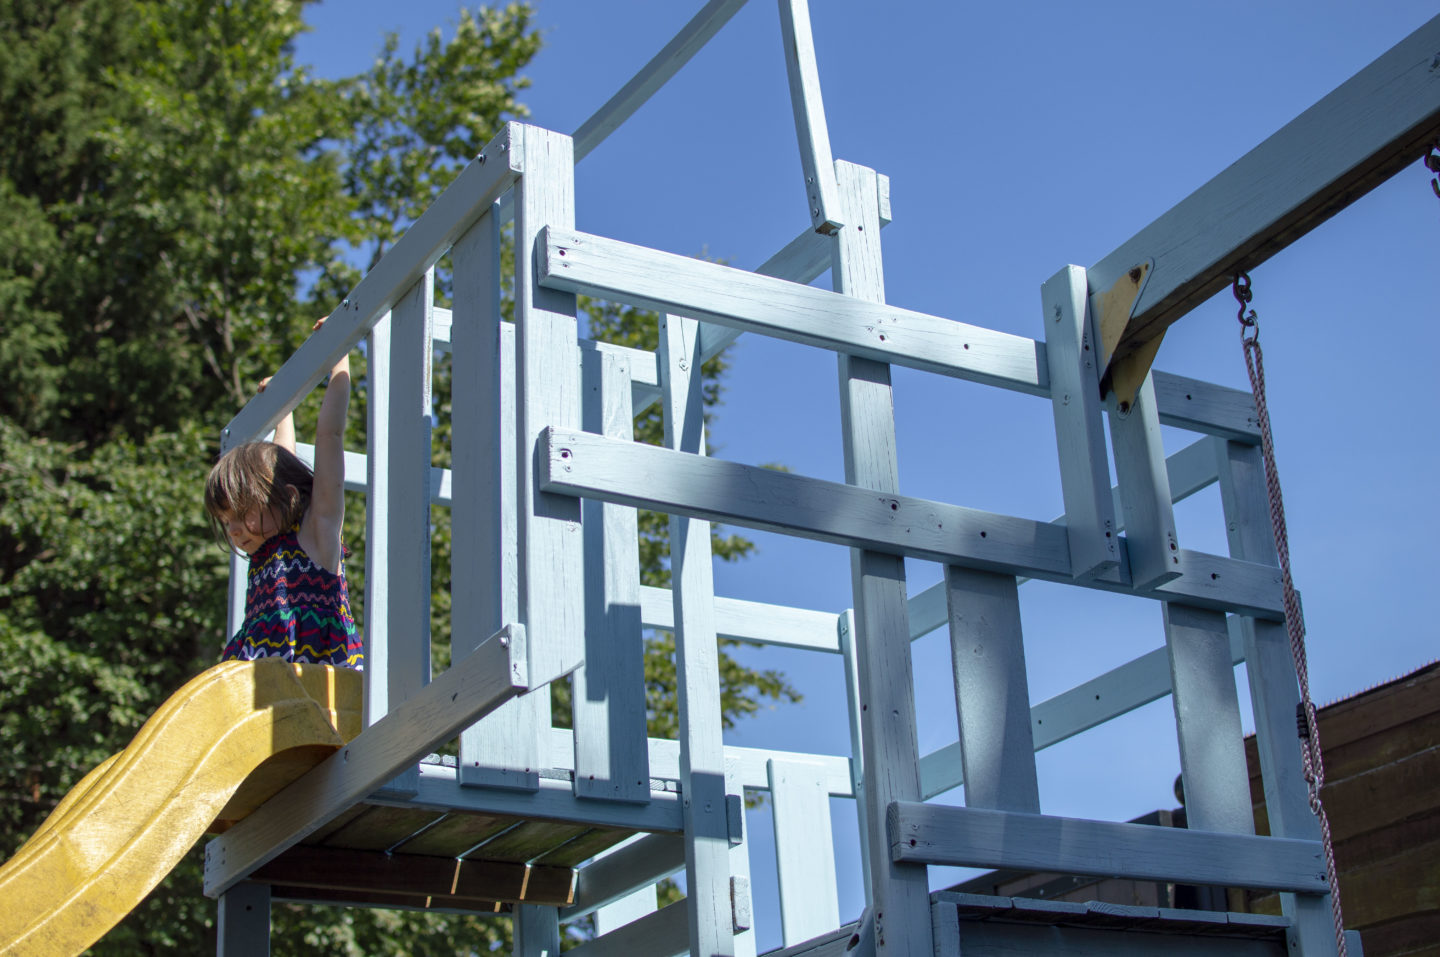
By means of pure brilliant timing, we were offered some outdoor paint from Sandtex and this was the perfect project for it. We used Rapid Dry Soft Satin paint in Gentle Blue.
Sandtex actually had plenty of bold colours, far more “me” (if you’ve seen my lounge, you’ll know what I mean), but I felt a more natural shade would work best here, not just to blend in better with the great outdoors, but because we all know just how IN YO FACE the colouring of kids toys are anyway so I felt a softer colour was better suited here.

Tips For Painting Children’s Outdoor Furniture
Whether you’re painting a little wendy house, or a toy box or a full blown climbing frame, it’s important to pick something durable for a family garden. Here are my top tips:
- Pick a paint specific to the outdoors and to the surface you are painting
- A jet wash is always a good idea, if just to wash off all the dirt and spiderwebs to get as good a surface to work with
- …But wait for wood to be completely dry before painting
- Try not to paint if the temperature is lightly to drop overnight – this can stop paint from curing properly
- Shake tins thoroughly before opening! This is painting 101 but even I forgot to do it on our first tin, and it glooped out all wrong
- If your wood is particularly old or damaged (like this reclaimed piece) consider a thinner layer to begin. It’s normal for older wood to be “thirsty” and absorb more paint, especially if it’s no longer treated, like newer wood typically is
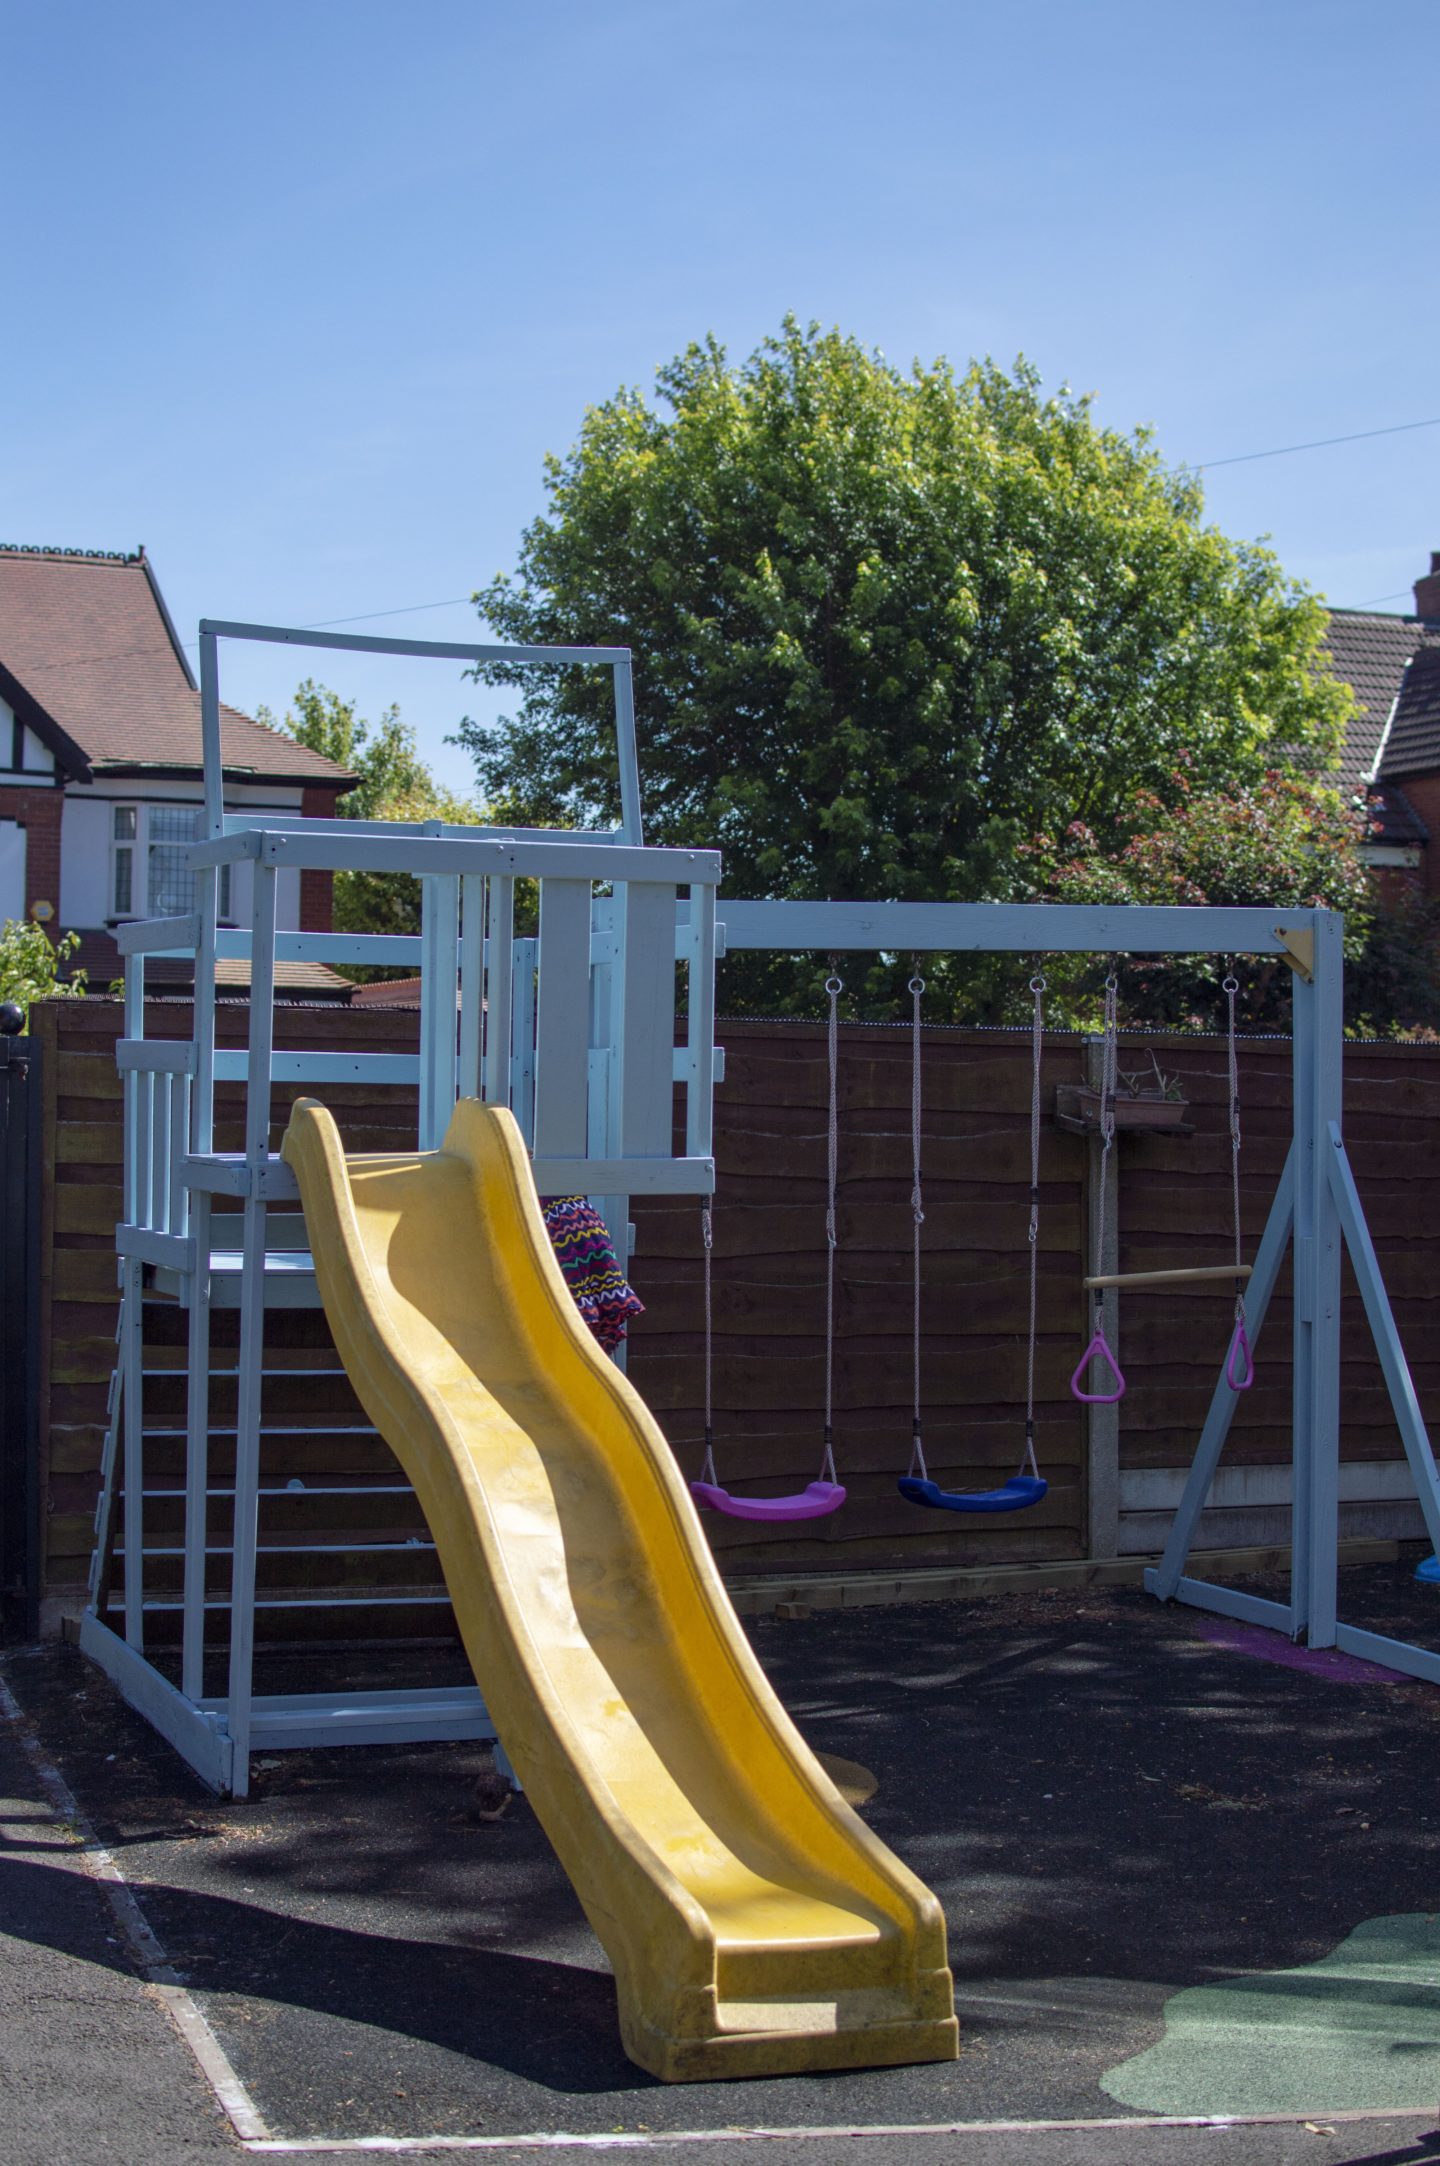
We have used Sandtex before and will certainly use it again. Most of the structure (and woah, there were a lot of pieces) only needed one coat, but others needed as much as 3, so how much paint you’ll need will certainly depend on the quality, age, and type of wood you’re working with.
My favourite aspect of the paint is that it finishes with an almost plastic-feel to the wood. Not in a cheap inauthentic sense, but moreso when you compare the likes of decking to composite decking. There is a smoothness to the paint which is so much more kid-friendly, and let’s face it, little knees and climbing hands are going to be all over this so it’s a great selling point.
The Playground To-Do List
So that’s one step down on the playground and a quick introduction to one of the most commonly questioned parts of our new house: “Why on Earth do you have a playground?!”
But we’re far off being finished! Here are the next bits on our list:
- For the love of God, clear out some toys!
- Source a suitable outdoor storage for the scooters/bikes
- Install a ladder for the trampoline
- Create a mini garden area for Luna to take ownership of
- Create a mural on the fence
I hope you love it as much as we do, even if it is still a little rough around the edges. Thank you so much to Sandtex who kindly gifted the paint for us to complete this necessary task. Now, who’s up for a playdate?
PIN FOR LATER
You may also enjoy: Mushroom Mosaics

