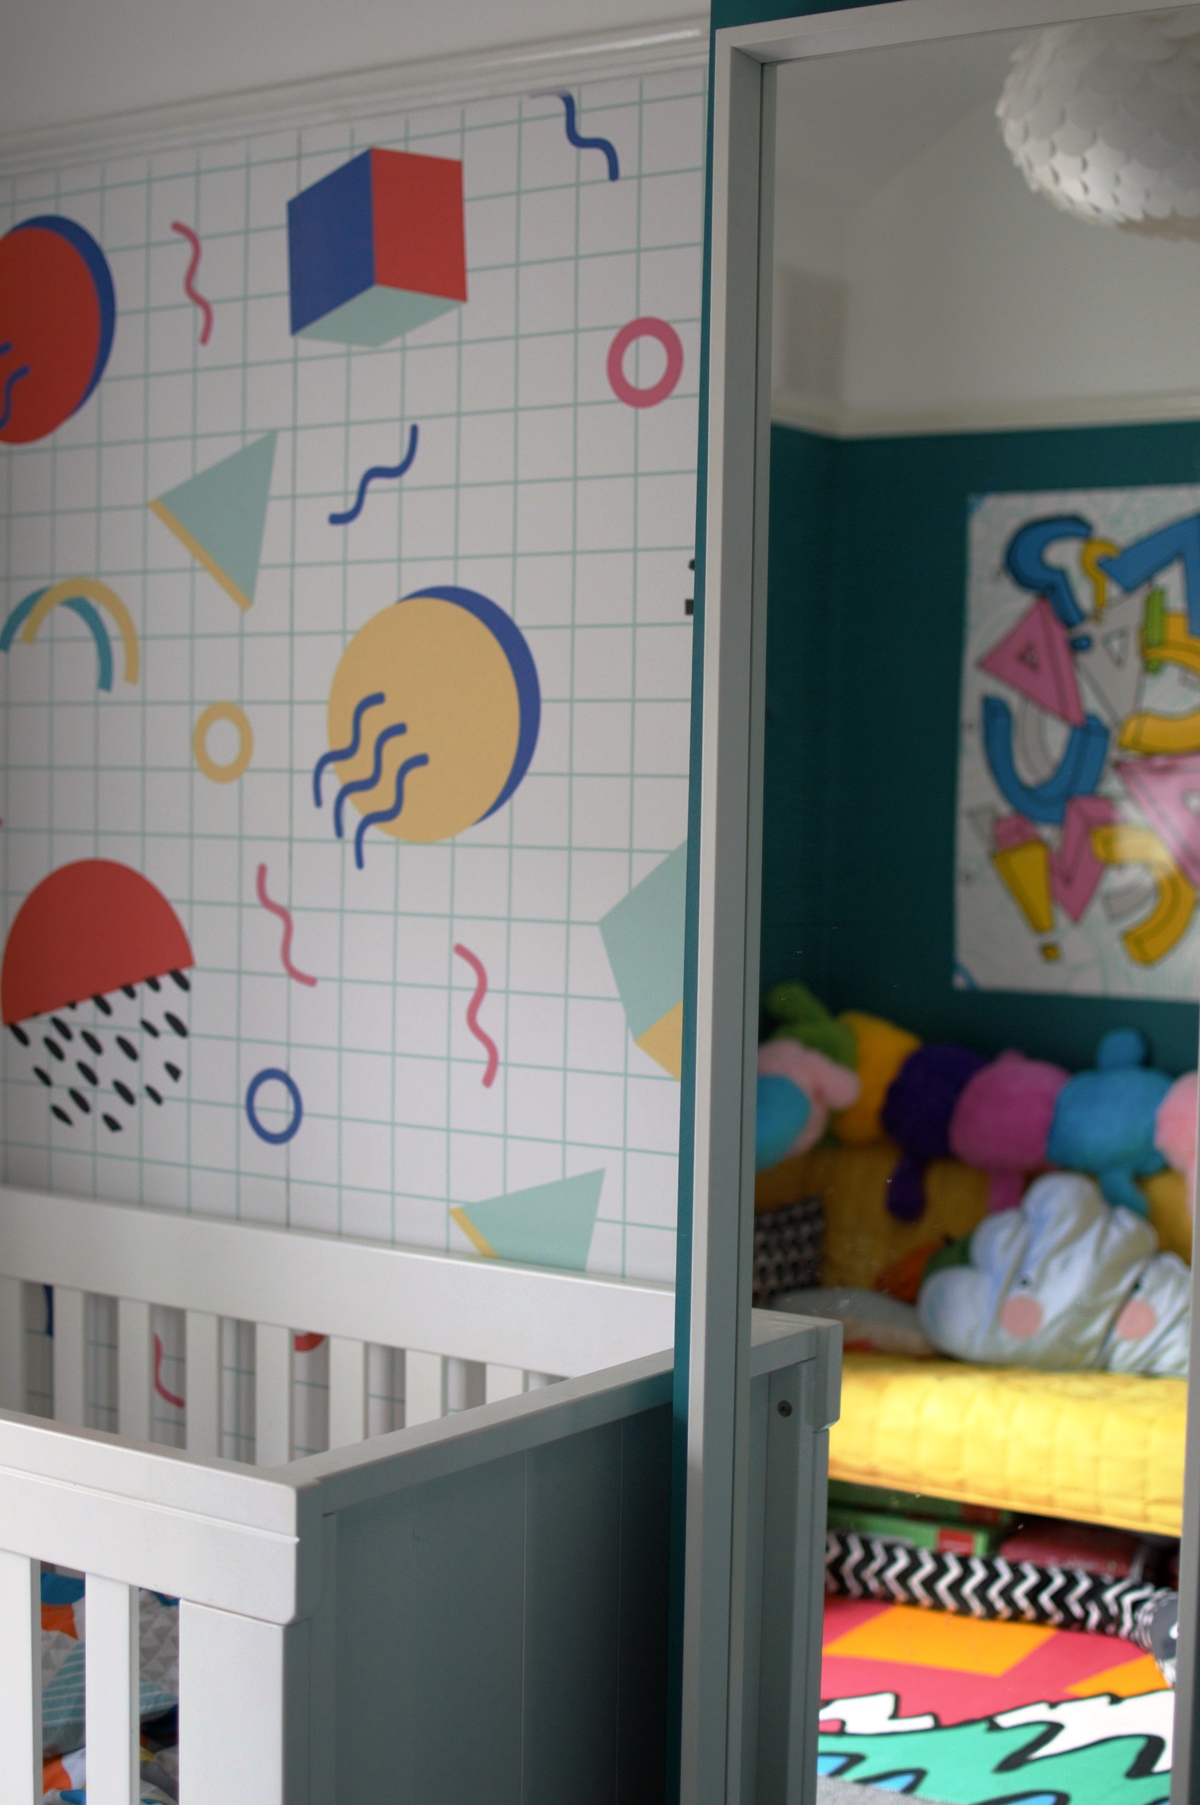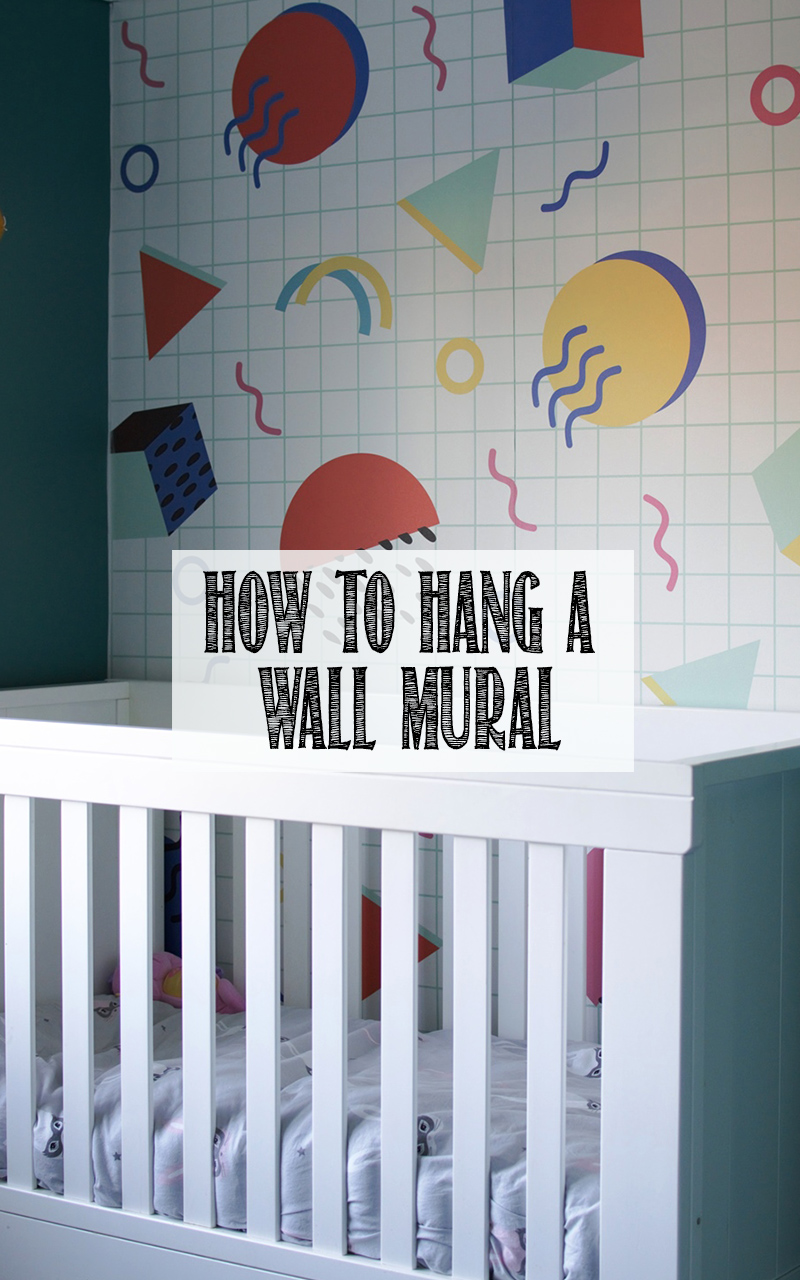
My little girl is no longer quite so little, and as a result of her outgrowing the box-room nursery, in late 2016 we moved her into a bigger bedroom. What we’re left with, after lots of clearing out, is a previous guest bedroom/office which is now full of random piles of toys with some nursery furniture. Sounds to me like it’s time to decorate!
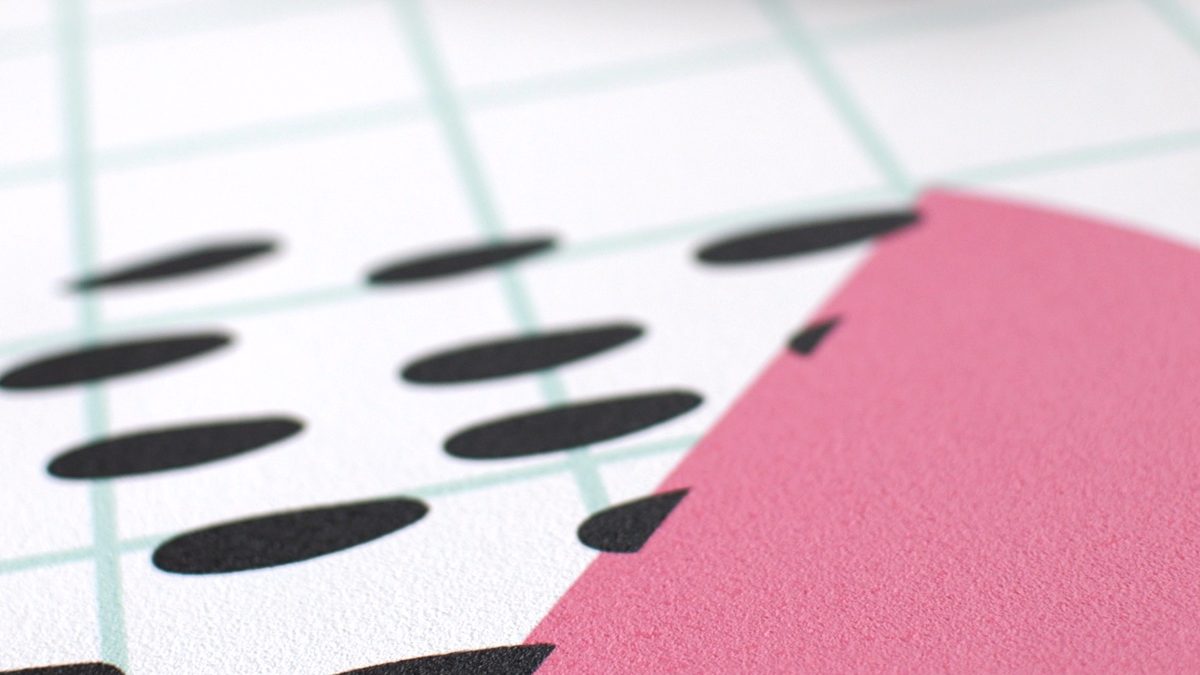
A full blog post on her toddler bedroom makeover will be coming later this month, but for now I thought I’d share the first change in her new room: a wall mural inspired by the Memphis design movement of the 80s.
DESIGN
As a keen enthusiast of 80s nostalgia (aka lover of high-waisted jeans, big hair, neon-pastels combos and a buttload of synth pop), I’ve been trying to persuade my minimalist hubby to get some 80s vibes in the house for a while – to no avail.
But now is the time!
The fact that the movement was famously labelled as bizarre, misunderstood and a mix between “ a shotgun wedding between Bauhaus and Fisher Price” makes me love it all the more. I know I know, it’s Luna’s room not mine. But until she’s old enough to find her own style, she’d adopting mine. I’ve decided. No returns. No backsies.
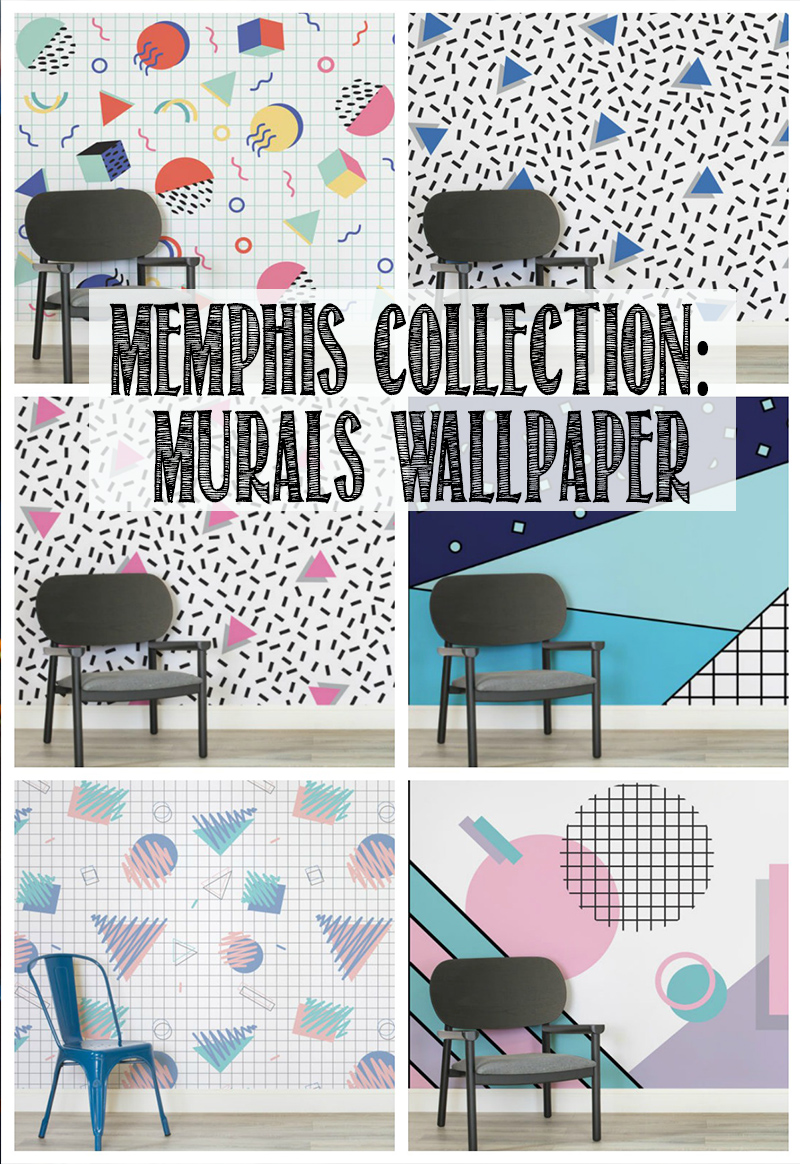
So I’m thrilled to see that Murals Wallpaper have designed a Memphis collection, and were very kind as to let me take one for a spin.
MURALS VS WALLPAPER
So why not just wallpaper or paint a feature wall? Well there are some slight differences between a mural and wallpaper in case you’re not sure. Whilst a wallpaper can be used as a feature wall – as we’re planning here – a mural is typically designed for a very particular space.
In our situation, Luna’s cot fits nicely into an alcove and we wanted to add a pattern on the behind wall. With this in mind, we only need about 2 “drops” of a pattern, and it seemed wasteful to splurge on an entire roll of wallpaper when we could get a mural designed to fit the wall exactly. For this reason, murals are popular for more awkwardly shaped spaces where you might get plenty of waste through traditional wallpaper – such as hallways and around staircases.
INSTALLATION
Let me just start by saying that I found this far harder than I feel it should have been. If you’re reading this and thinking “pffft what an amateur” then yeah, you’re right – I’m representing those of us who are just a little uncoordinated with this kind of stuff. Let’s pretend I made some mistakes on purpose so that my dear readers could learn from them okay? Okay.
To get a real feel for the installation, take a watch of the video below to see how we tackled it. You’ll probably see me read the instructions a fair few times with a discombobulated face!
- Preparation
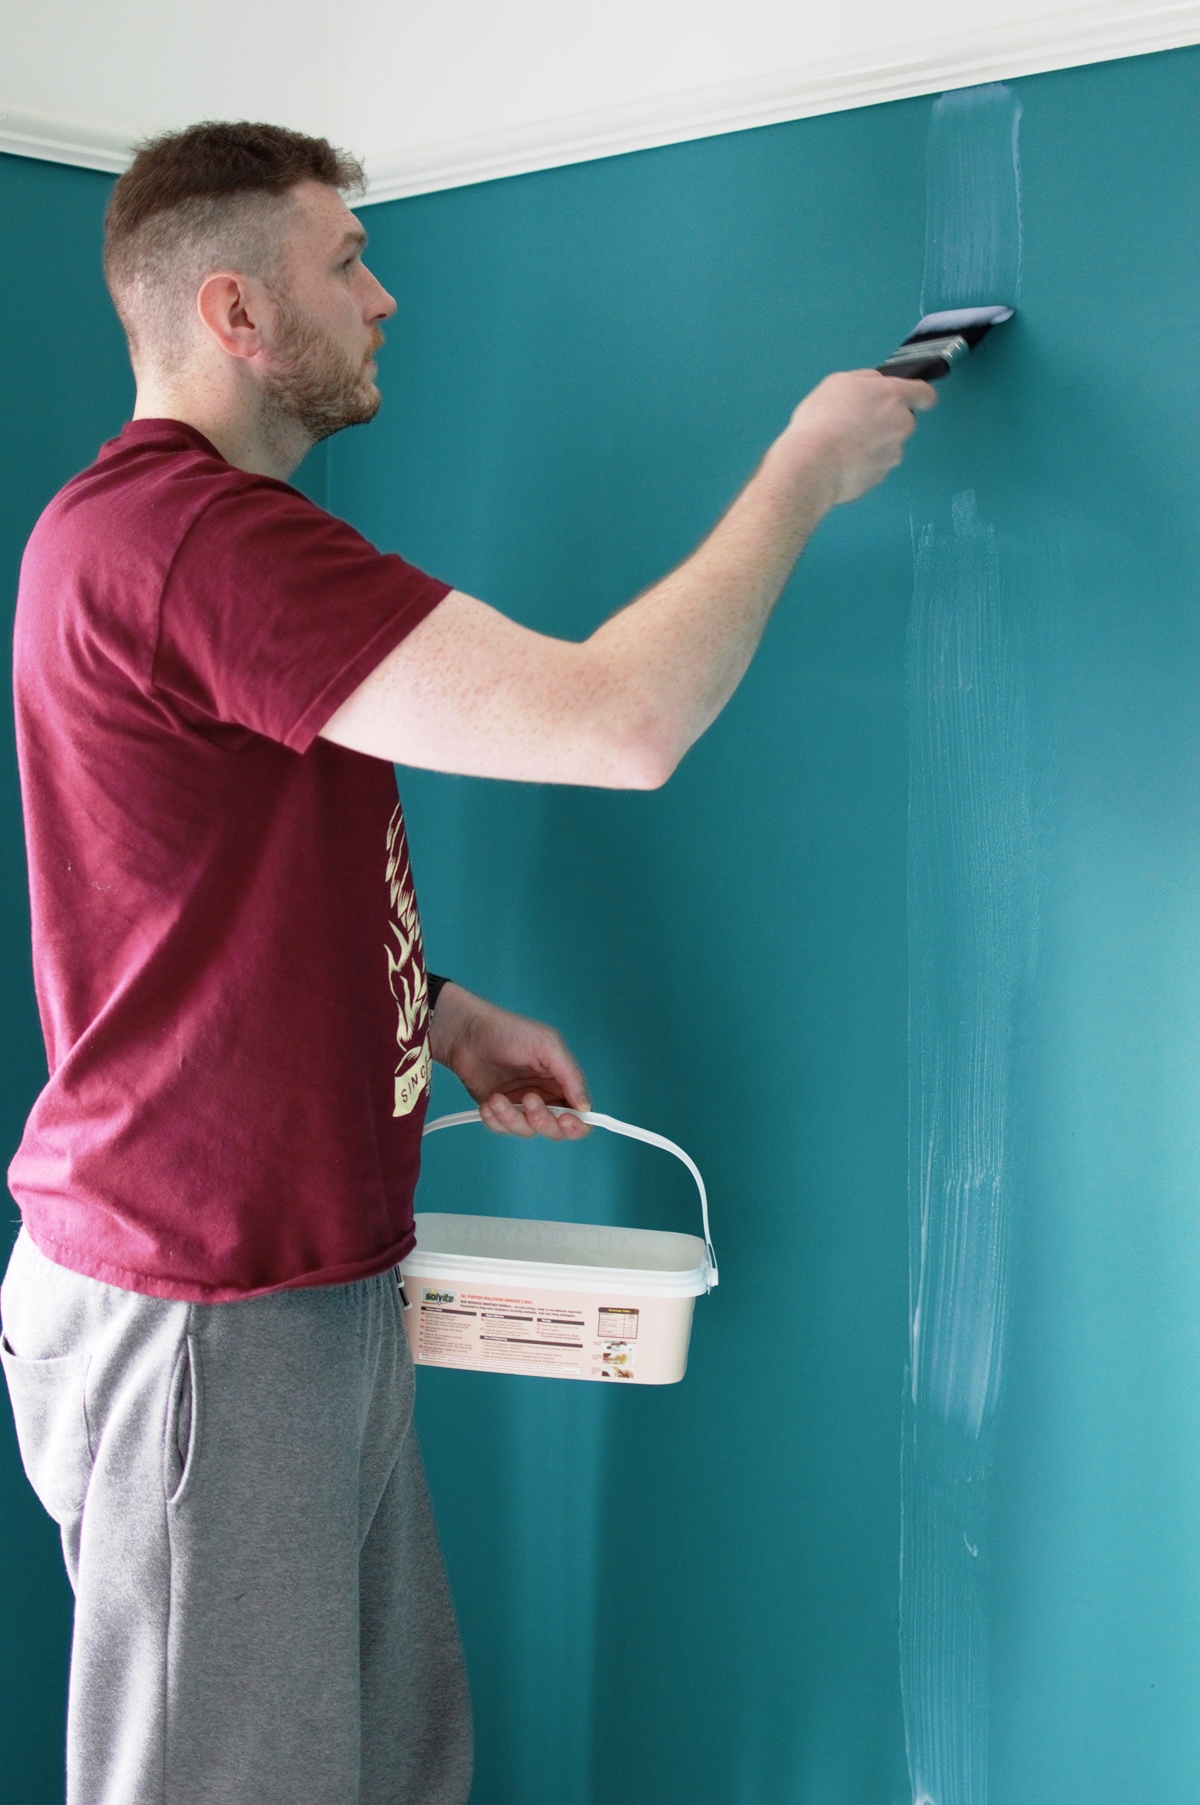
Walls must be appropriately prepped so that the mural has the best chance of adhering to the surface. Read your instructions for help here. In our case, we’re keeping the colour on the walls (Dulux’s Proud Peacock) the same. As it’s an emulsion, the recommendation is to add a coating of PVA to the wall and leave to set. This is to get rid of that silky smooth finish of emulsion, leaving a roughness that a mural can grab onto better. - Cut the drops
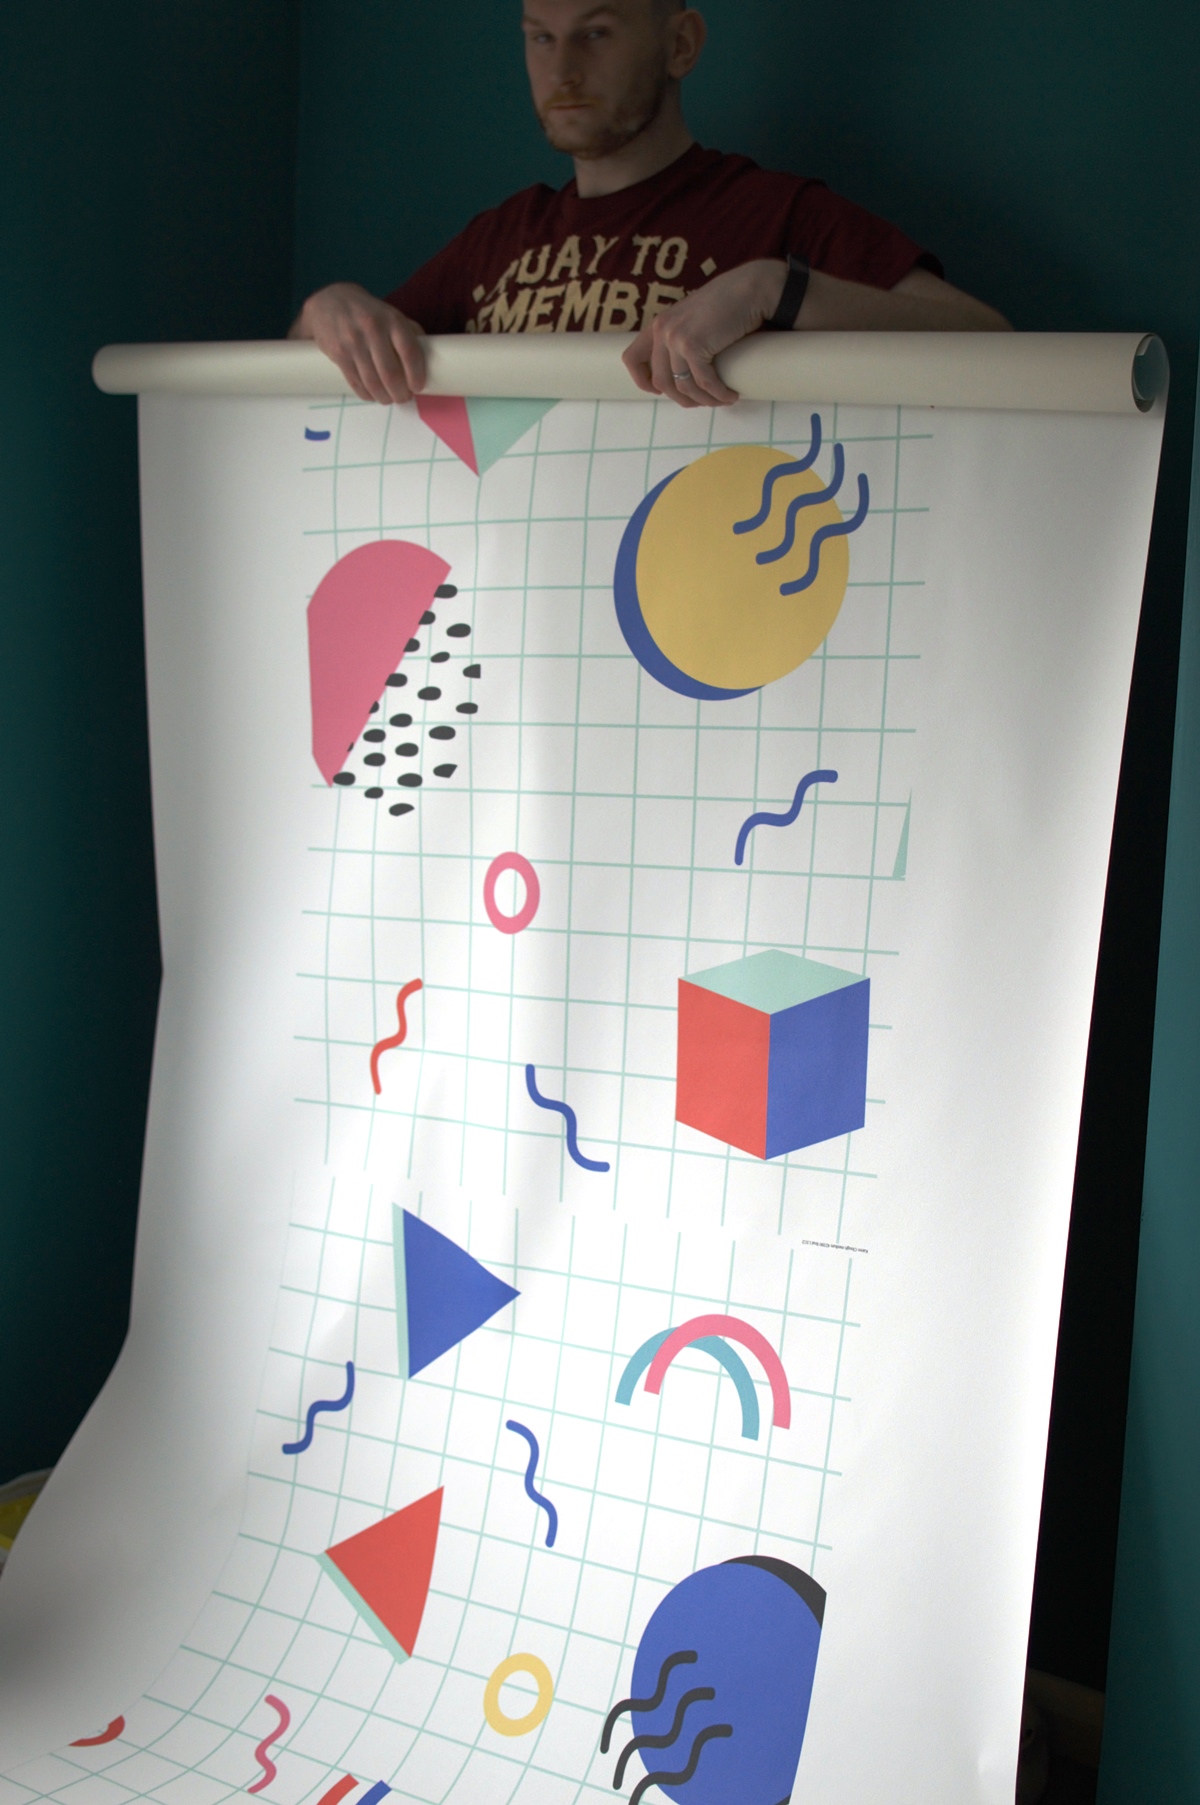
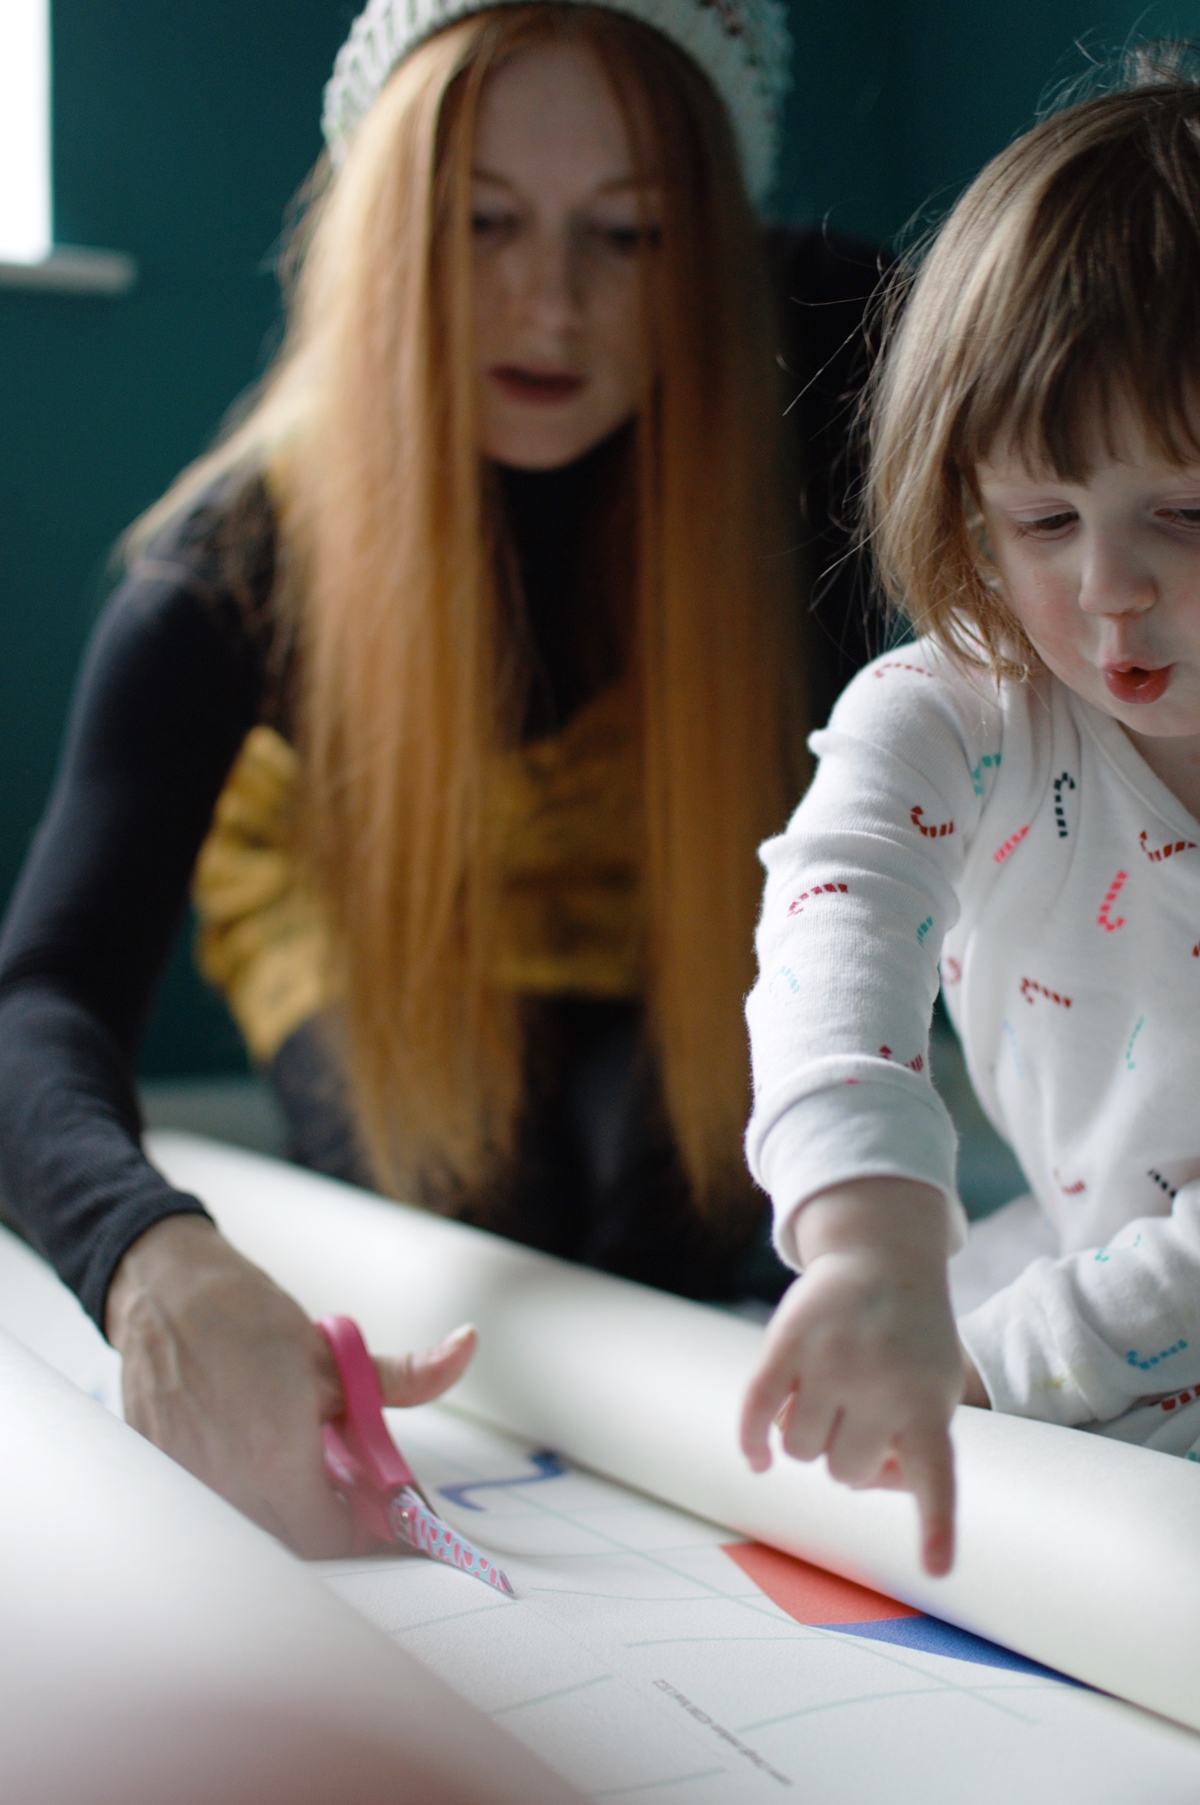
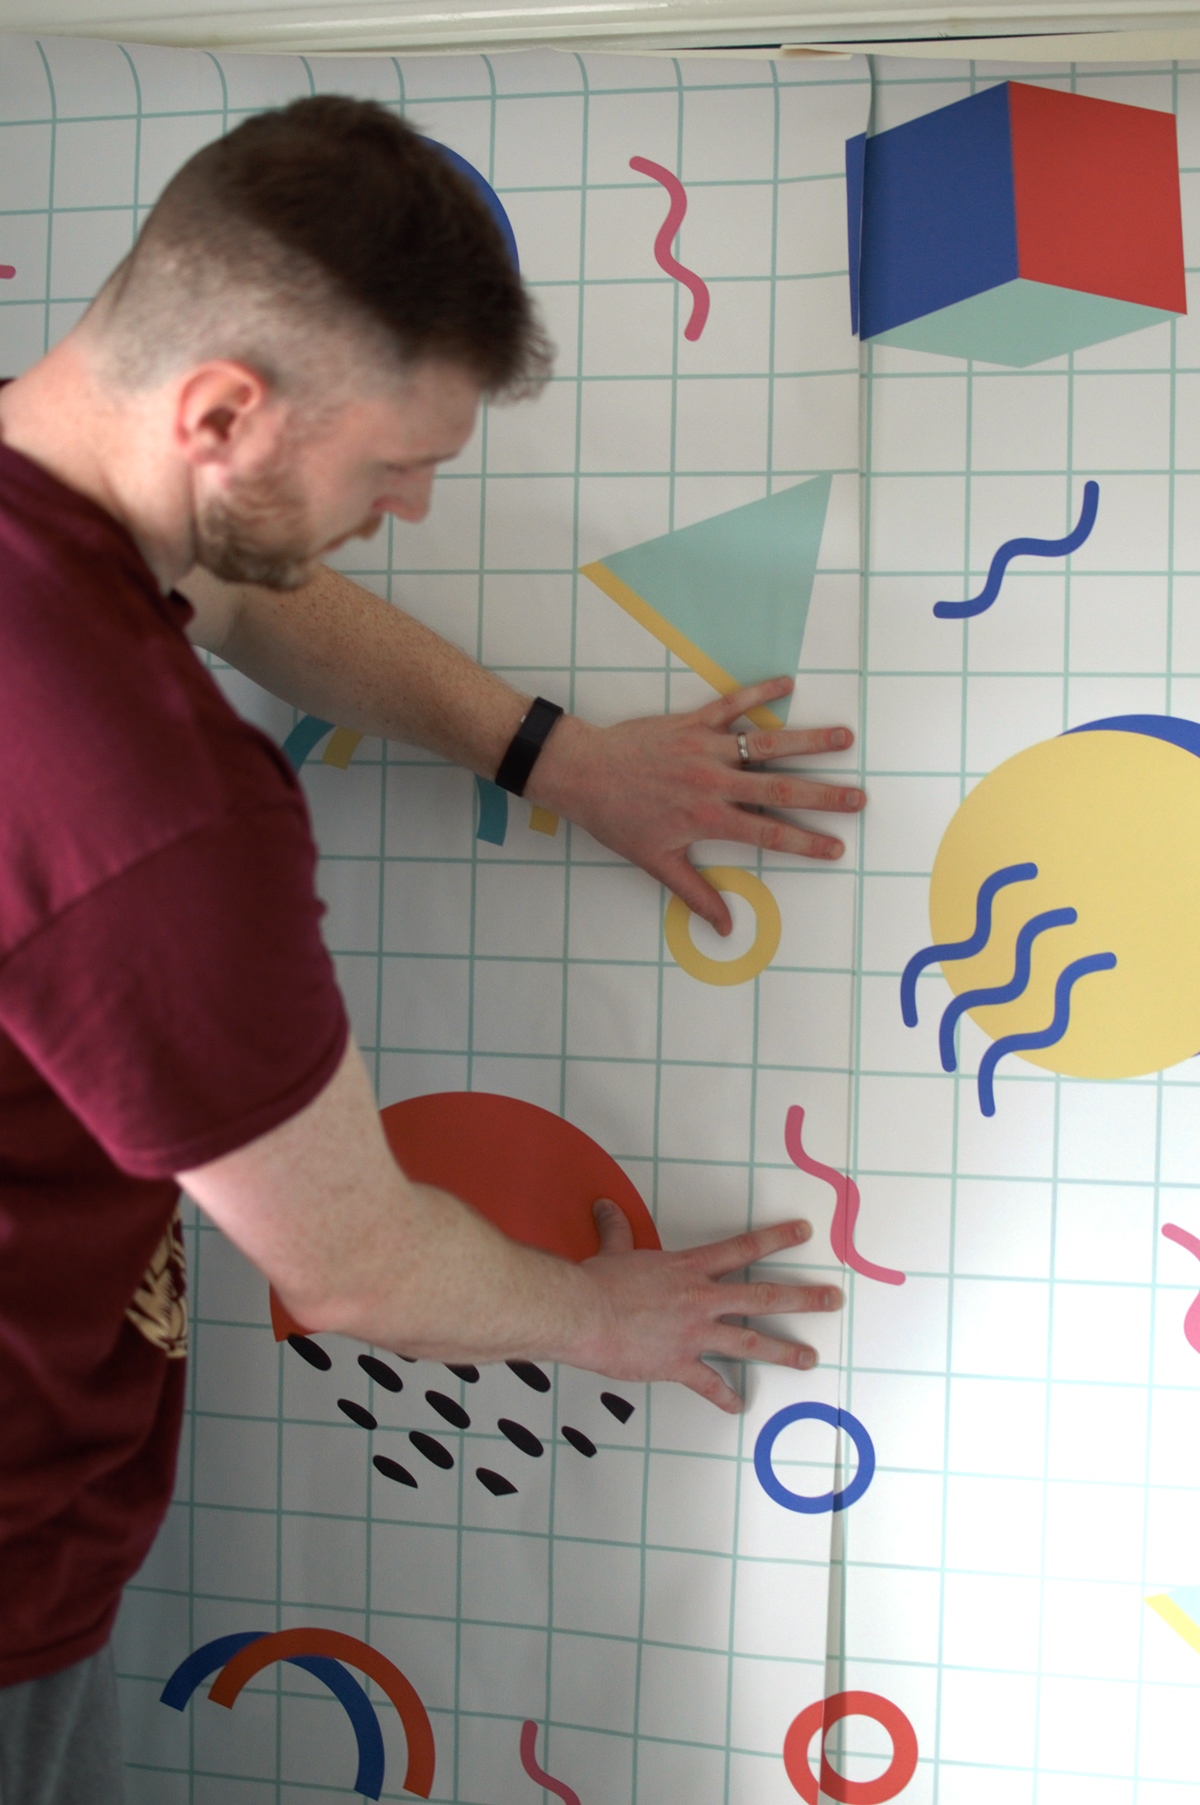
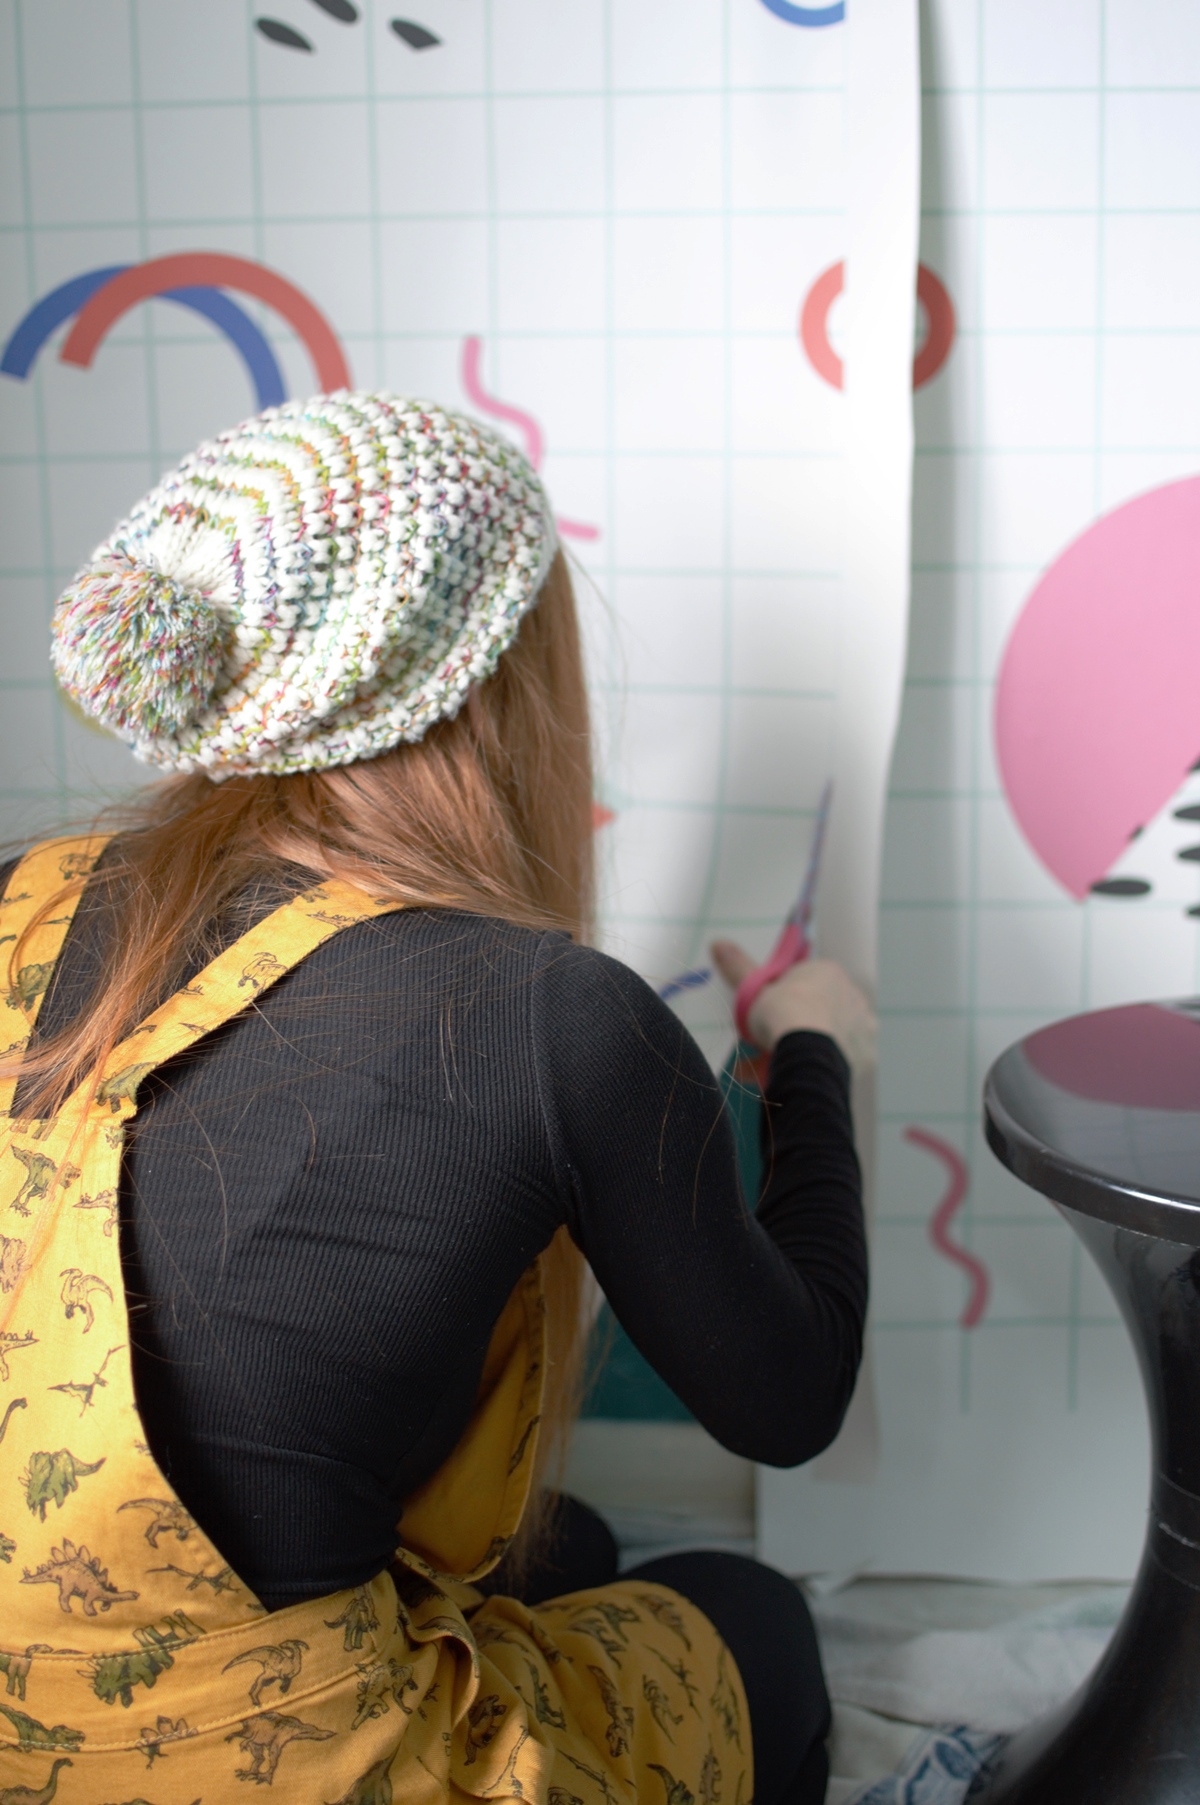
In this case, the pattern comes as one long roll. As demonstrated by my assistant and husband below, you can see that there is a clear gap in this pattern, which needs to be cut in order to divide the paper into the “drops”. My little girl was very helpful in guiding the cutting (“this way mummy”) and insisted that we use watermelon scissors for the task. This is of course optional.
- Soak, Paste and Apply
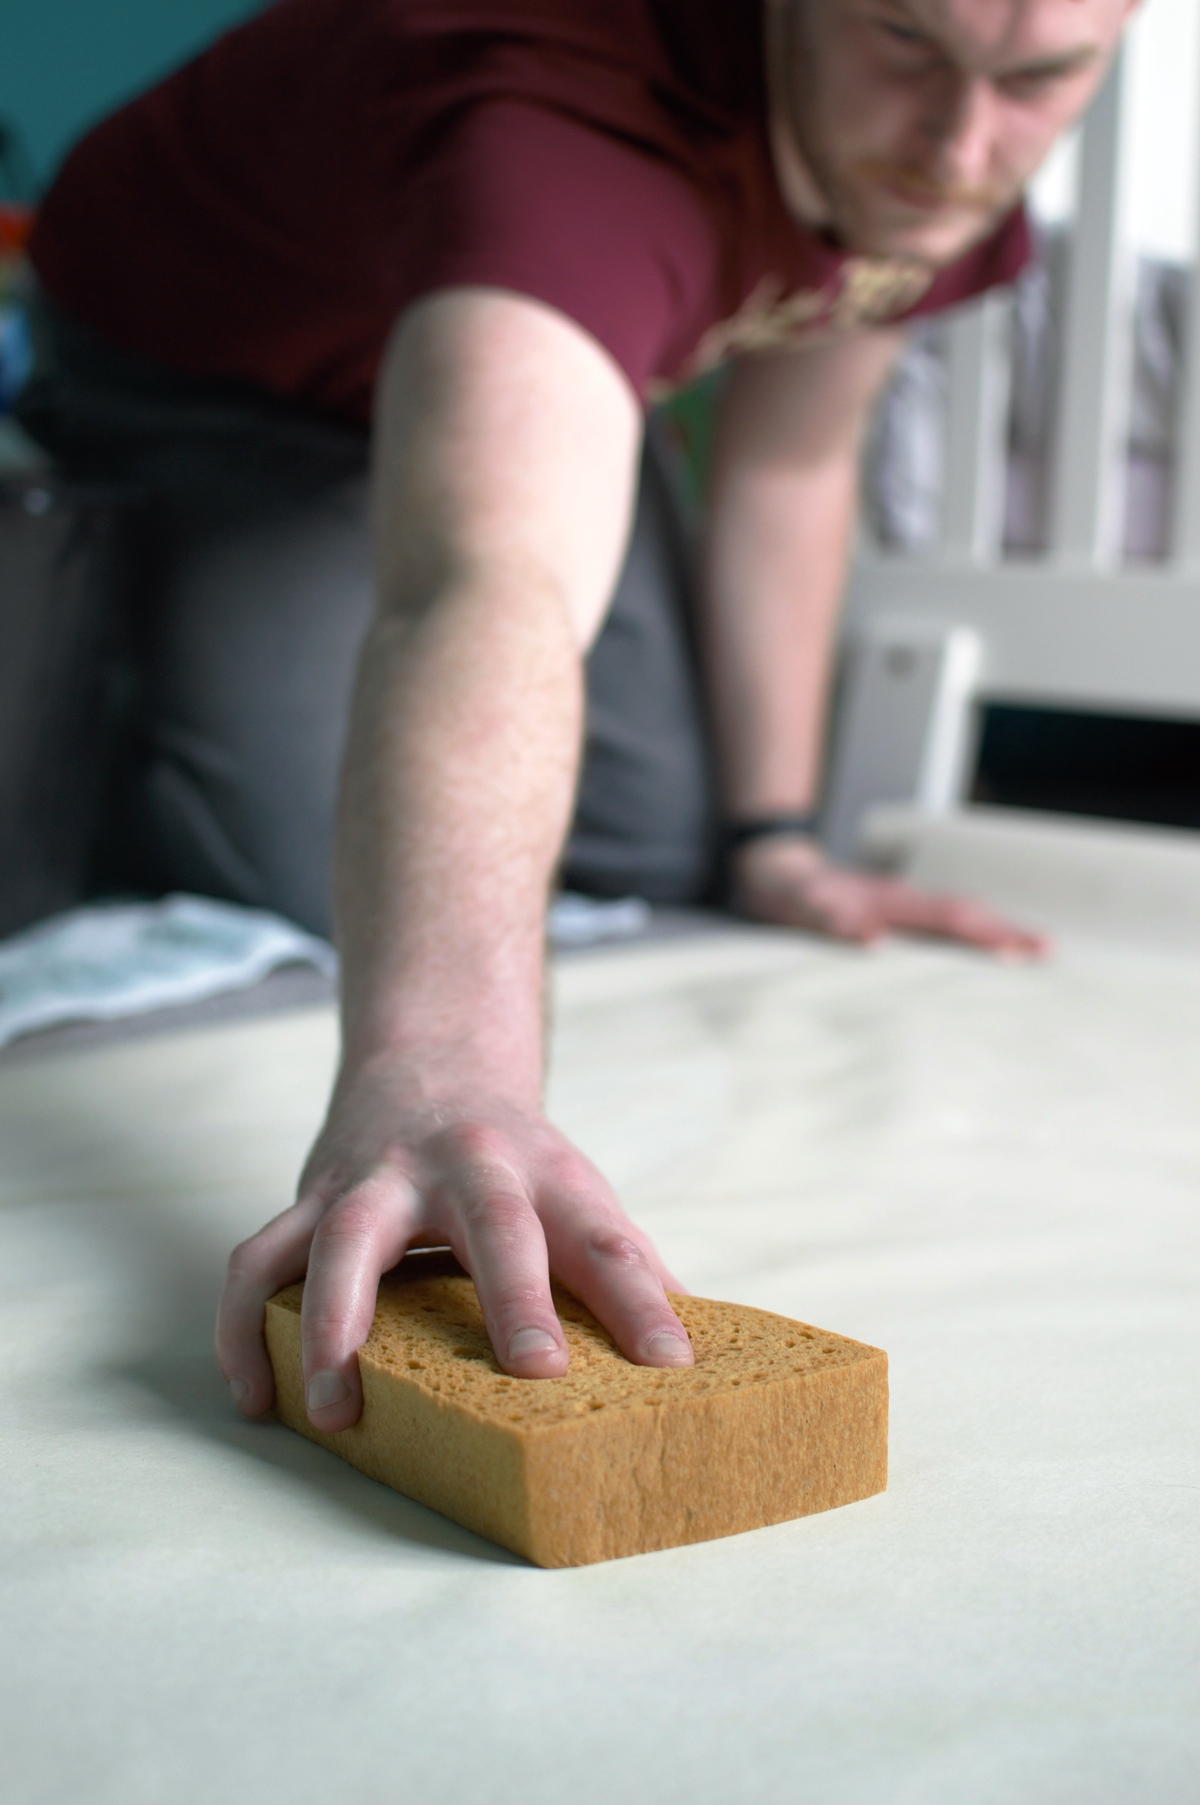
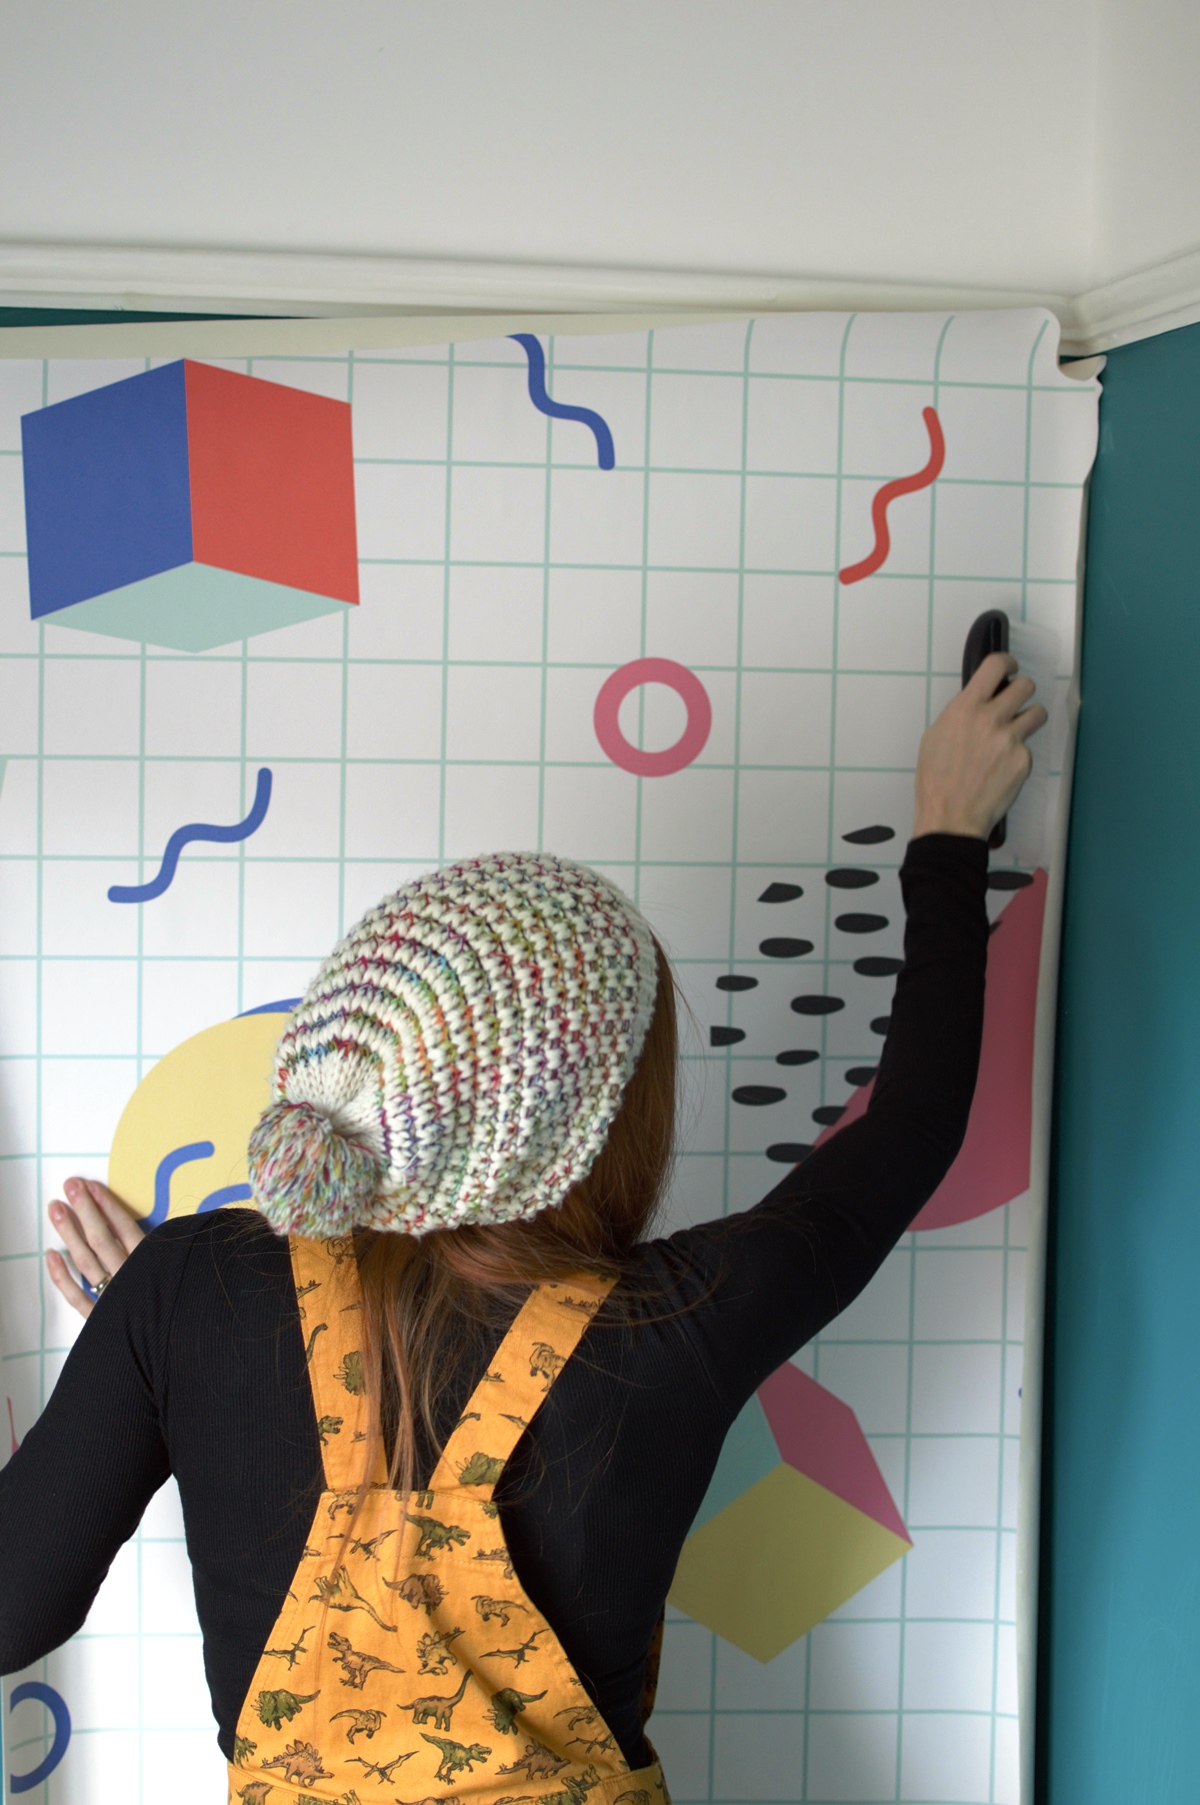
The paper requires a little dampening and leaving for around 5-10 minutes. While you’re waiting, slap on that wallpaper paste to the right area. Line your pattern up against your plumb line, let the paper hang, and then start to smooth out to reduce creases or bubbles. I understand this is a bigger task that I’ve made it sound. Watch the video to see how we did this and where we went horribly wrong!
- Trim the edges and admire your work
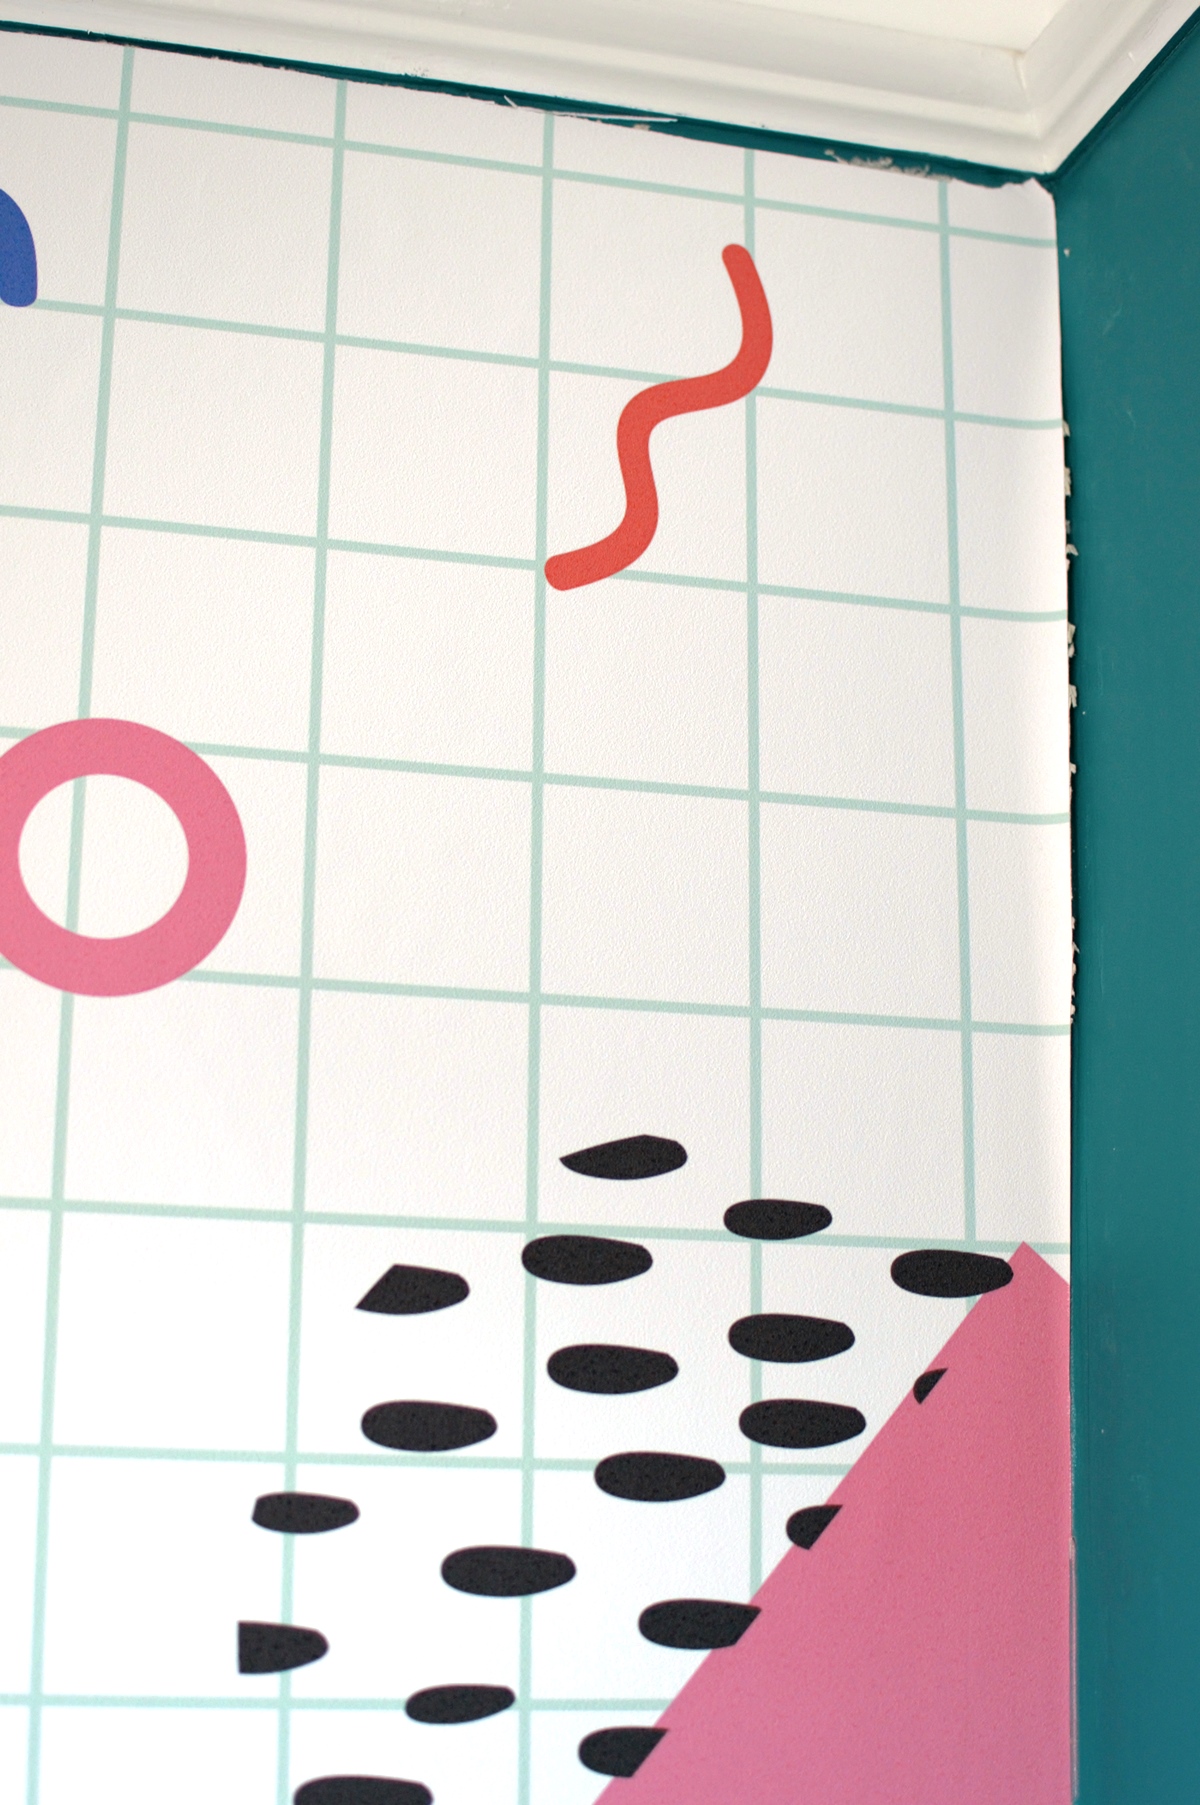
Now, when we trimmed the edges I must say they looked tatty. We used a brand new Stanley blade, used a metal sharp ruler, and still couldn’t get a proper cut due to the sheer weight of the material. In our case, we’ve managed to disguise it by using white filler around the edges and touching up with paint.
- Bonus Step
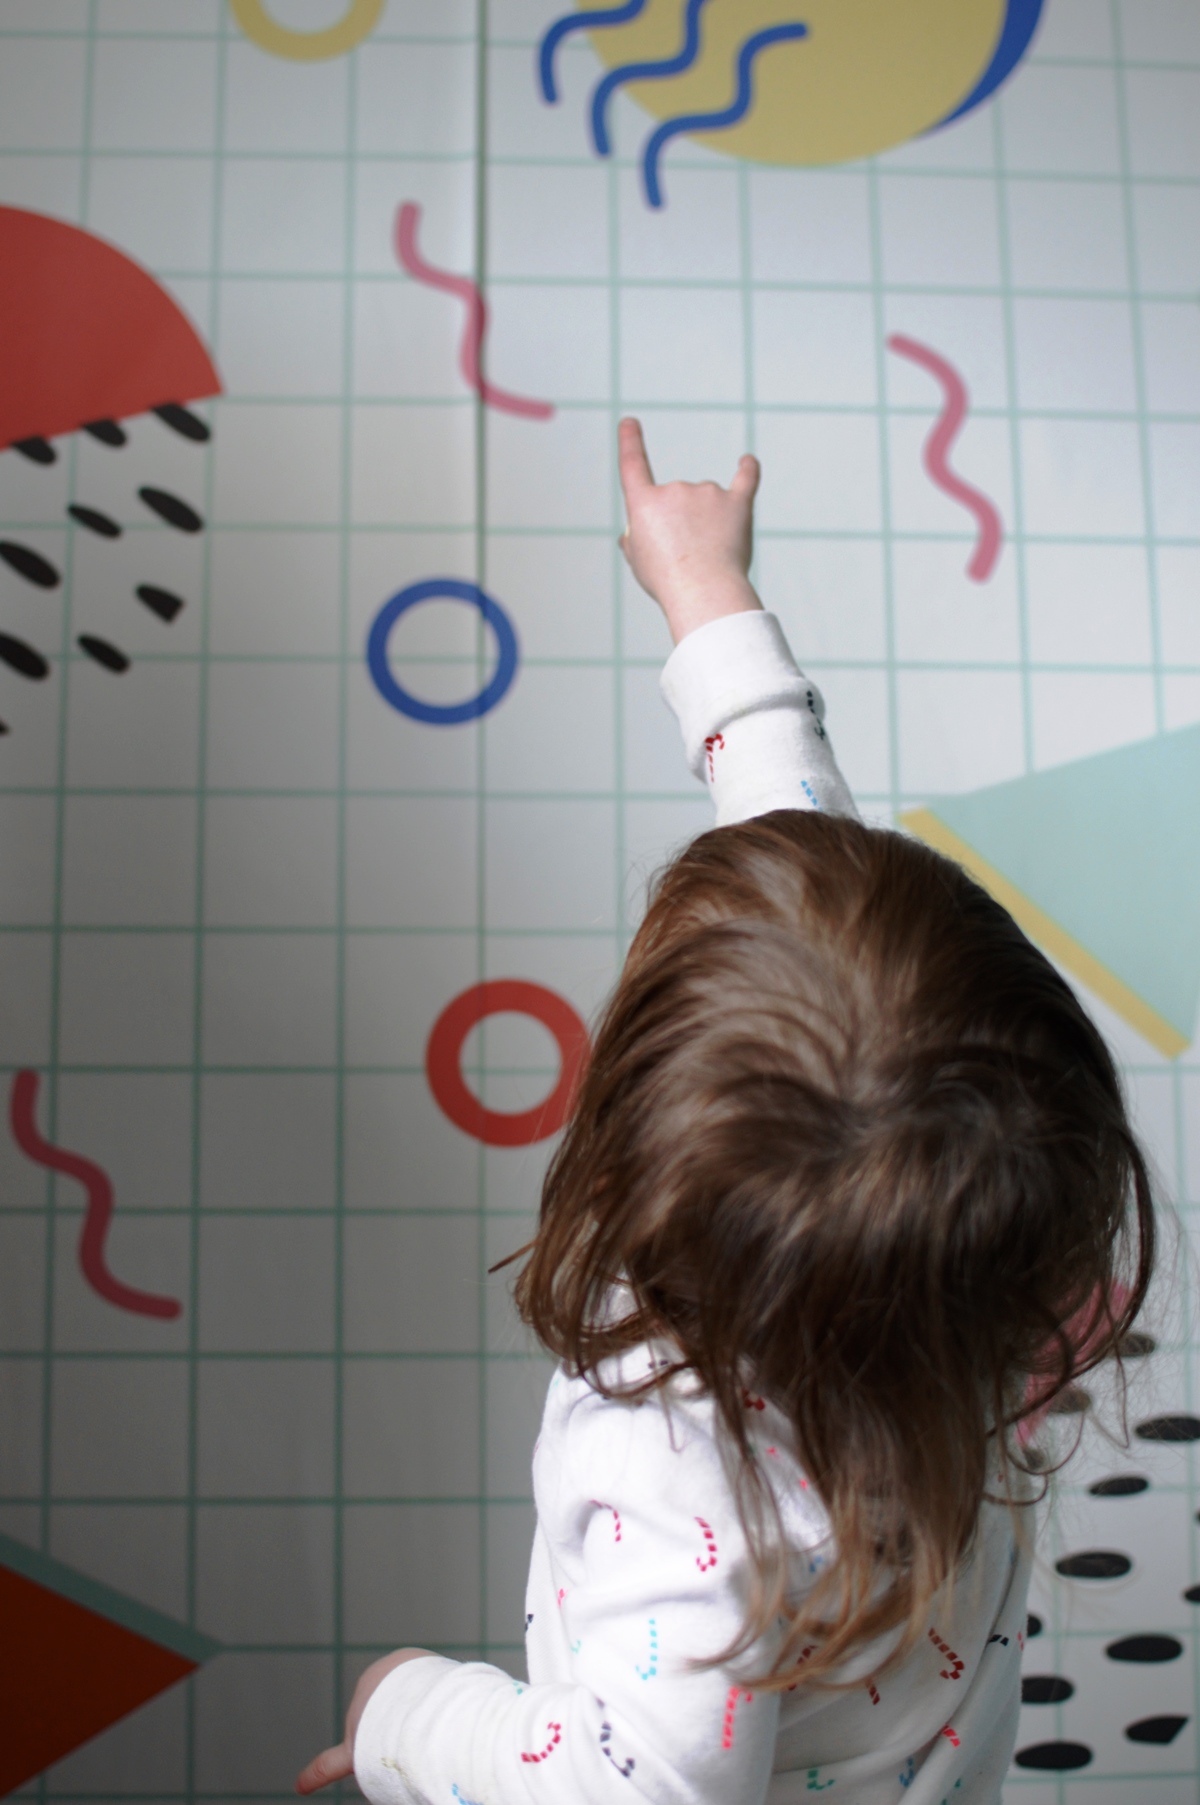
Take a second to enjoy that ‘proud mum’ moment when your toddler rocks the devil’s horns in celebration of her new kickass bedroom. You’re a rockstar, Luna.
COST & VALUE
I would personally consider this a bit of a luxury product, especially if you’re aiming for a large wall. From this particular site, murals start at £25 per square metre and when you consider the additionals you need for preparation such as PVA glue (around £10 from B&Q) and pre-made wallpaper paste (our tub costs just shy of £15) in addition to specialist tools such as a seam roller (£5), it’s not going to break the bank but it certainly does mount up in cost quite quickly.
With this in mind, I’d recommend picking a pattern you’re really going to love for a while so you get your money’s worth.
The quality and design I think great are value, but murals are only as good as their installation so if you’re not sure you can do it, you’ll need to factor in the cost of getting someone else to.
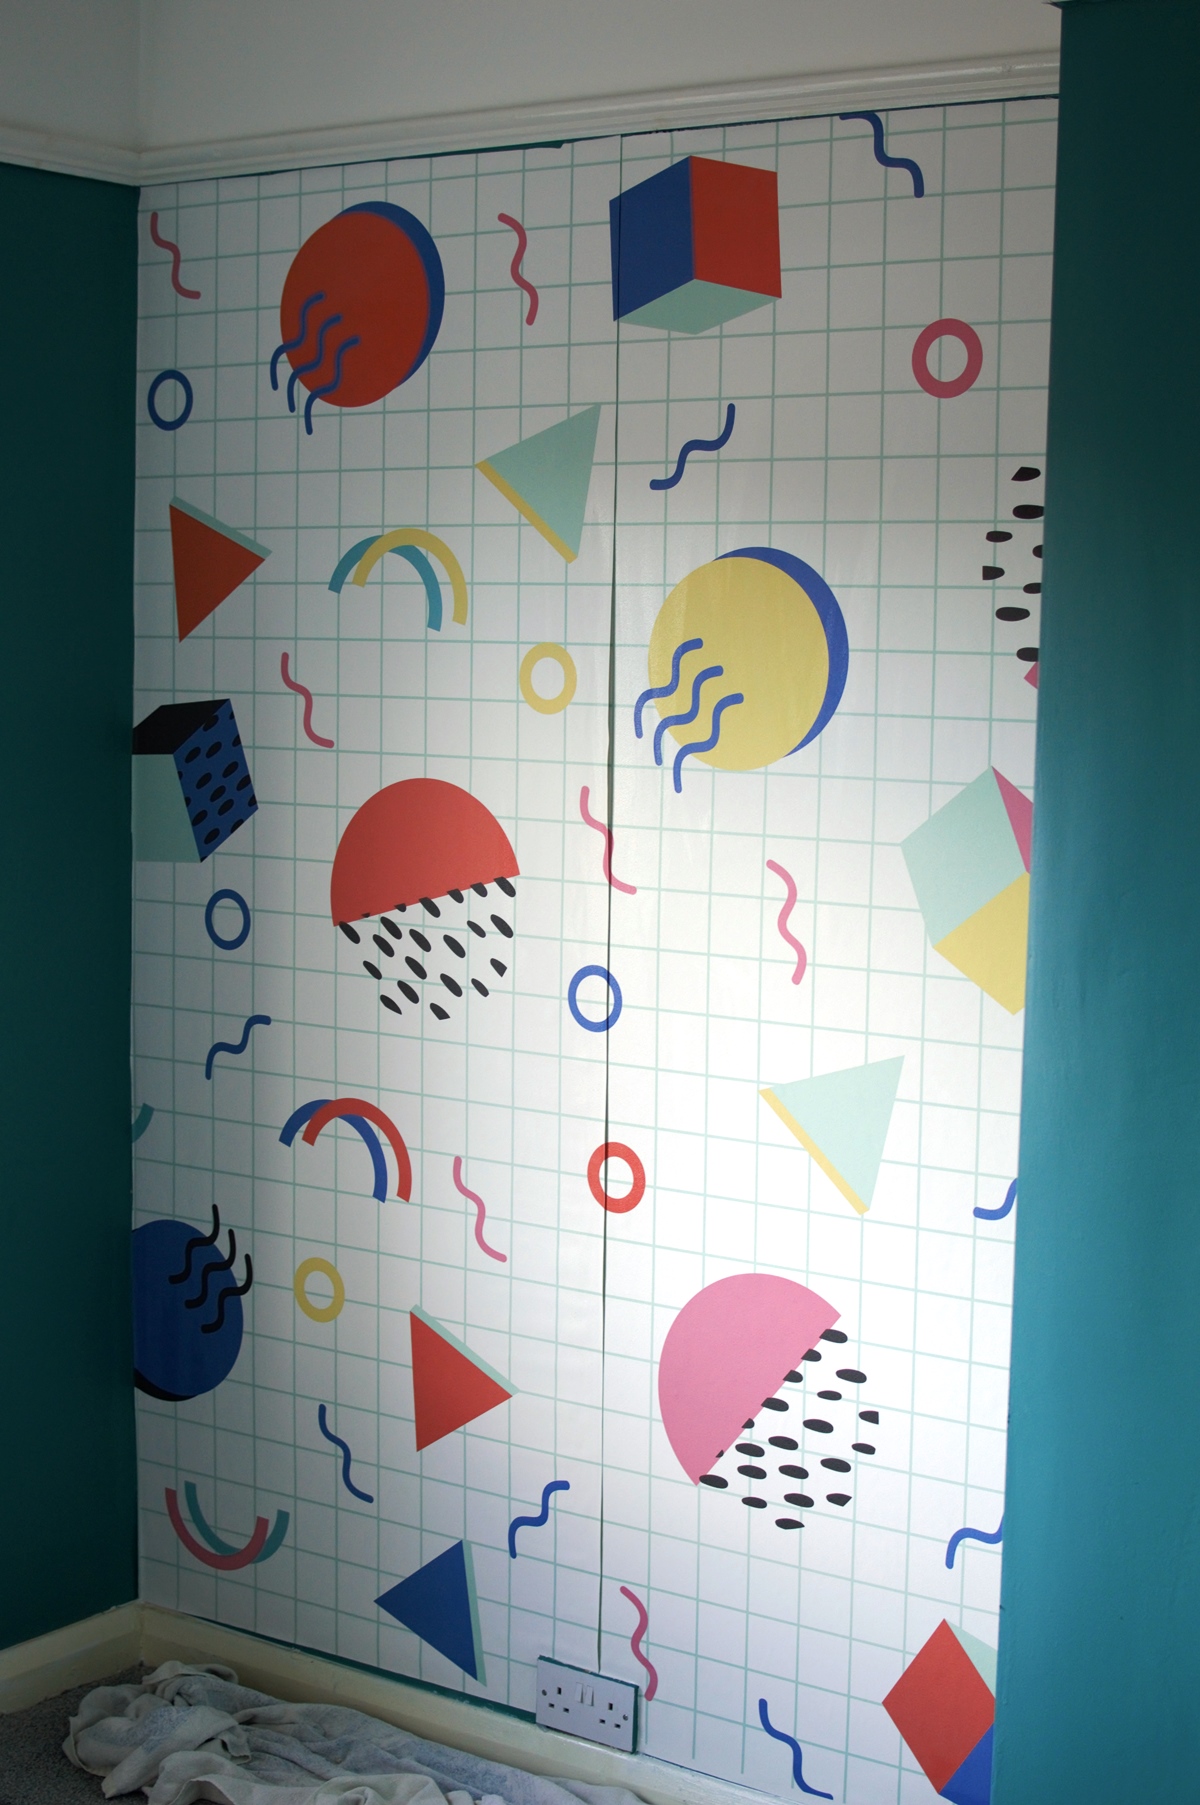
(The image below shows how the mural looked after installation and trimming, before touching up. I think you’ll agree we failed horribly when it comes to the edges! Keep reading for the final reveal – it looks loads better, promise.)
TIPS FOR HANGING WALL MURALS
- It’s fiddly work. If possible, do this as a pair. I honestly don’t think I could do this alone, and not just because I’m a short lass.
- When you’re cutting your drops and ensuring the patterns align, it’s recommended doing this on the floor. Sadly, we were working in a small space and this wasn’t possible making it quite tricky. In fact, I thought it was quite unclear which piece was the first drop and whether or not the pattern was upside down. I think doing this on an open floor space would have been helpful. Do it if you can.
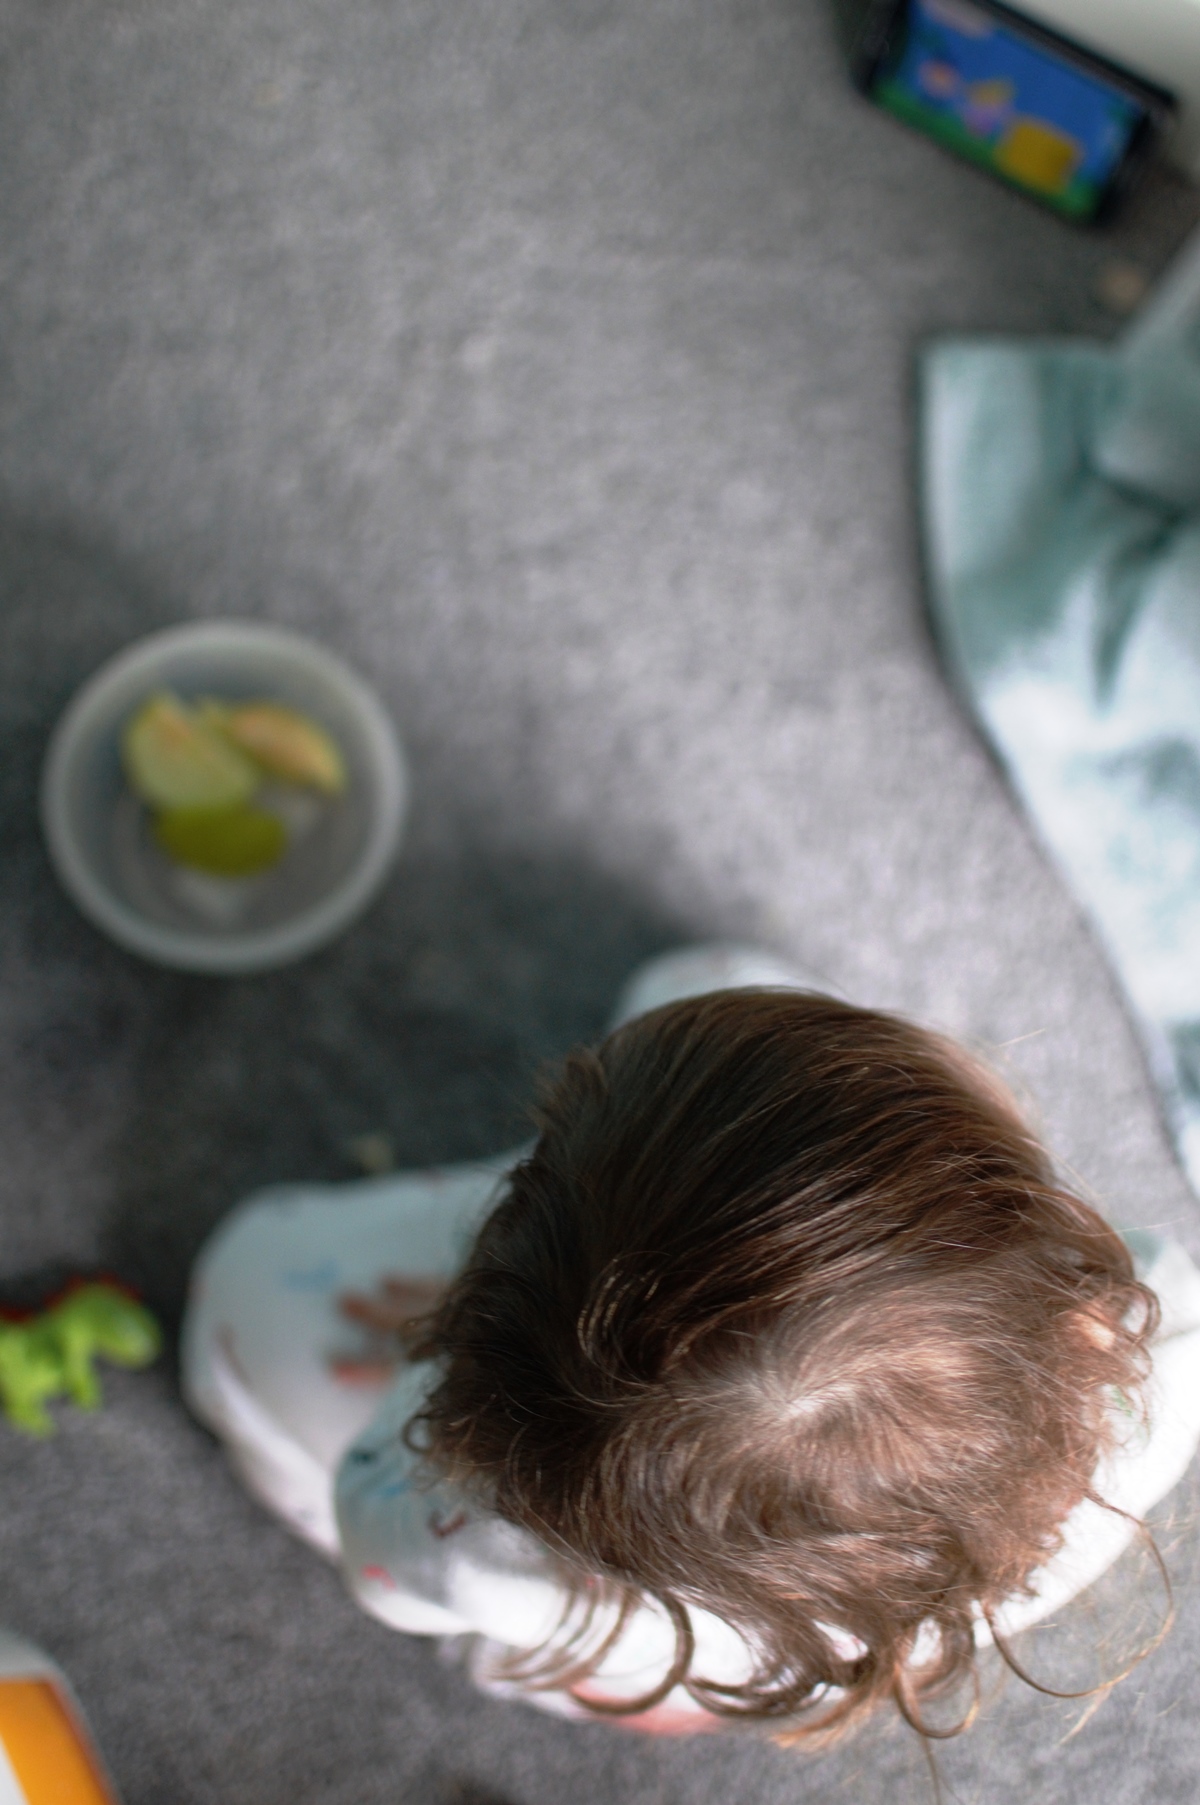
- We like to include Luna where possible because otherwise we’d never get anything done! For the terrific toddler tantrums which are inevitable, I can highly recommend some cartoons, a dinosaur toy, and a bowl of sliced apples.
- Speaking of dinosaurs. Wear a dino-pinafore to lift your spirits when you cock up hanging a wall mural. It worked a treat.
The Final Result
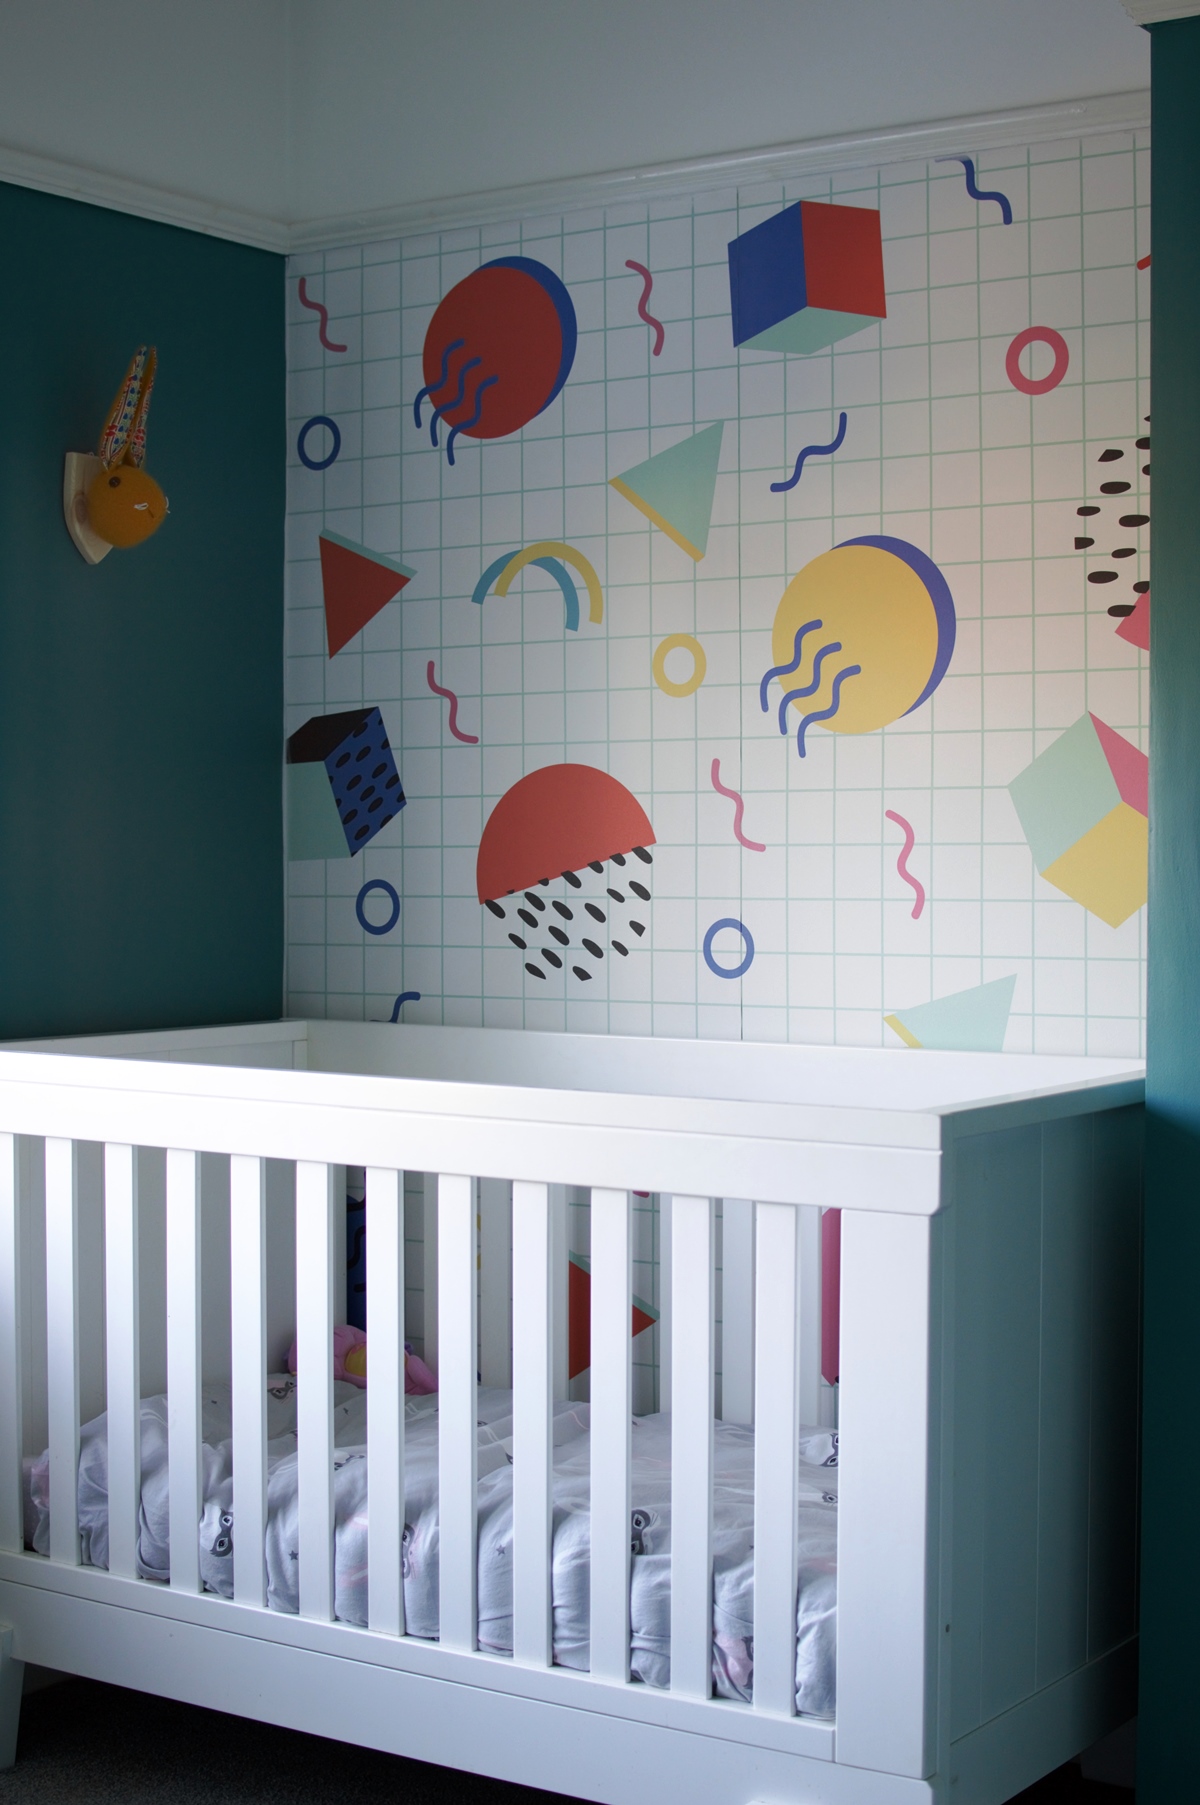
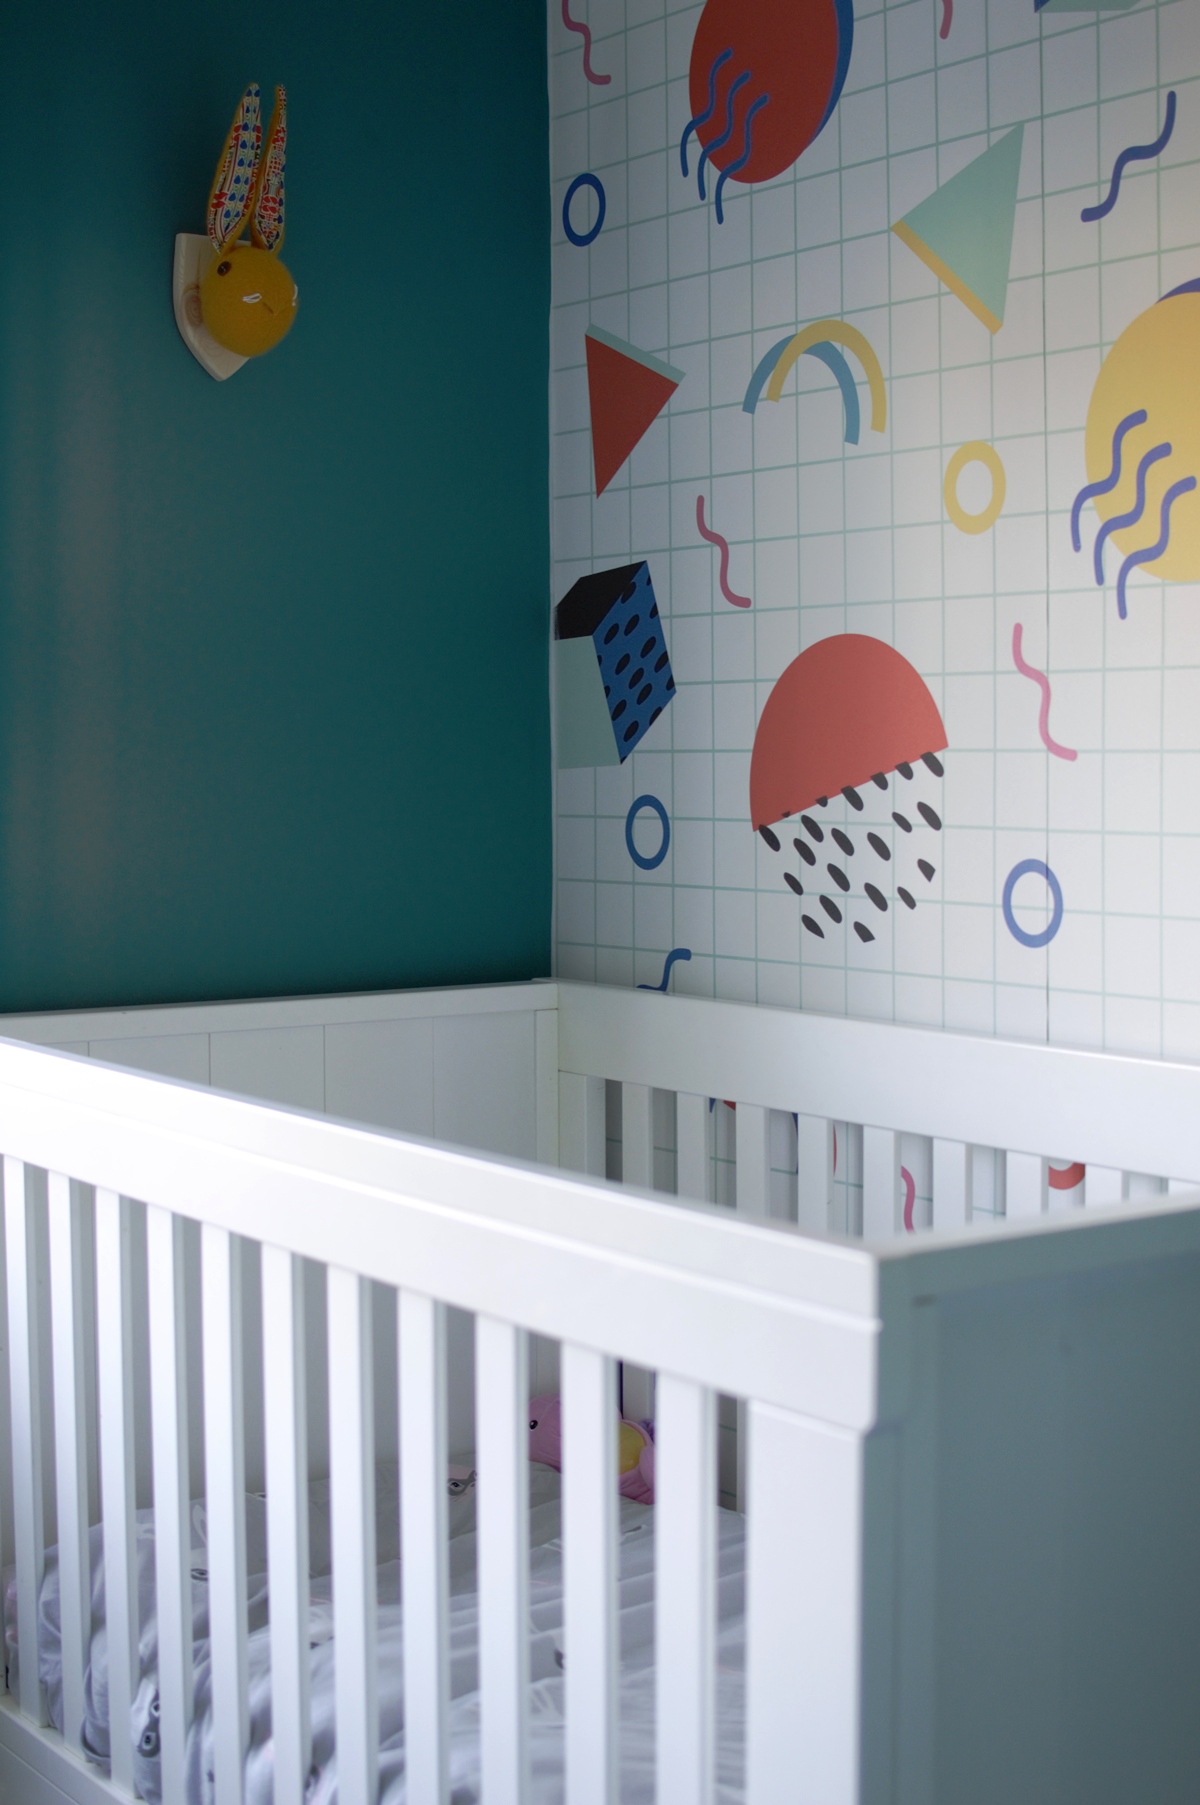
So the bed has gone back in the alcove, and we’re starting on some of the decorative features towards the others side of the room. What do you think? I absolutely LOVE the design and if you can keep a secret, I think I want it for myself!
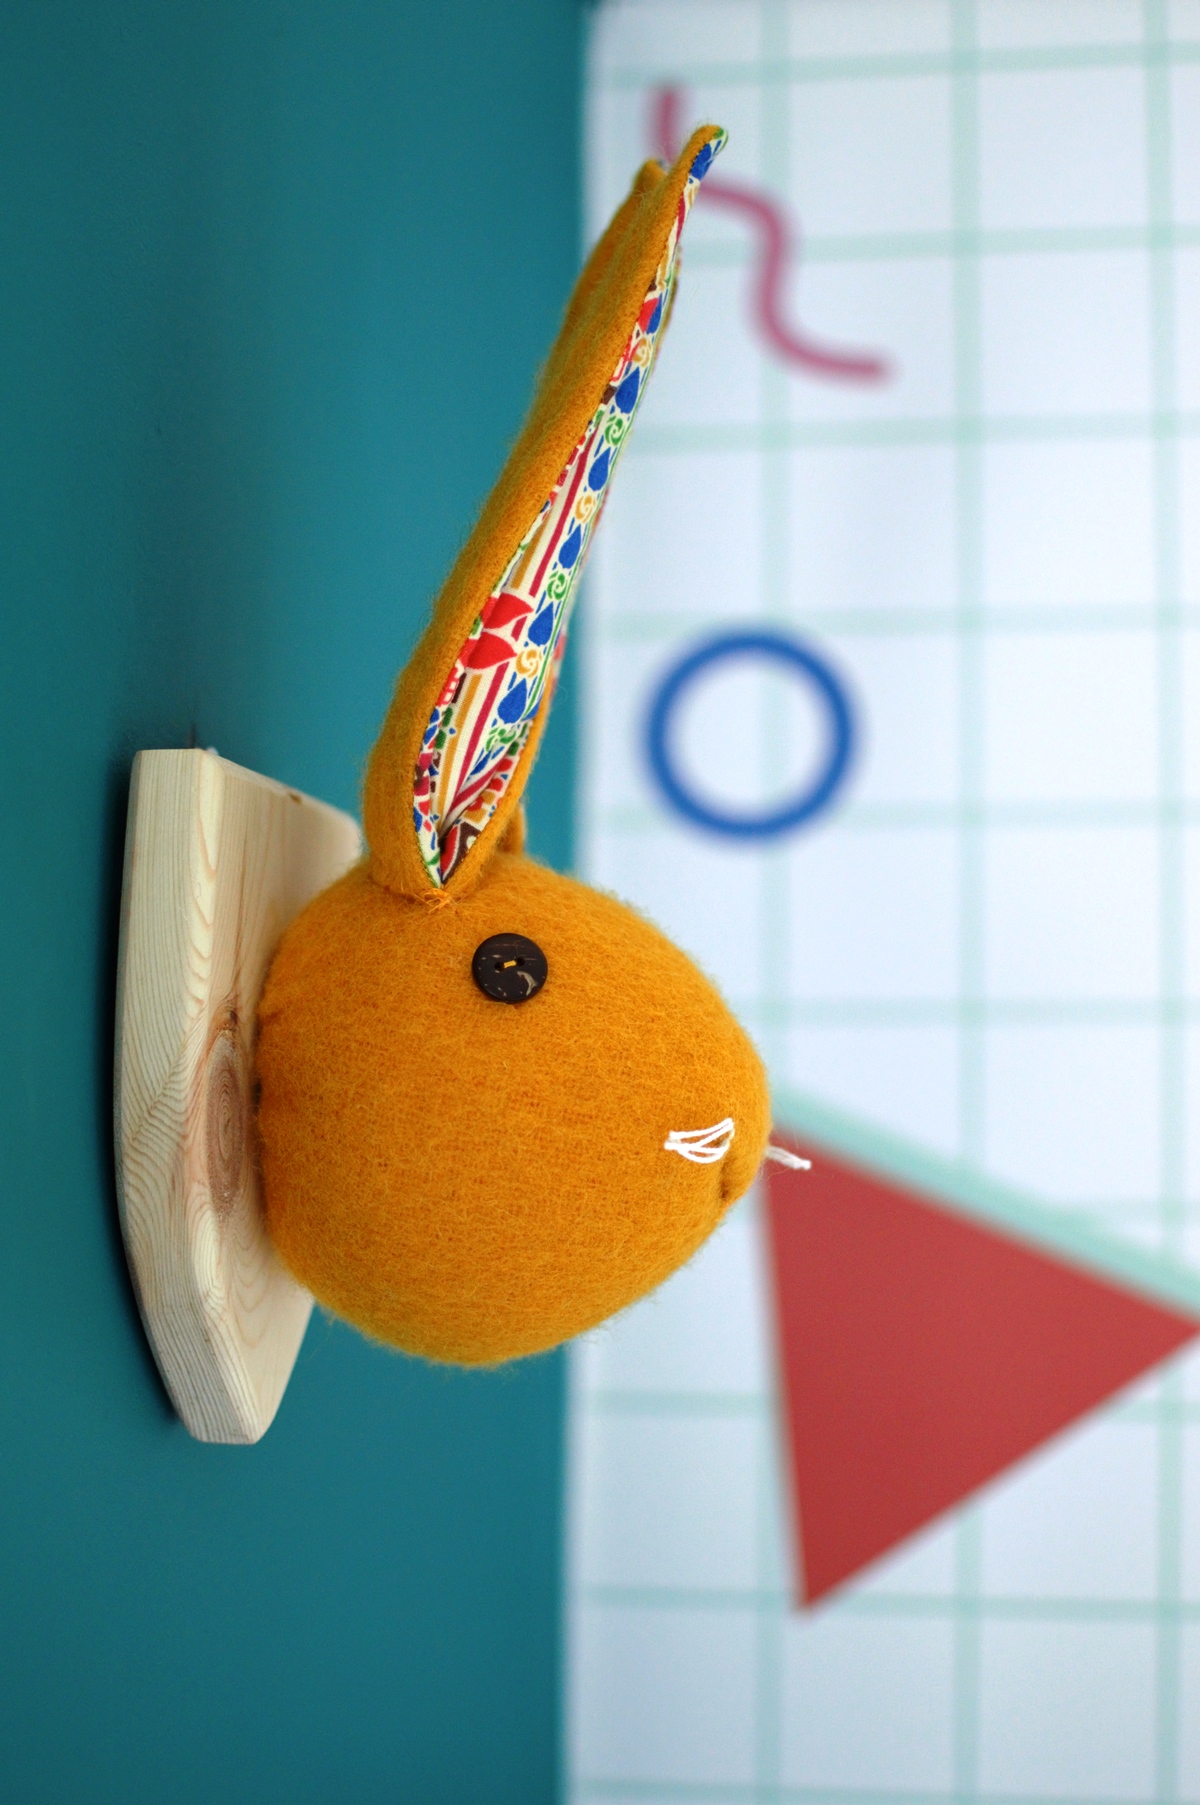
I think it’s so sweet that you can see the pattern through the cot bars and there is even a lovely co-ordination of primary colours seen both in the shapes in the mural as well as the bunny ears that is hung on her wall.
Follow me on Instagram and Twitter to keep up to date with our house projects. Full reveal of this room coming soon!
