With Luna’s birthday as well as Christmas approaching, Joe and I woke up one day and decided that our hallway was a bit scruffy looking and needed a refresh.
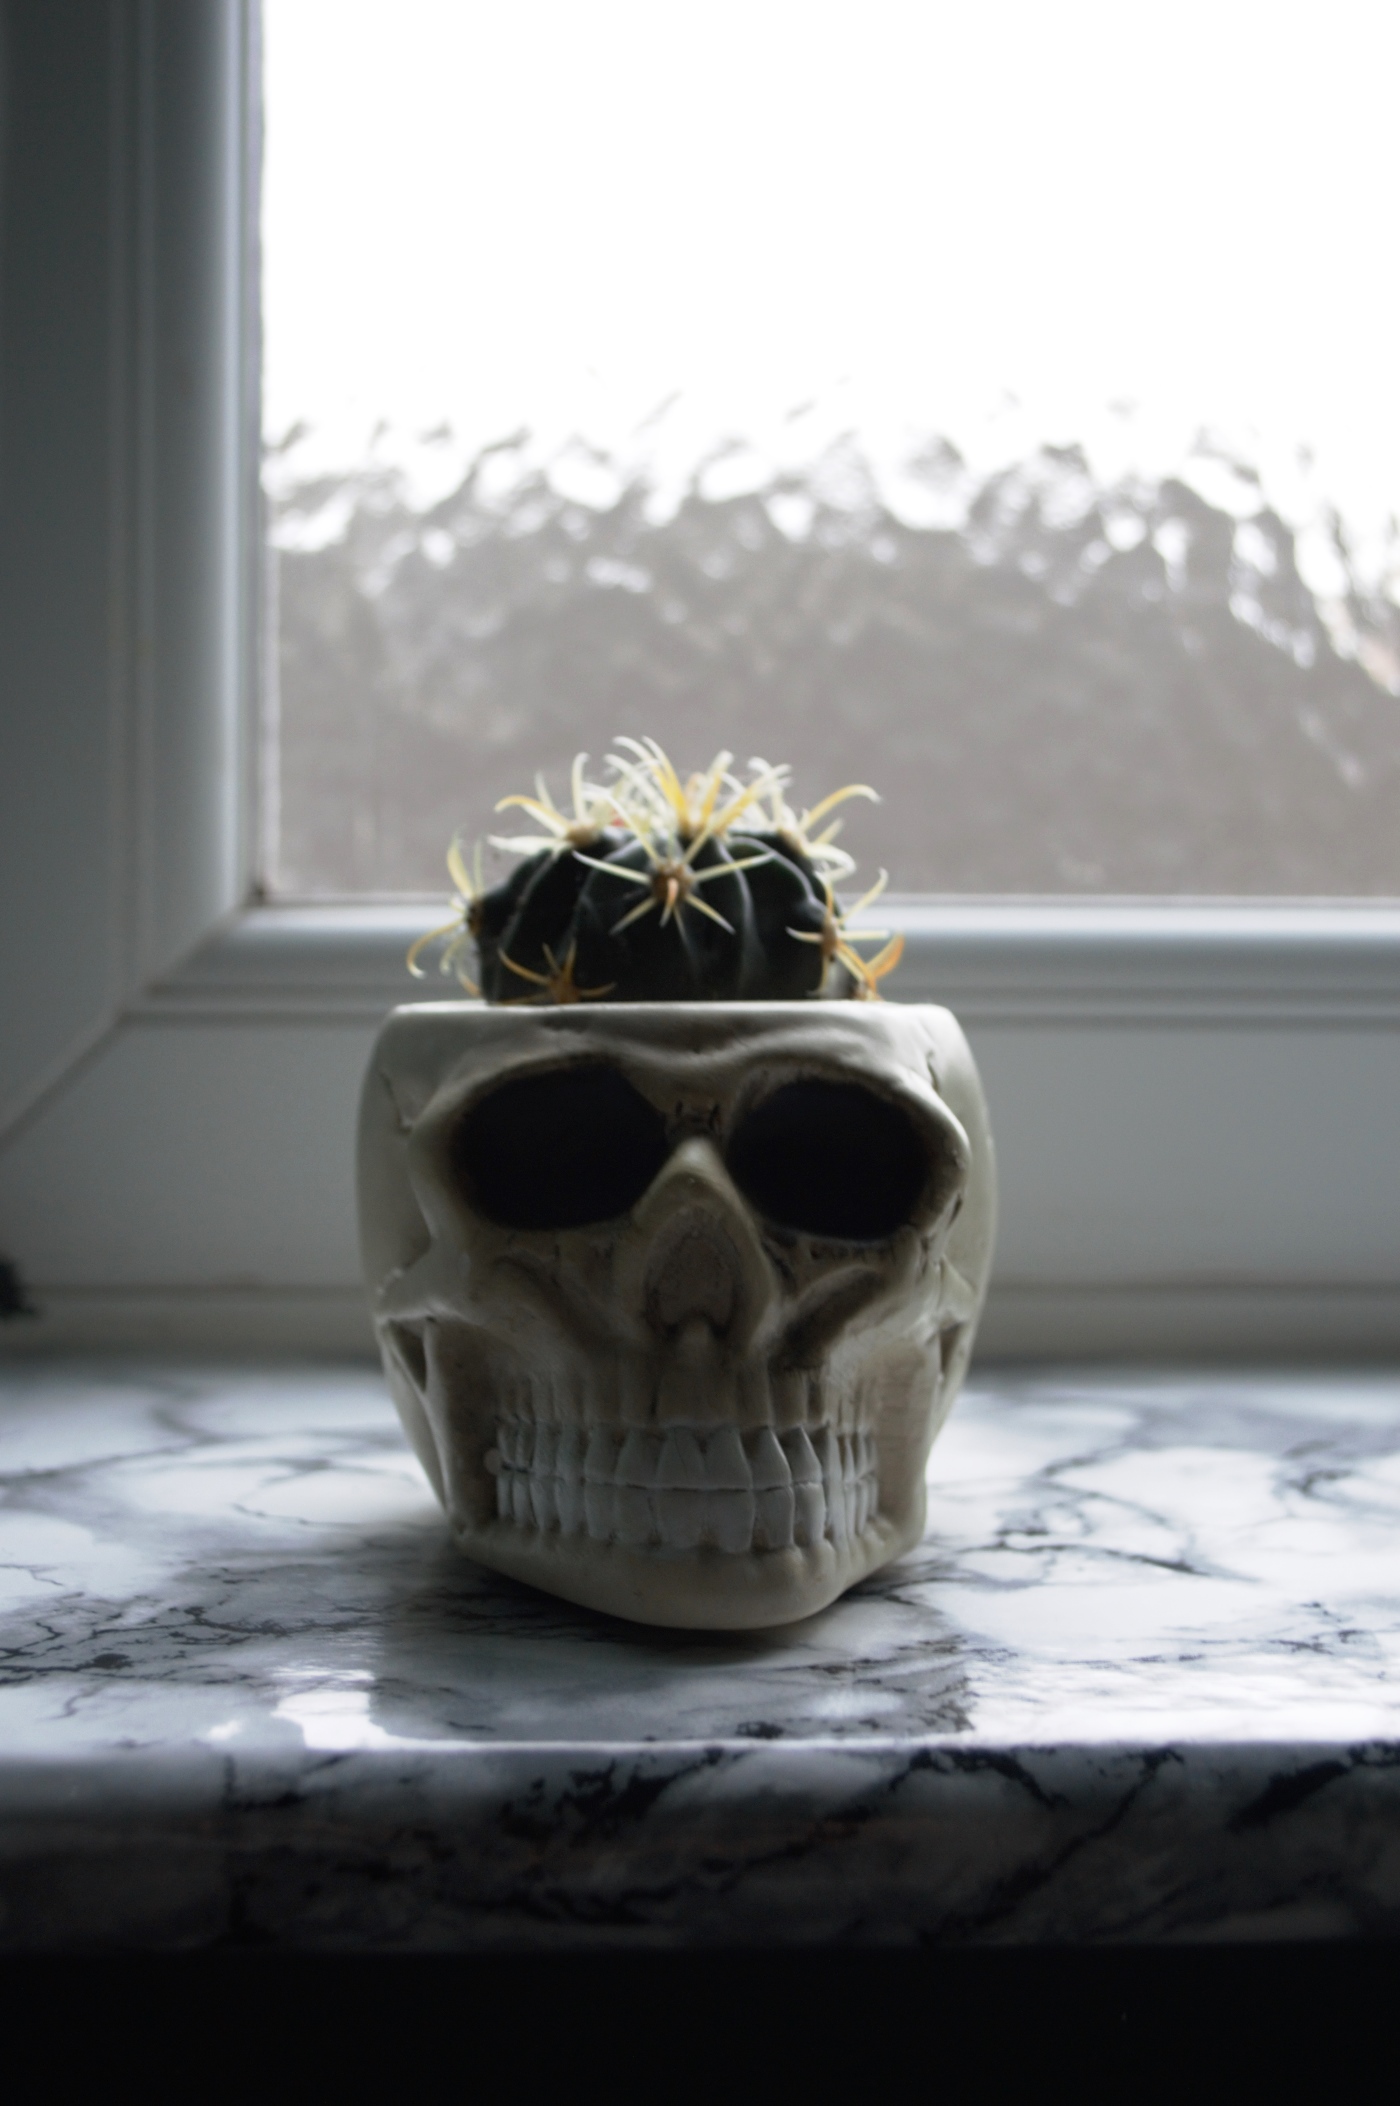
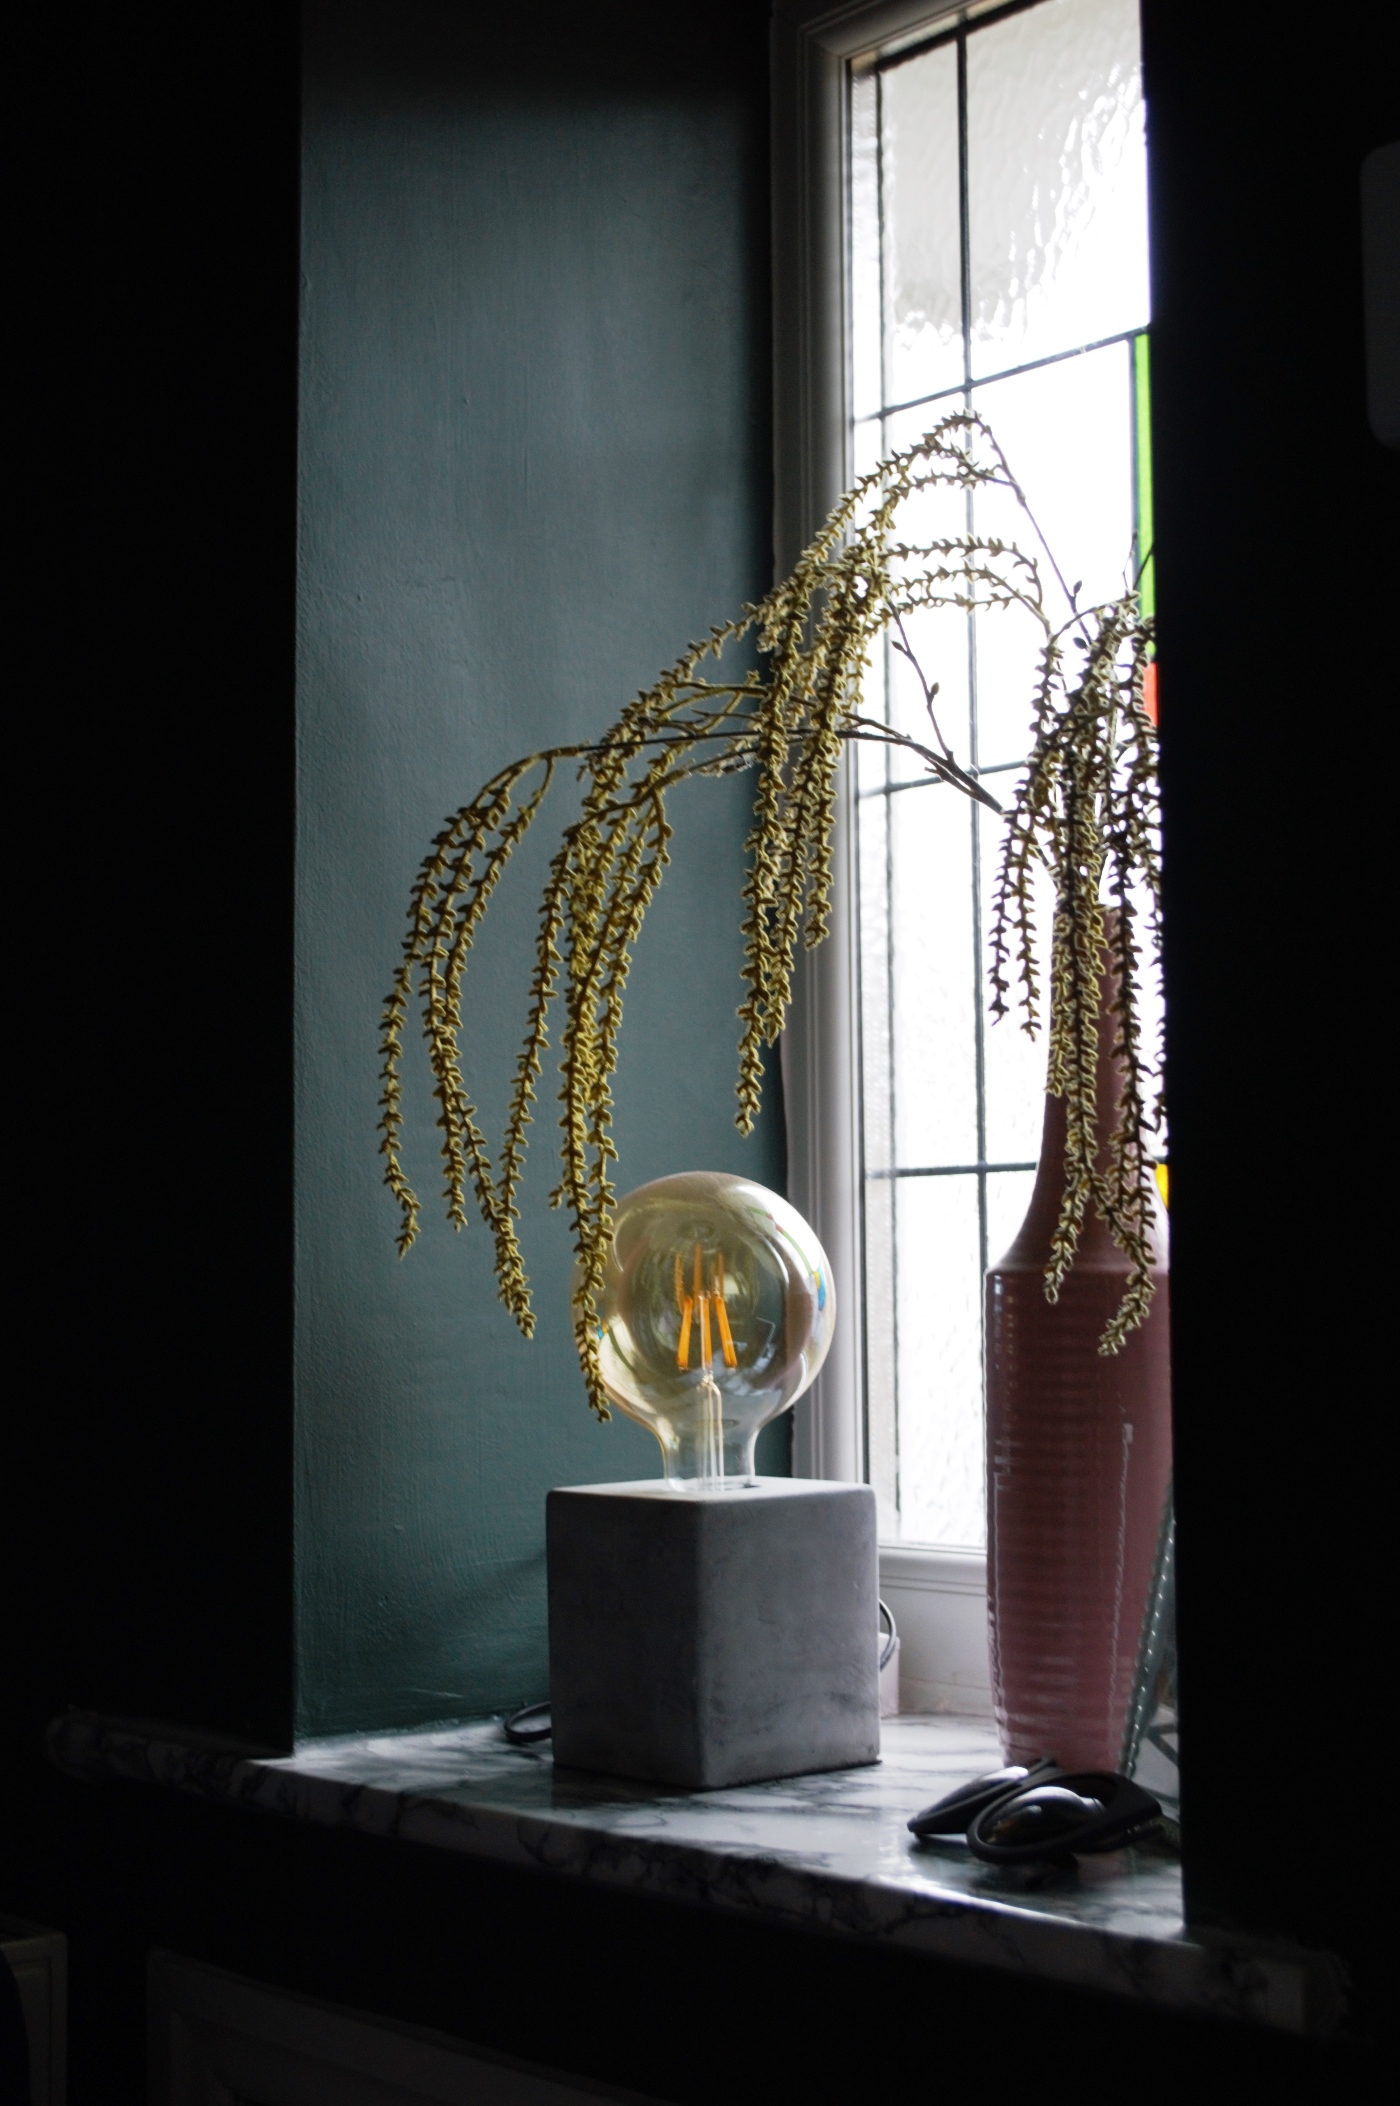
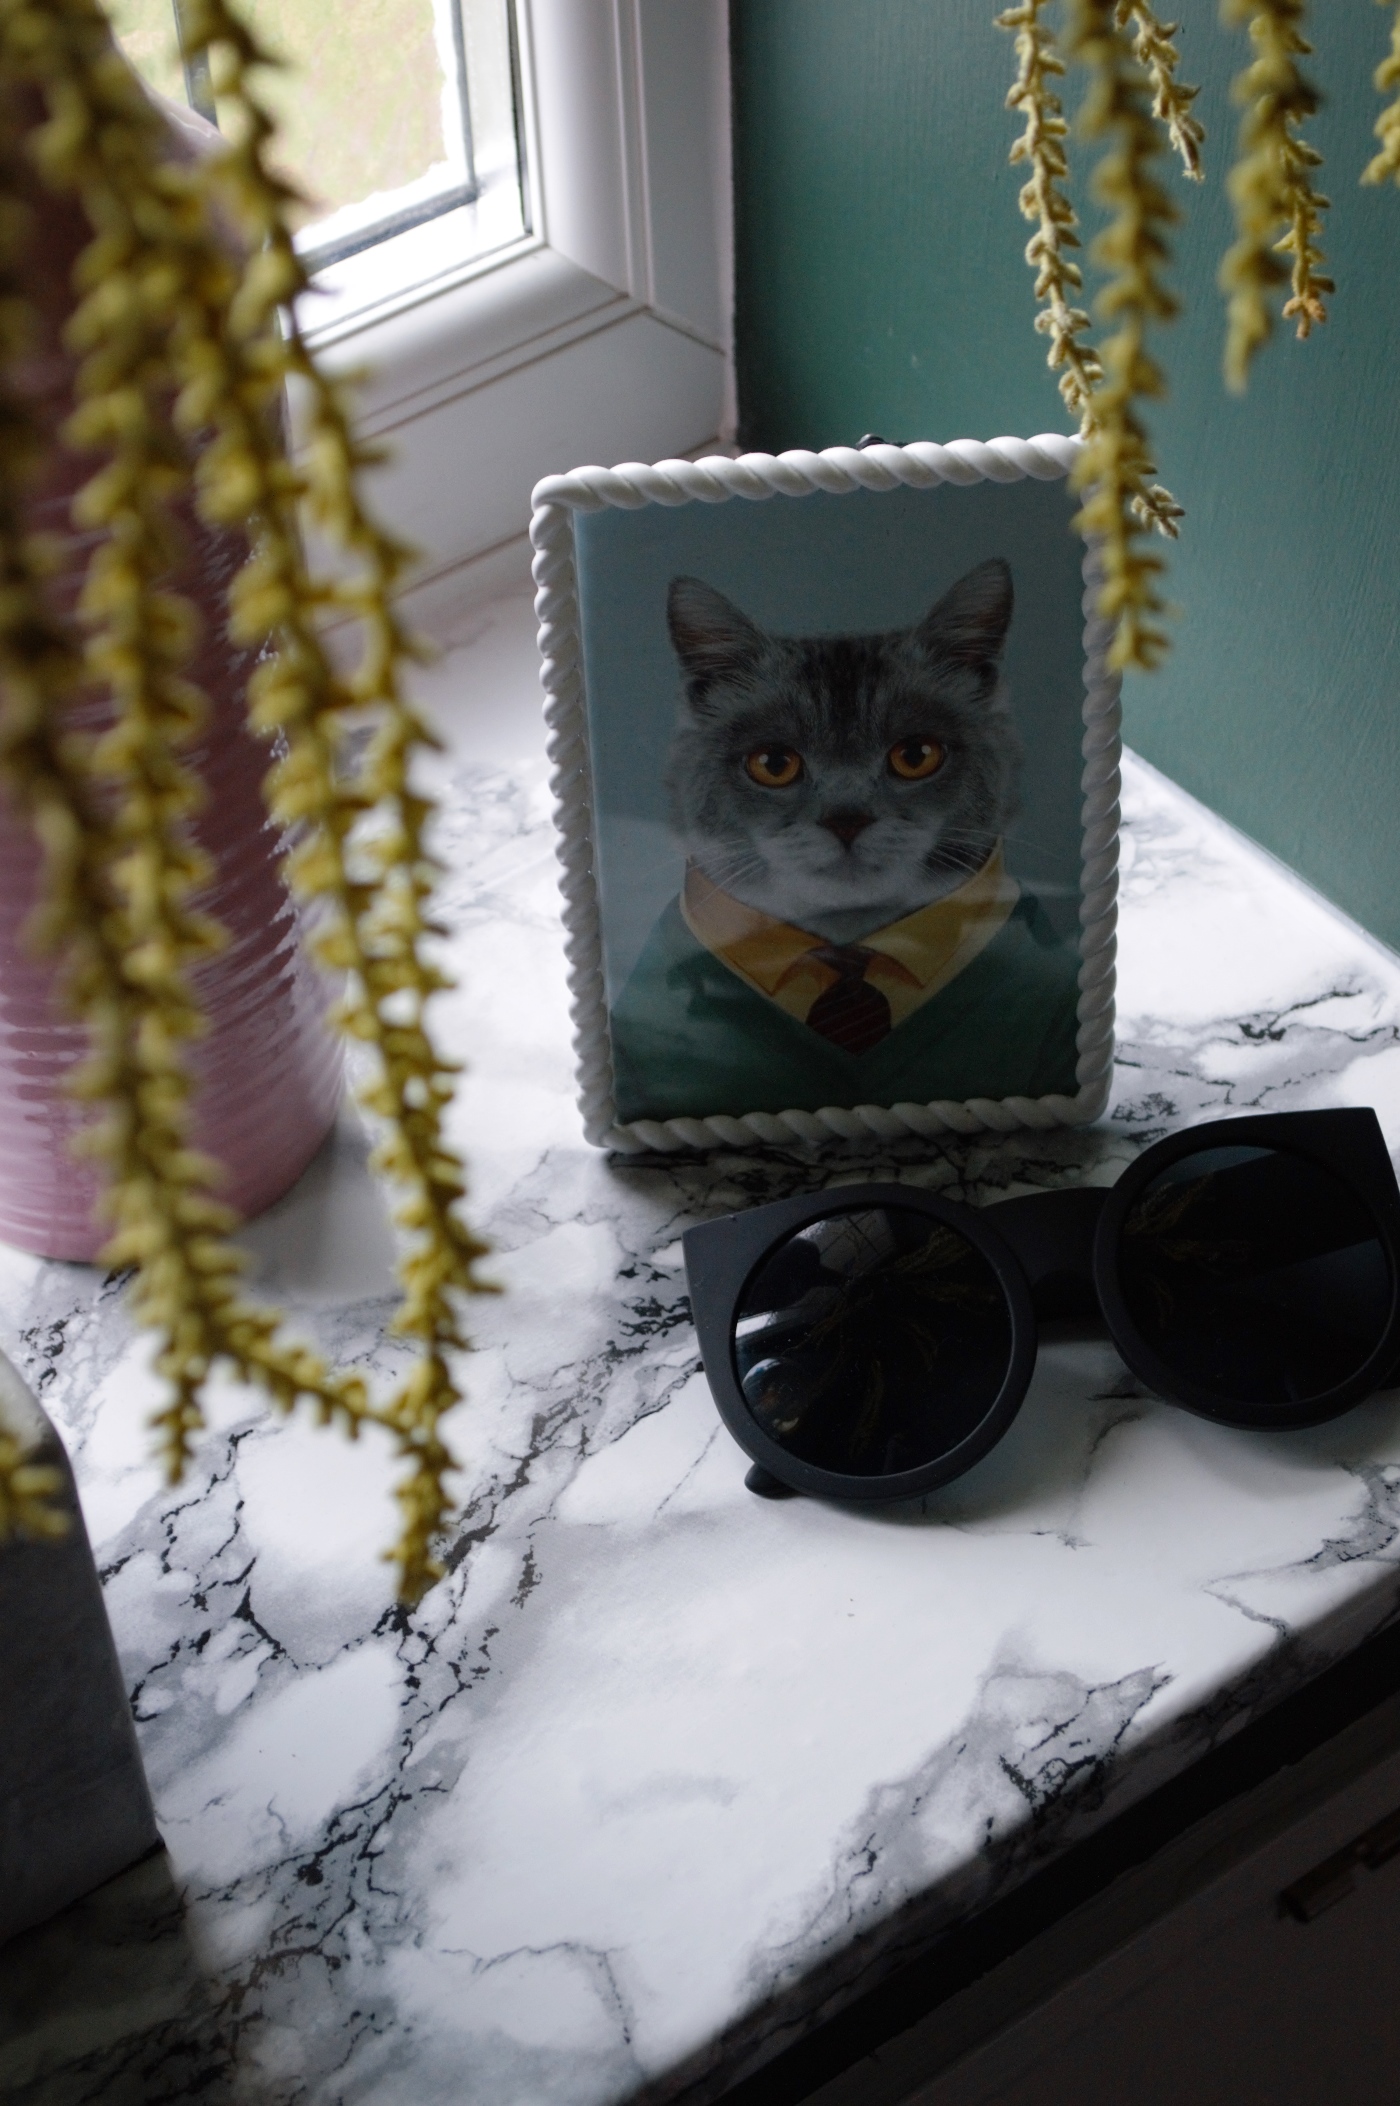
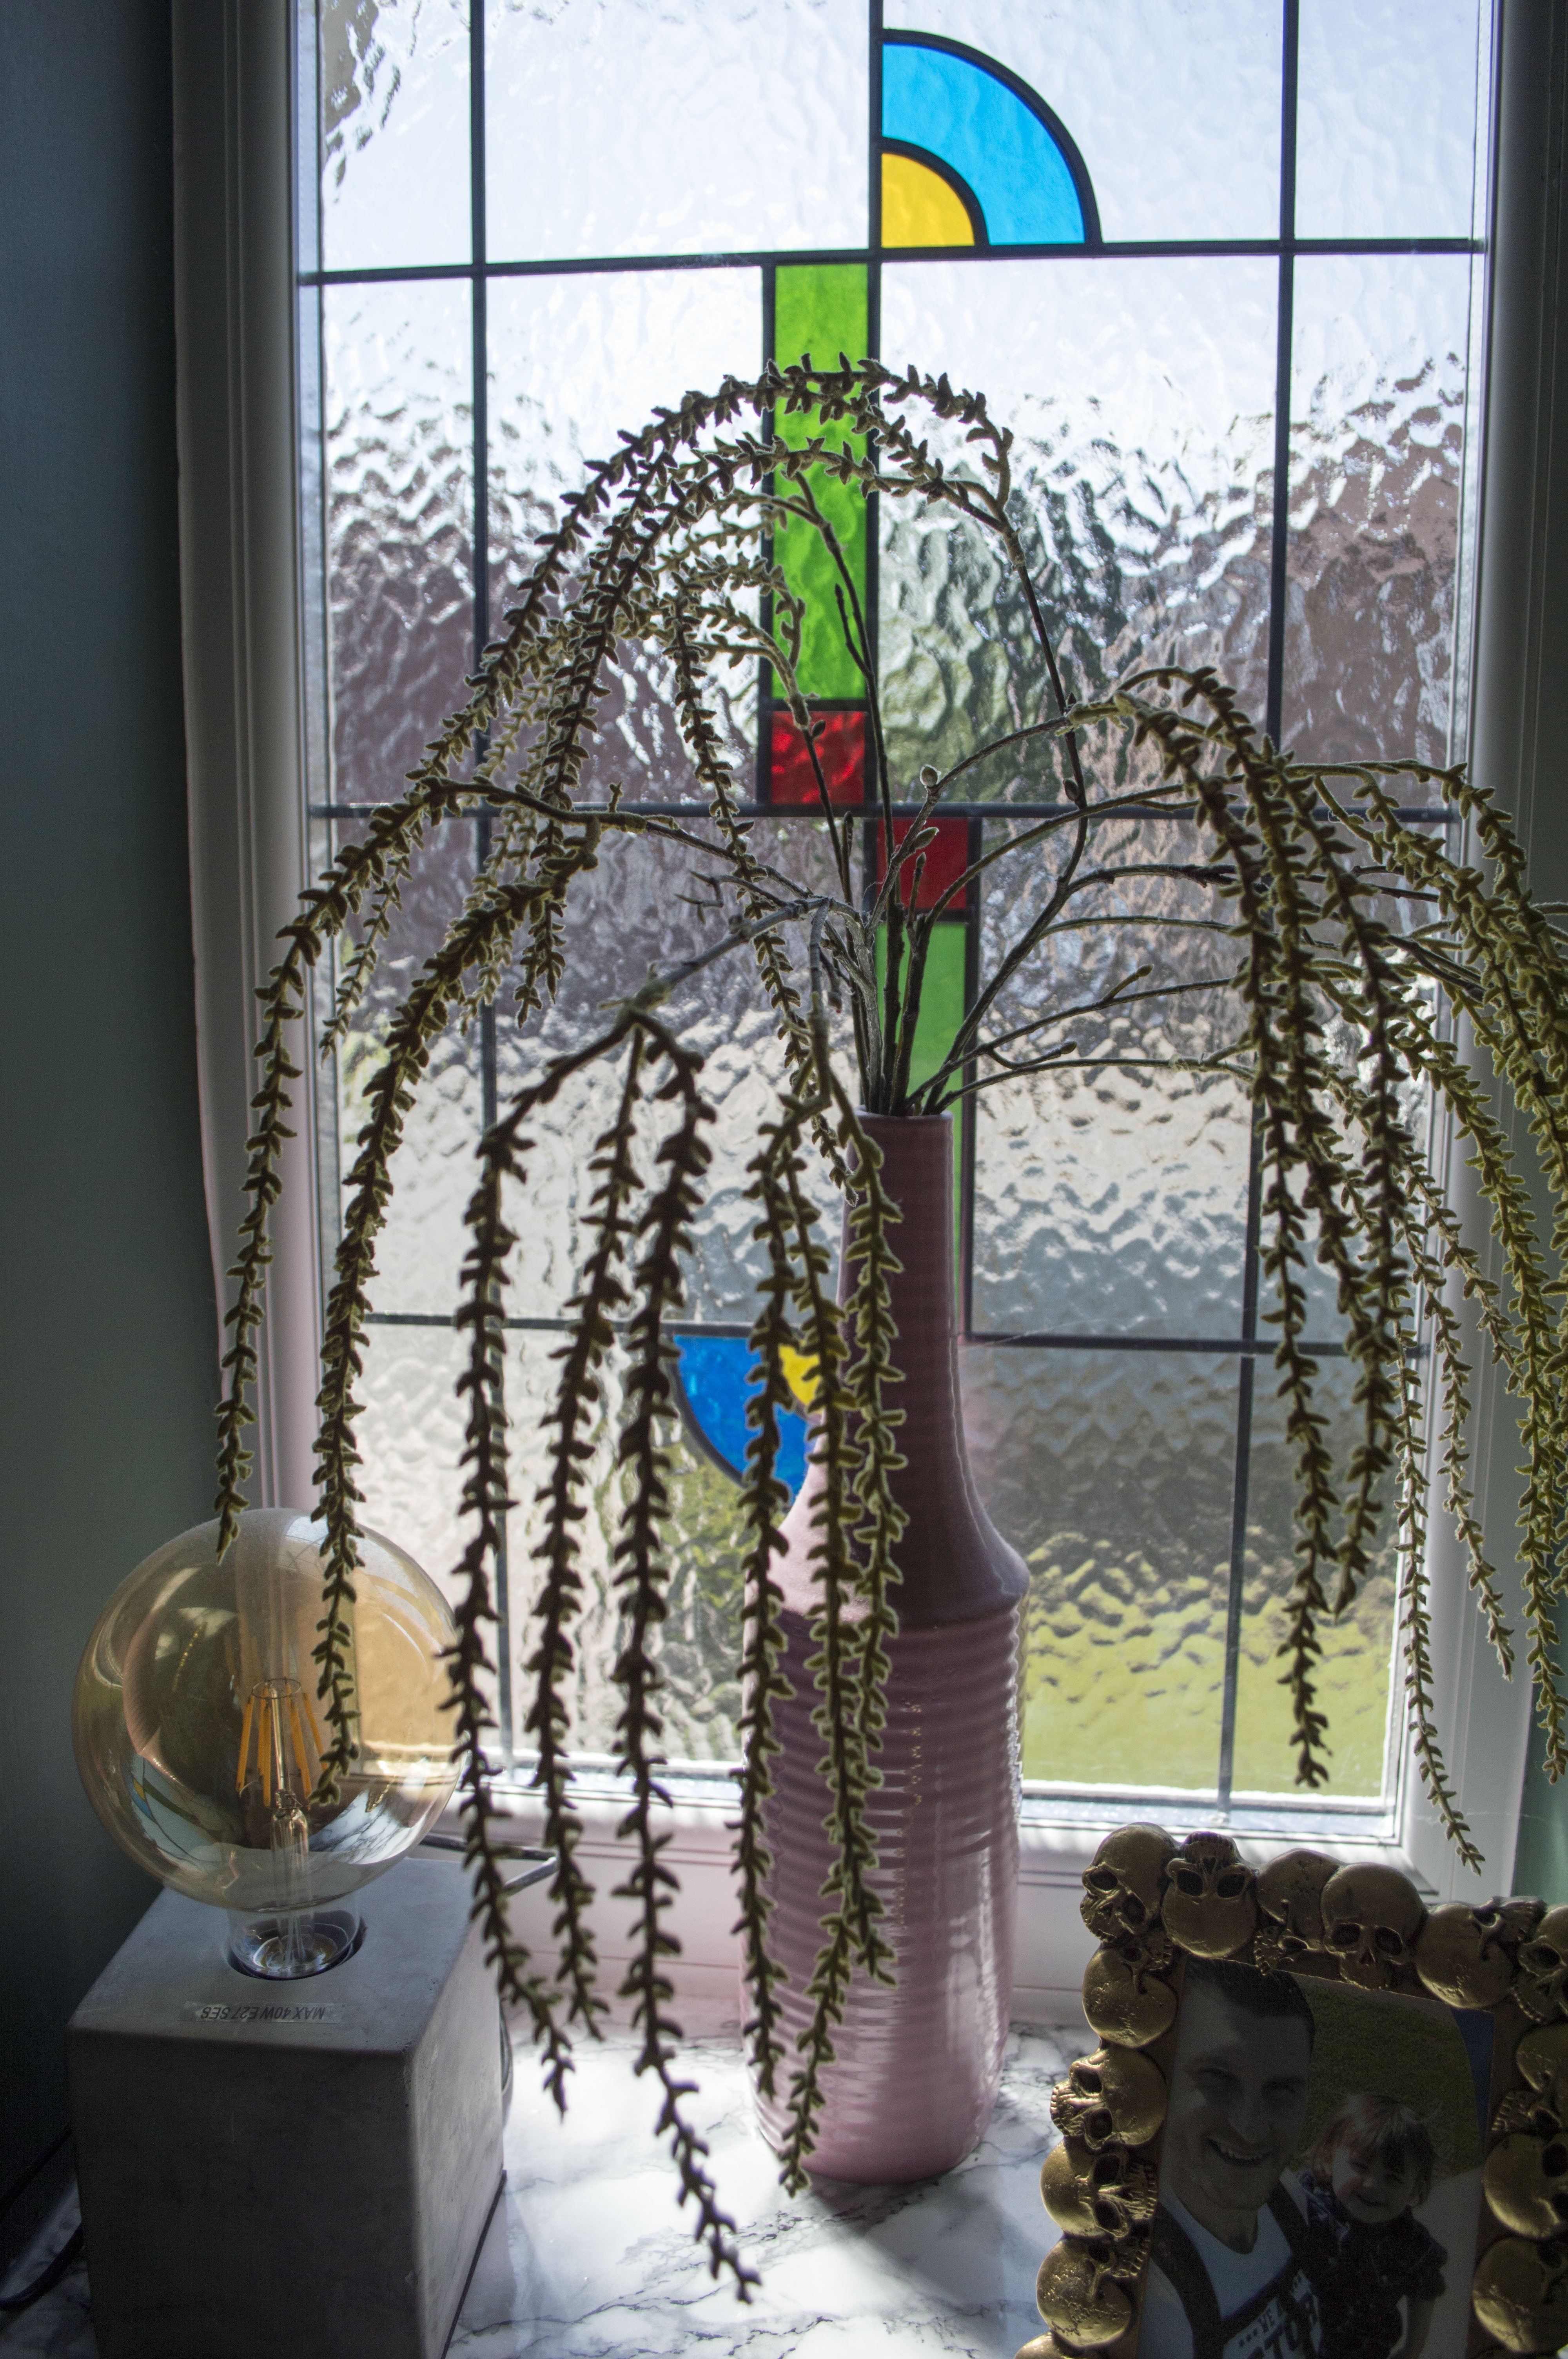
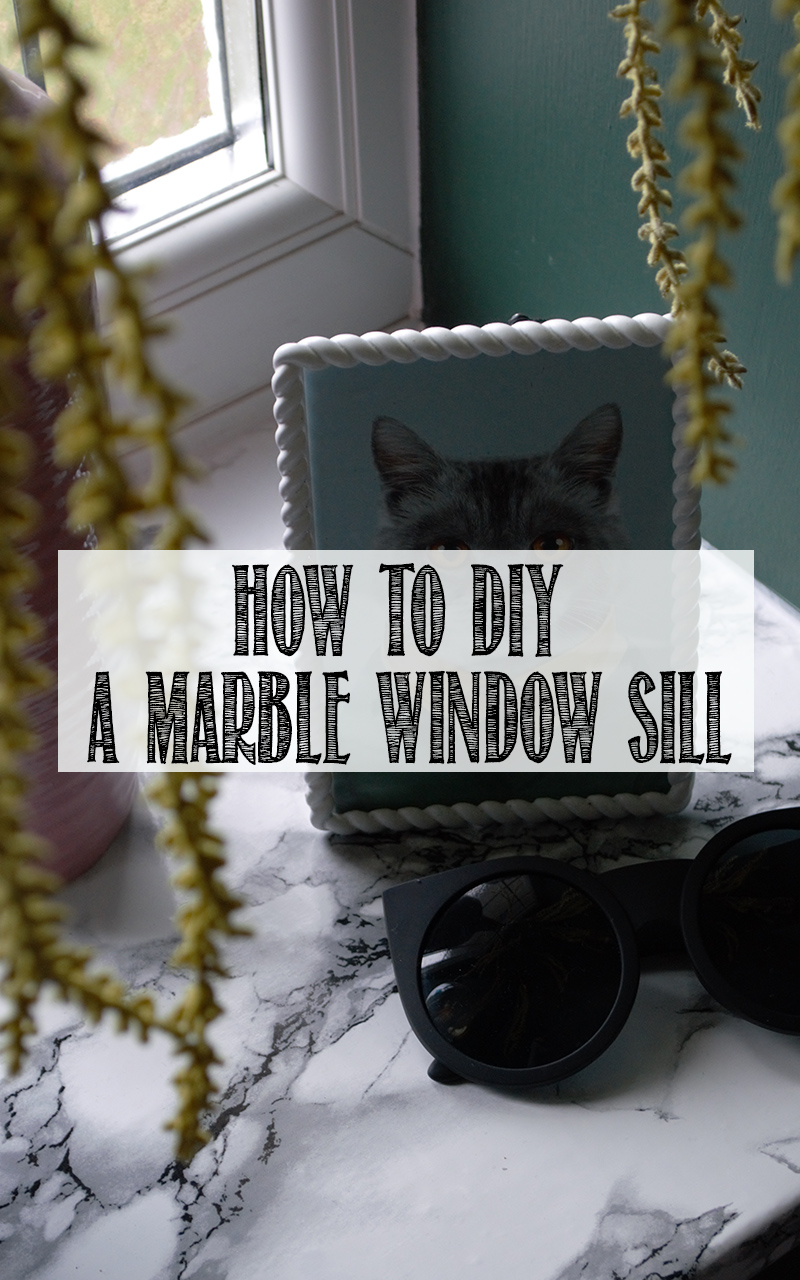
I say refresh, but what I mean is we’ve practically redecorated it. I’ll be doing a full blog post on this soon but one feature that’s done and making me smile each day is our marble window sills.
You see, we’ve only just invested in UPVC windows in the hallway – only took us 5 years to save up! The condensation from the older windows had damaged the window sills – not so much that they needed replacing, but to the point where we just couldn’t get them to look nice again, no matter how much sanding and glossing we treated them to.
We’re on a budget so decided to try out some “Marble effect white self adhesive film” from B&Q, also known as sticky back plastic. Y’know, the kind of stuff that British kids had to cover their school notebooks in during the 90s? I believe it’s called contact paper in the States.
So let’s see how it turned out…
Below is a “Before” picture, taken shortly after we’d painted the walls a gorgeous deep green.
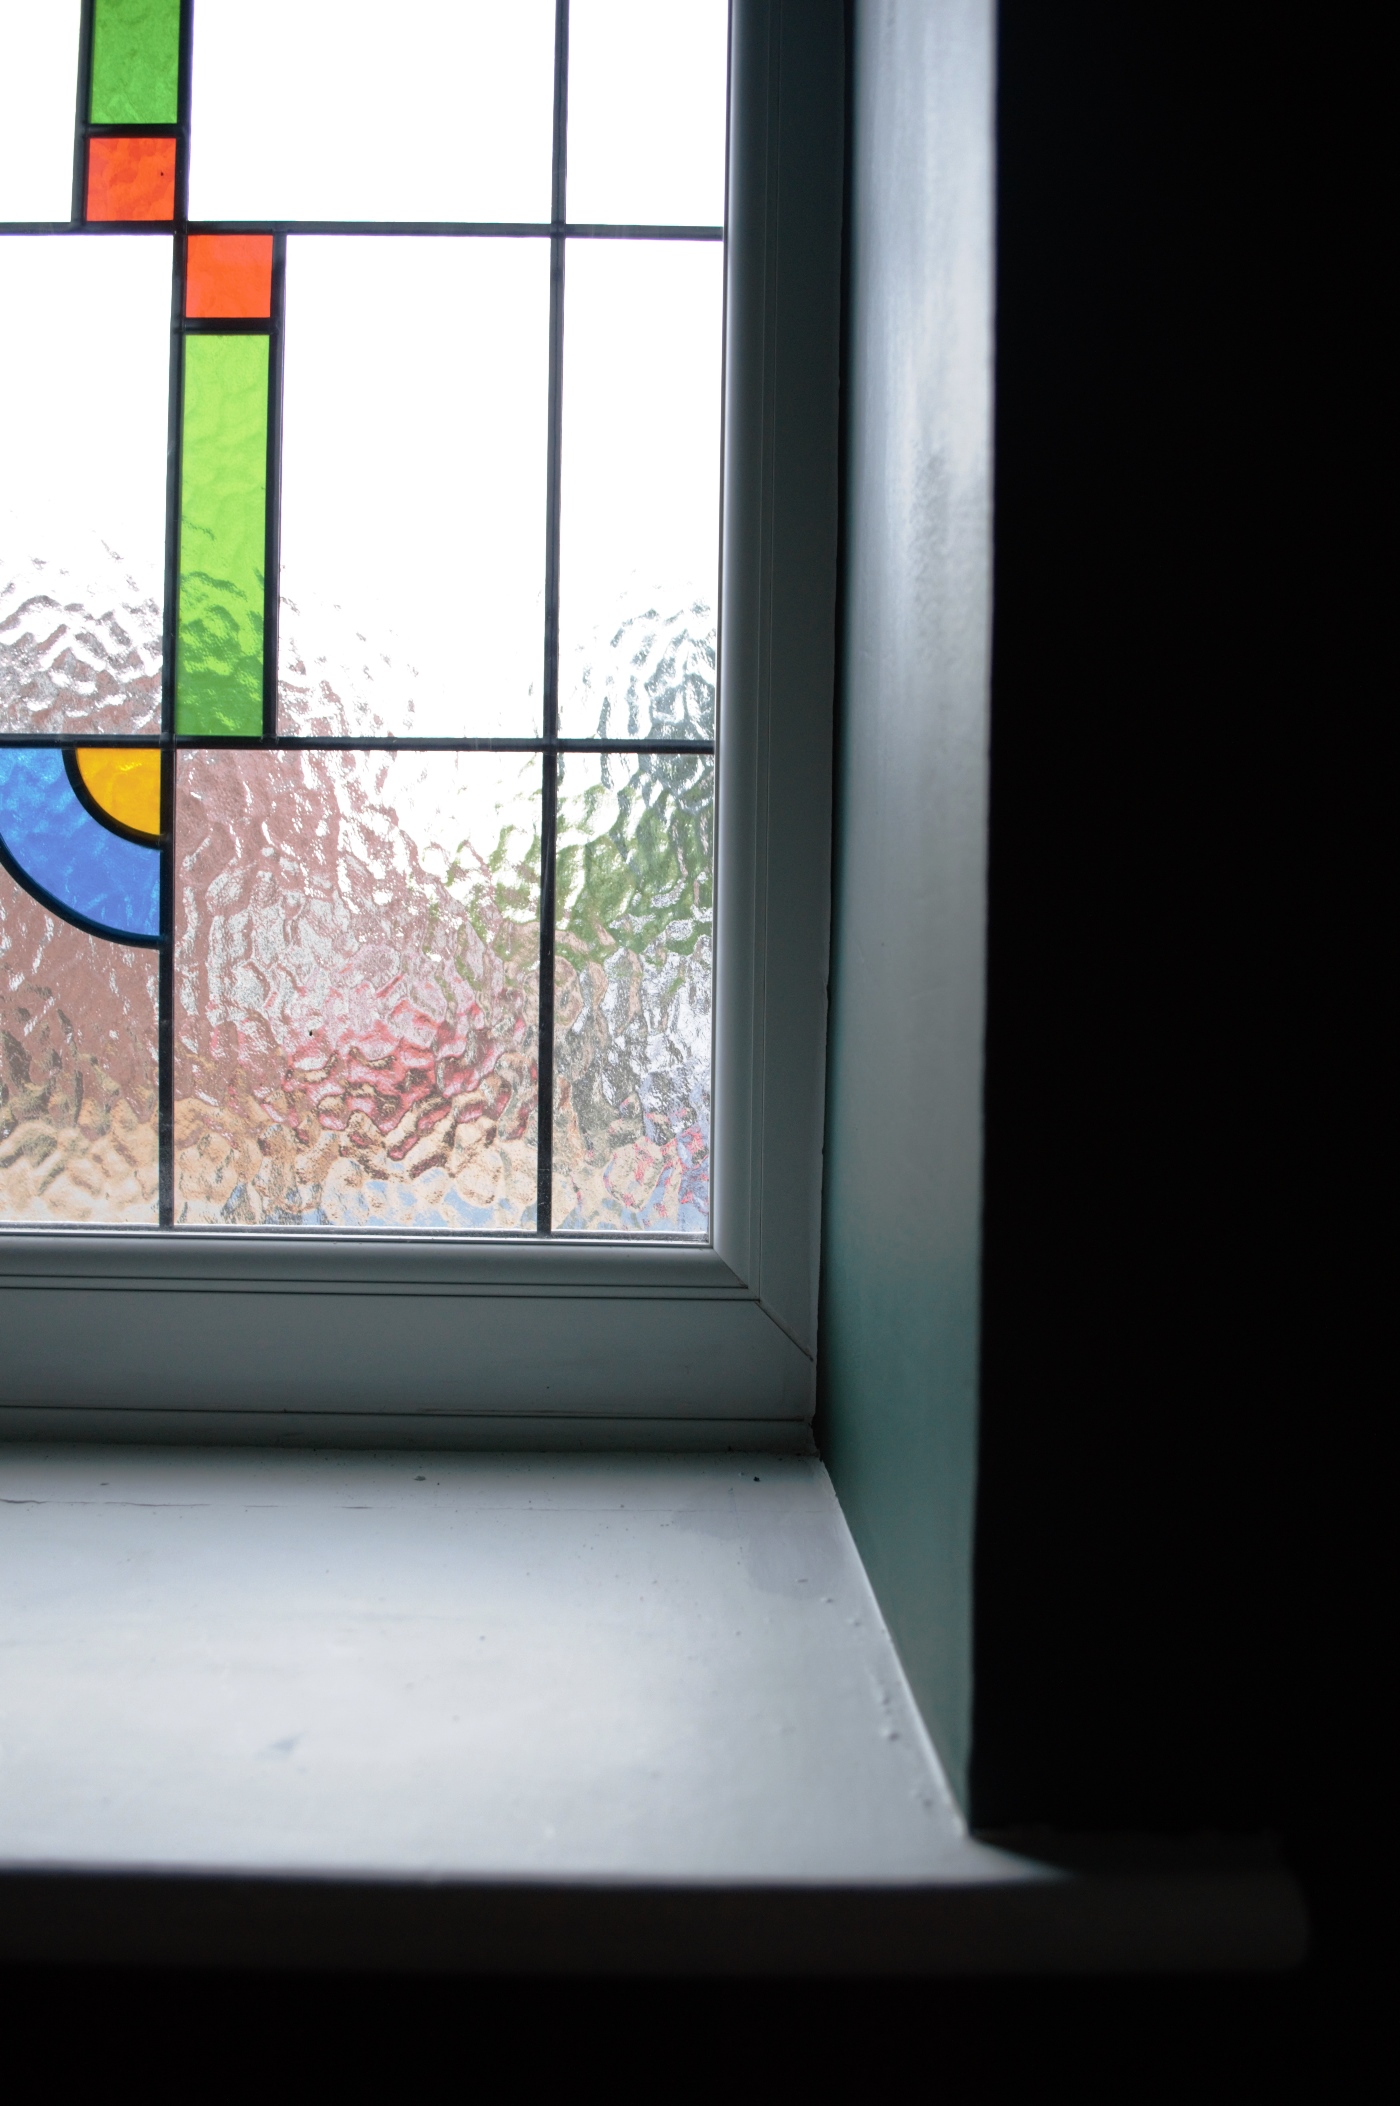
Pretty boring right? Nothing special.
The “adhesive film” comes in a roll so firstly we laid it out a little to try and flatten the pattern slightly. (Note: We chose a darker marble pattern but it’s also available in the popular Carerra lighter shade).
We measured the surface area of our 2 window sills, making sure to account for the curved edges, and then cut the shapes. Thankfully, there is a grid on the back of the film making it extra easy to get a good cut even when you’re using regular old kitchen scissors.
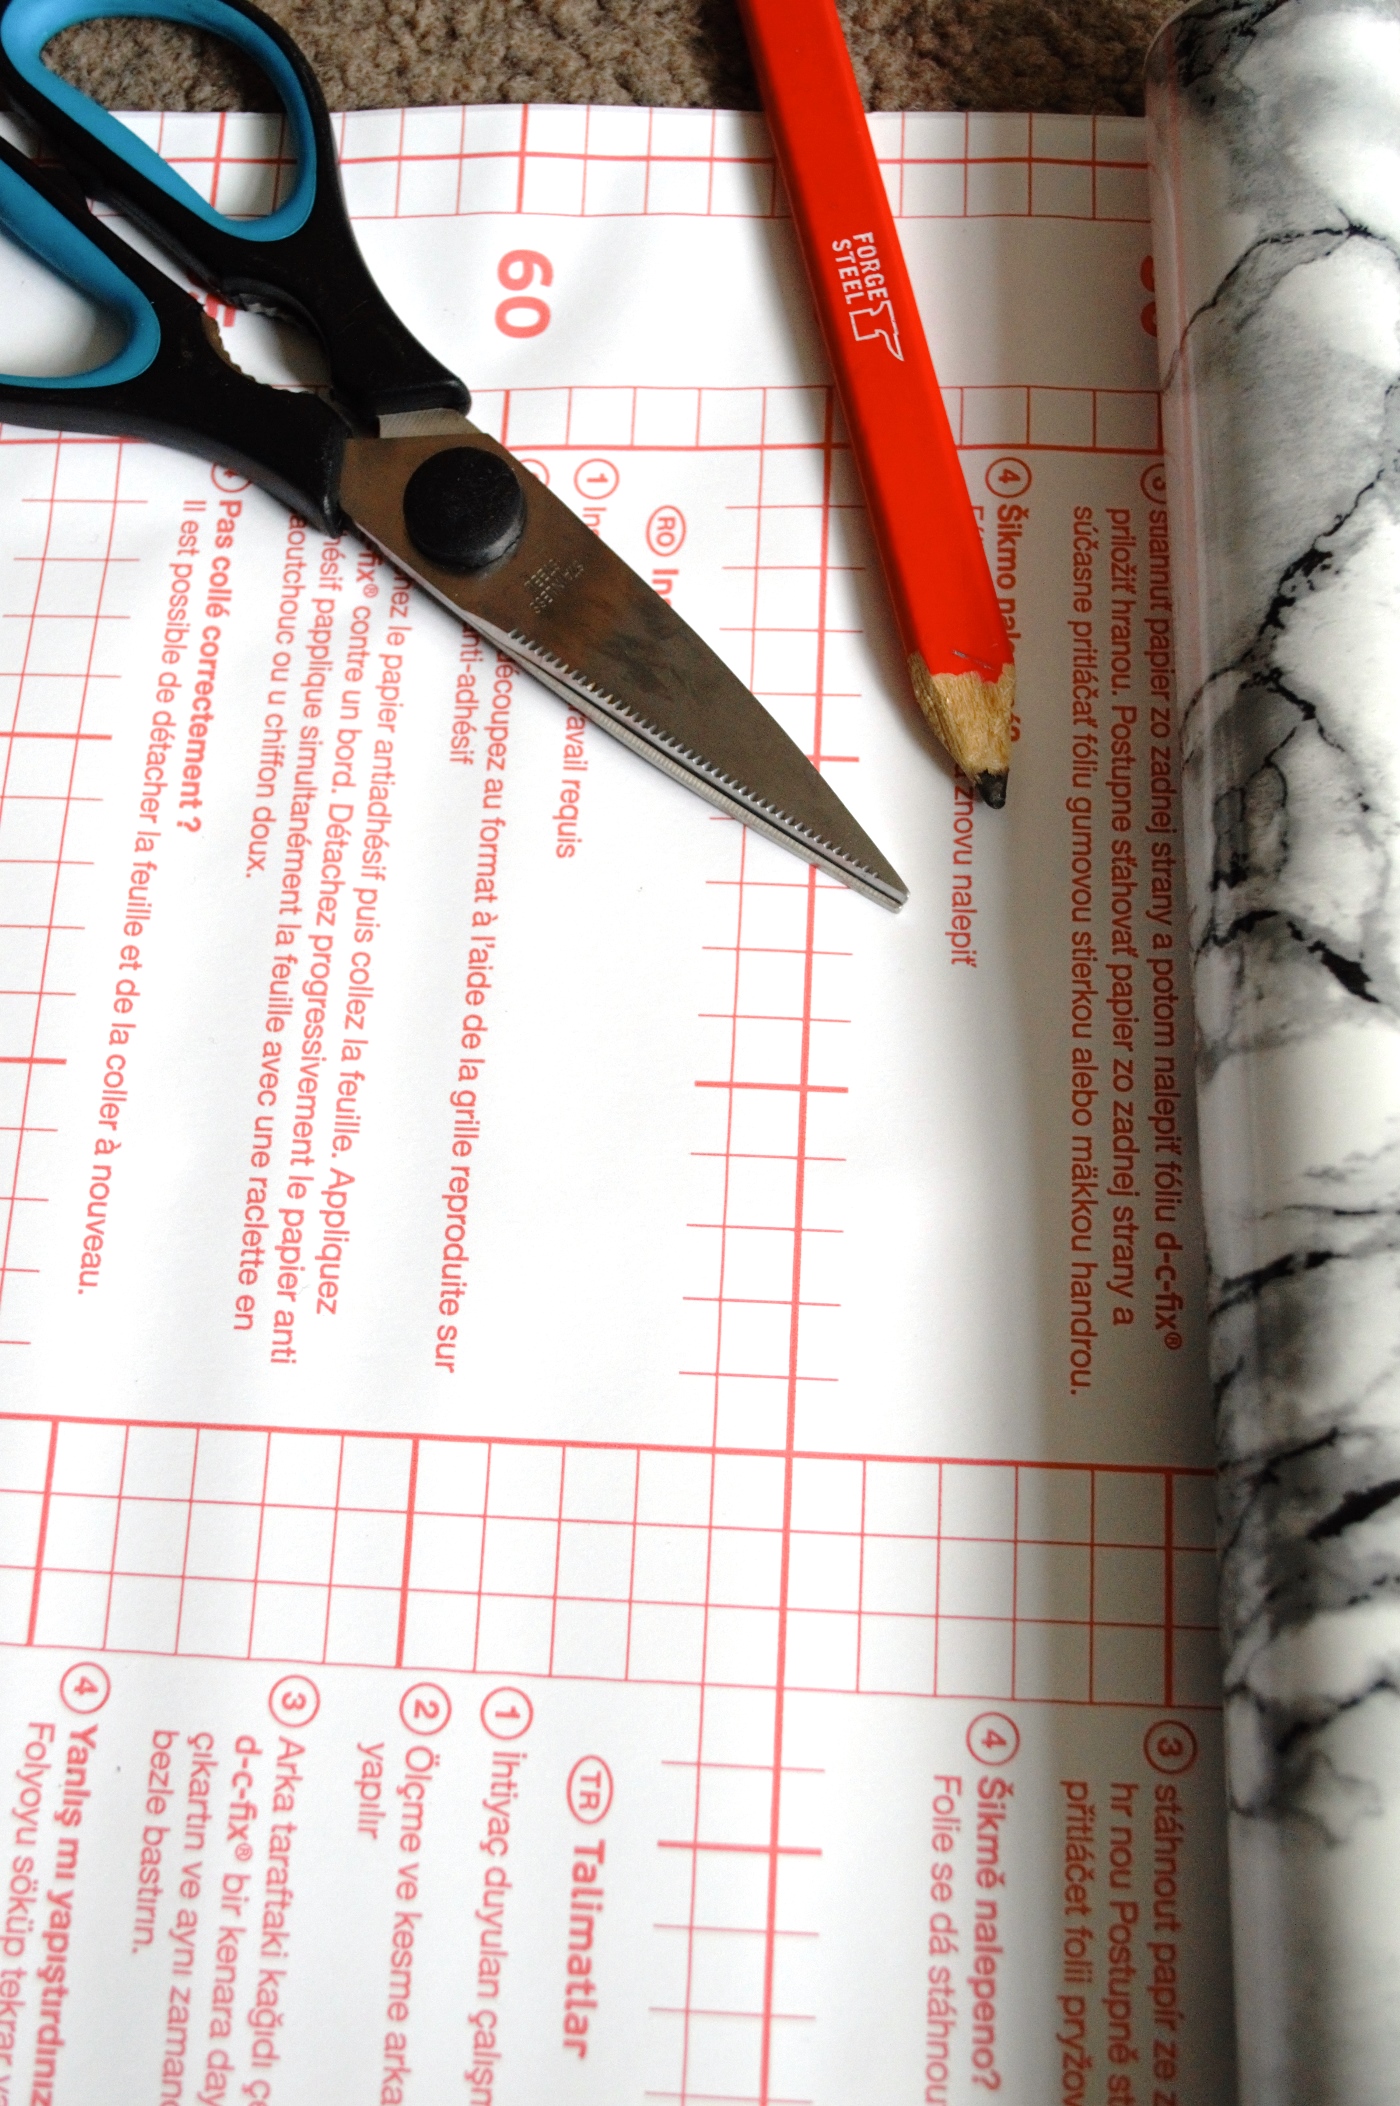
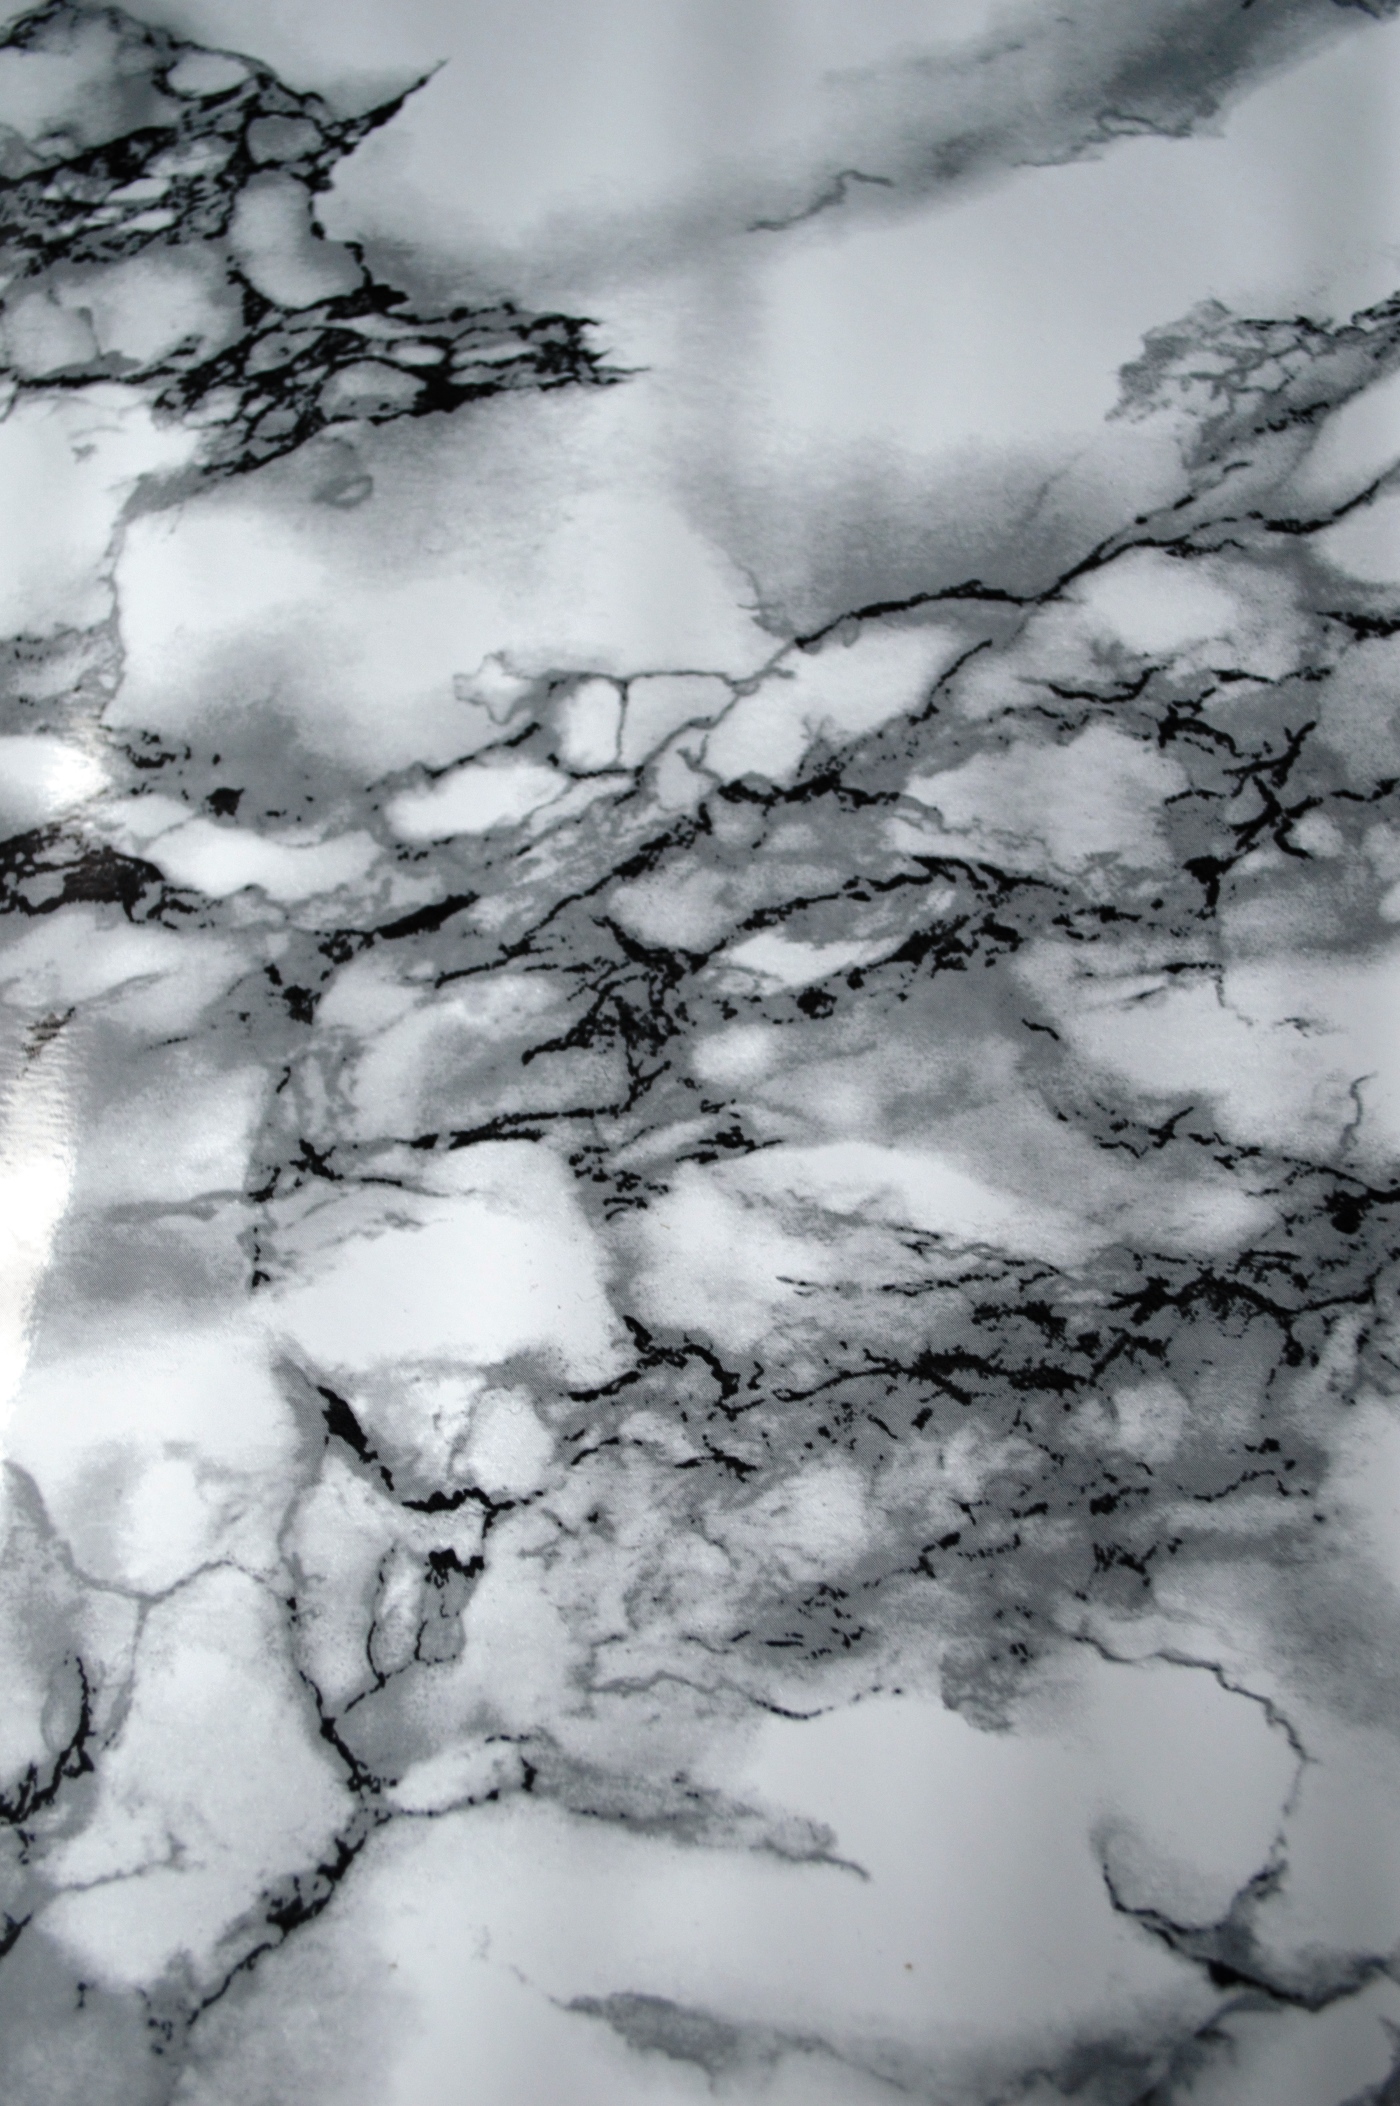
Rather than cutting to the exact measurement, after a bit of fiddling we found it was best to overcompensate on the size and then remove the excess once the main surface area is stuck down. If you’ve ever used sticky back plastic before, or used double-sided tape, wallpapered or used a wall decal – it’s all very familiar.
Start on one side and make sure the pattern lines up where you want it to go.
Then smooth it out. (Turns out, we didn’t even need to lay it down for so long. Once it’s stuck, you don’t see any curves.) Gradually, pull off the backing from underneath and use whatever you want to ensure that the film sticks to its surface without bubbling. Similar to using a brush with wallpapering, but in this instance I found it so easy to work with, my hands did the job just fine. A ruler would work well too if you have one knocking about!
Once everything was smooth and we were happy with it, we took a knife to score the edges. We lost our stanley knife (RIP Stanley) so a regular sharp knife was used.
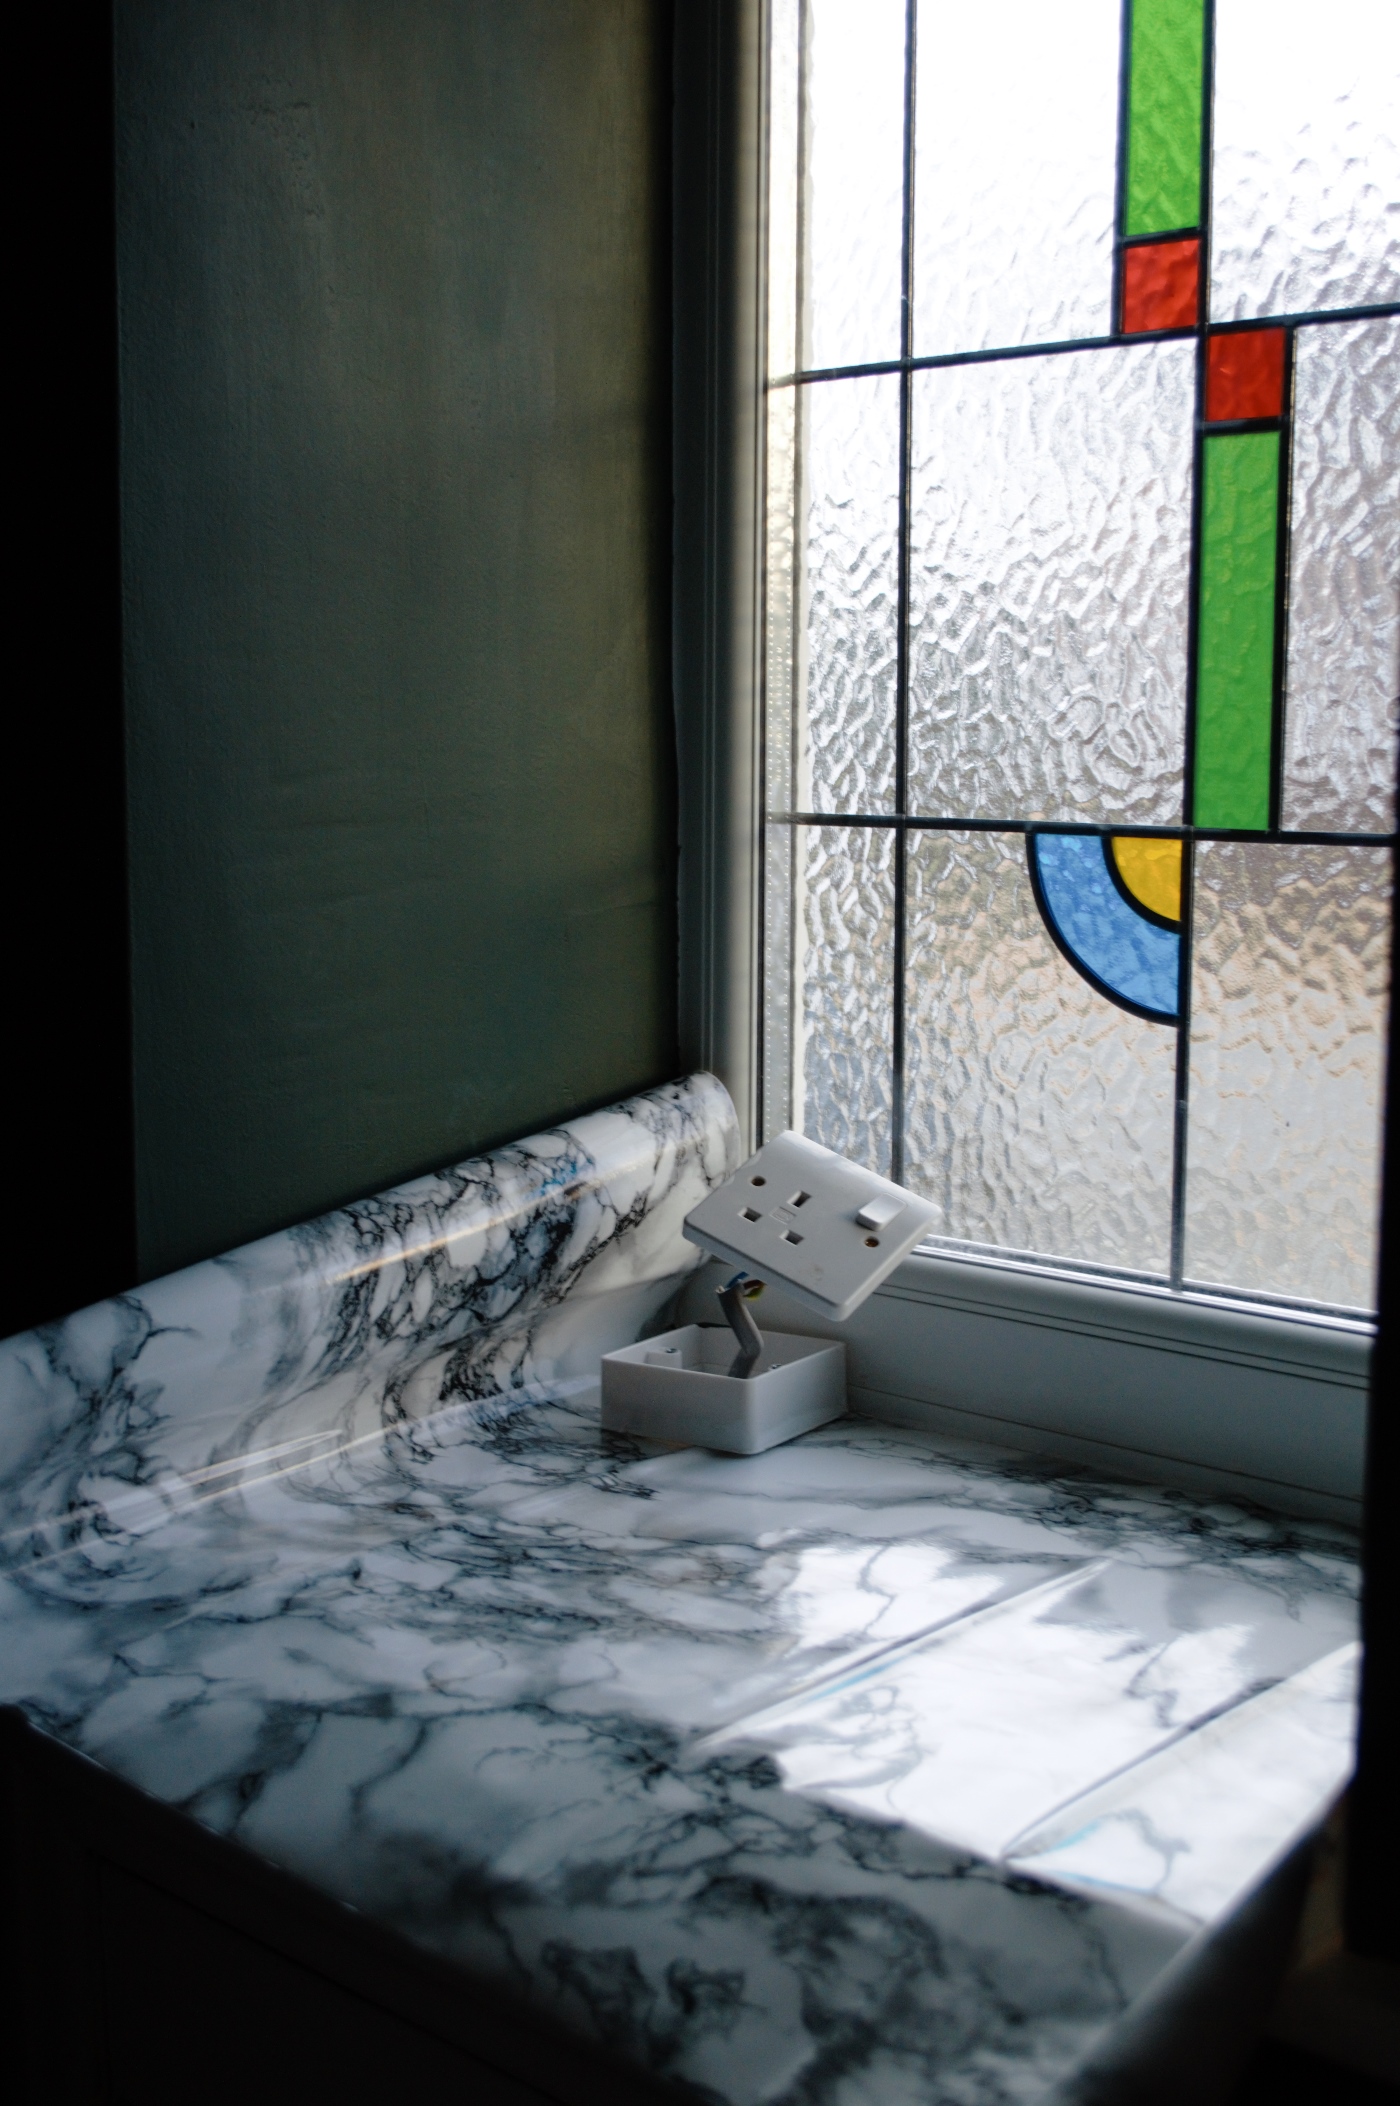
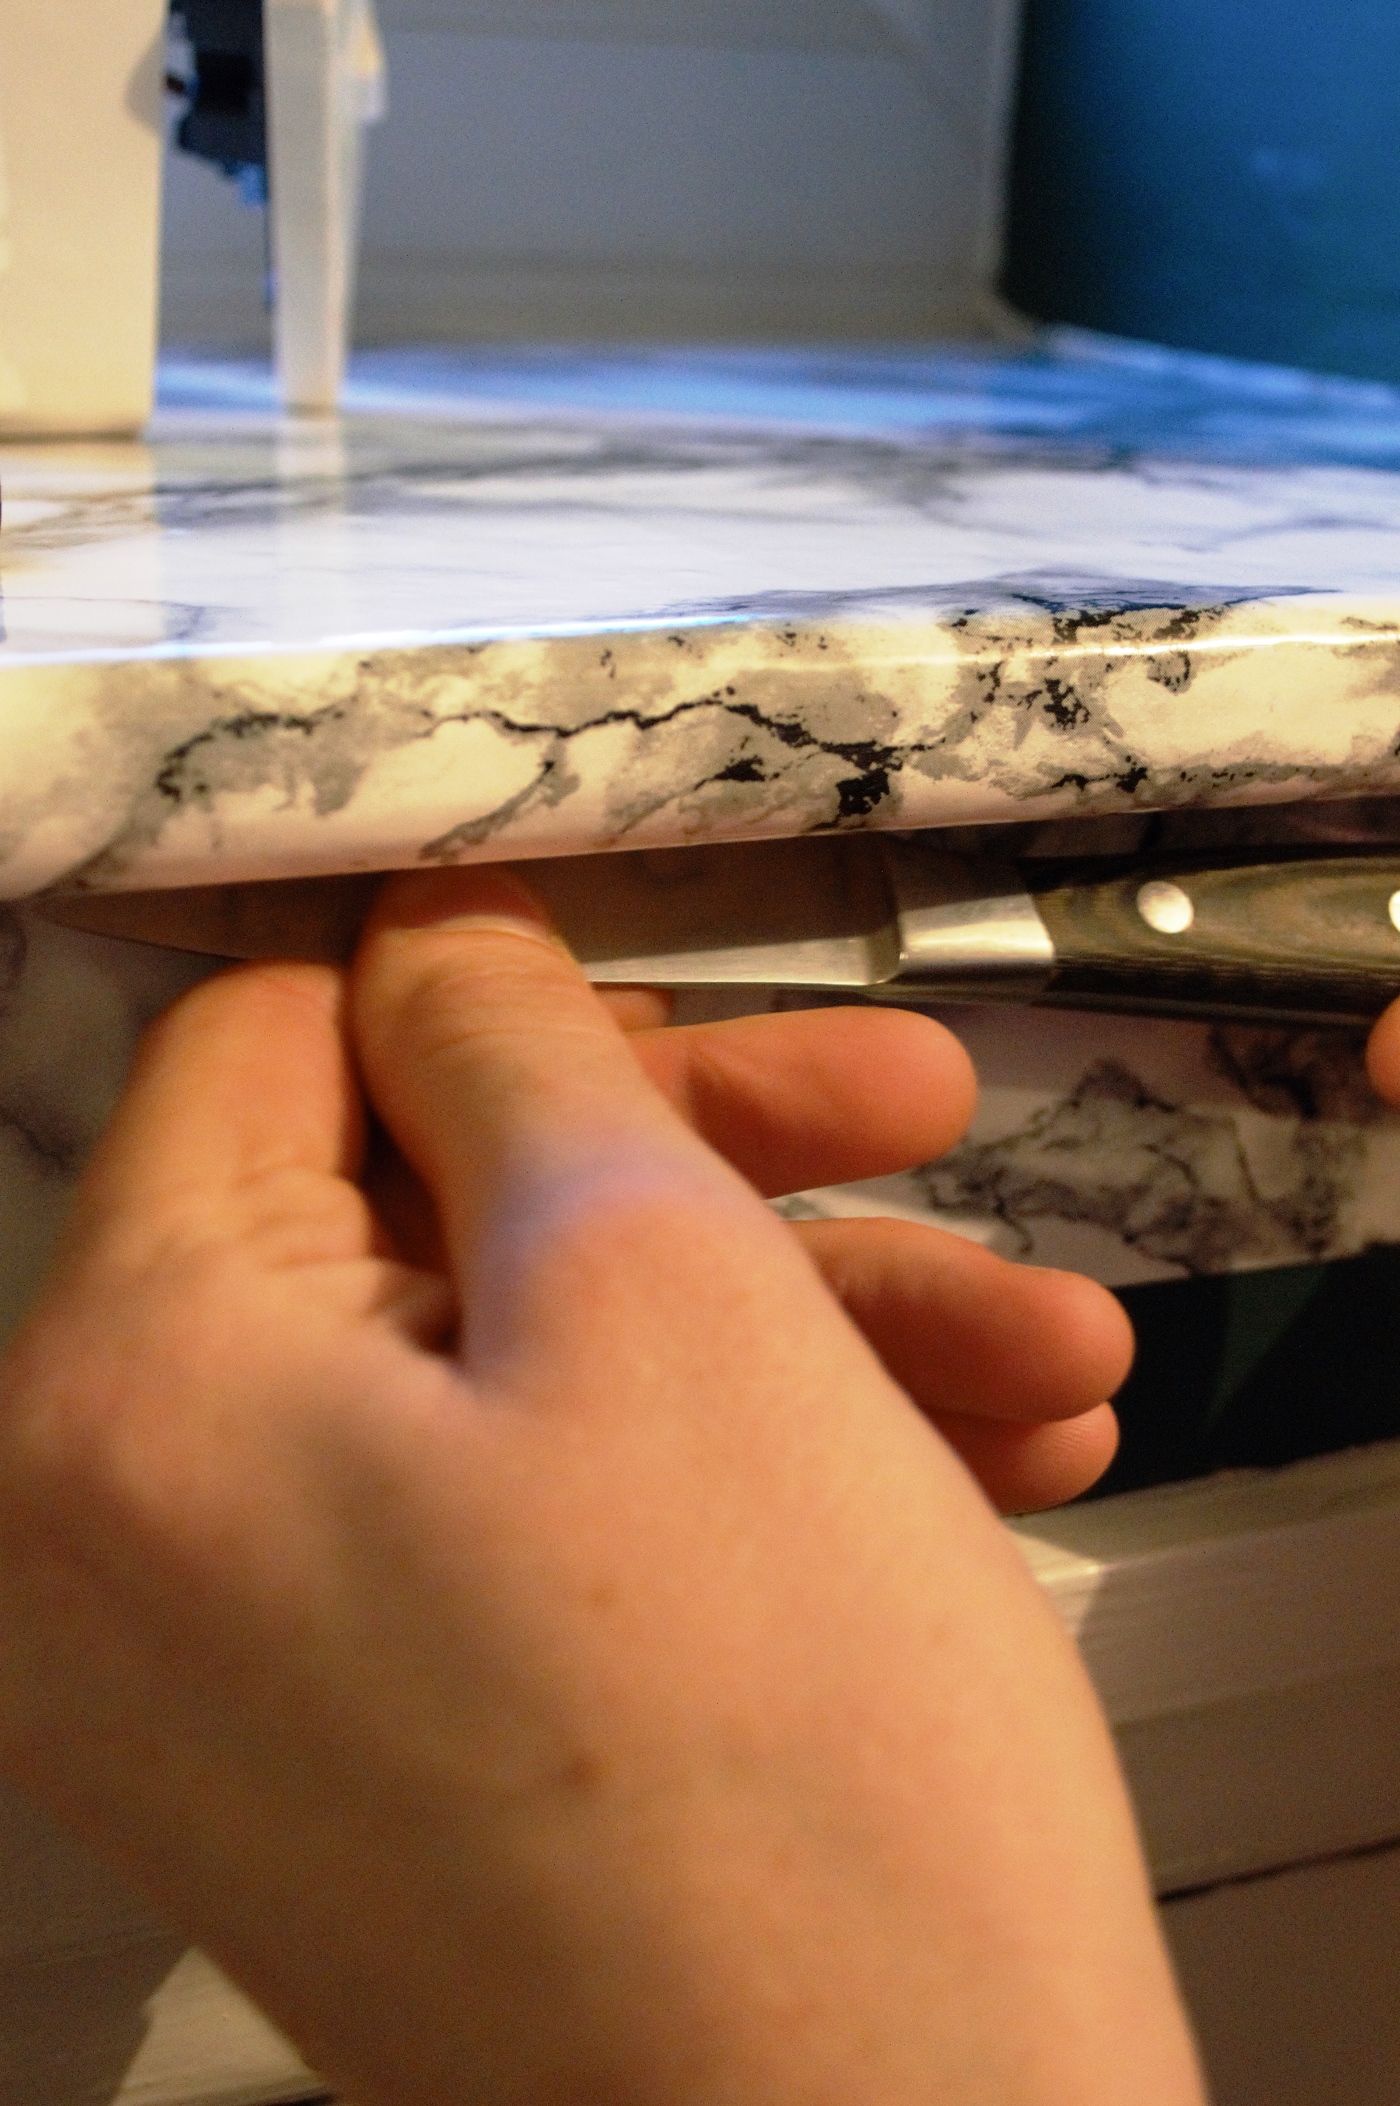
This was so so easy to do that I’d say it could actually be done in about 10 minutes. It took us a little longer because we were indecisive and a bit nervous about the change but it was simple all the same!
I will say that the edges didn’t look as neat as I wanted them to despite doing a really precise cut, so we added a bit of caulking on the edge where wall met the faux marble, and now it looks seamless.
Sure, it’s not going to have that lovely cold smooth feeling of legit marble, but who goes around stroking windowsills anyway?
(And if anyone asks, it’s real okay? Mum’s the word.)
The sheen against the natural light certainly tricks the mind when you see it across the room, it’s completely wipeable which makes it great for kid’s surfaces (watch out Luna’s room!), and if you don’t like it anymore you can just peel it off.
Oh, and did I mention it only cost me a FIVER. That’s right, a roll of adhesive marble will cost you a whopping £5. Not a bad price for a mini makeover eh?
So that’s it! I’m loving how the room is turning out – full reveal coming as soon as I tidy up! – What do you think? BRB whilst I marble ALL THE THINGS.
