This summer we replaced our garden fence. Yup, classic late posting from moi I know. We’ve long since packed away our summer garden gear, and this one was of the main tasks we really wanted to get done and dusted before the cold set in. Mostly because we needed the garden to be escape-proof for our ferrets before the dark nights were upon us! But I understand this is a bit of a niche situation…. #firstworldferretmumproblems
The job was originally meant to be done no later than April. You see, replacing a fence can be more difficult than you may think, particularly if it is a shared fence with a neighbour. Generally, it’s just a good idea to agree between the two parties what you want to do, and then decide who is going to pay for it. This took some time.
We moved into our house before they did and the fence was KNACKERED. Because the house was vacant for over a year, the shrubbery, grass, tree roots and plenty of climbing plants had been left to go wild. They completely destroyed the fence and we didn’t realise quite how bad it was until we (the Royal we – Joe did it) stripped back all of the jungle. Look how scruffy it looked. These pictures were taken Summer 2015.
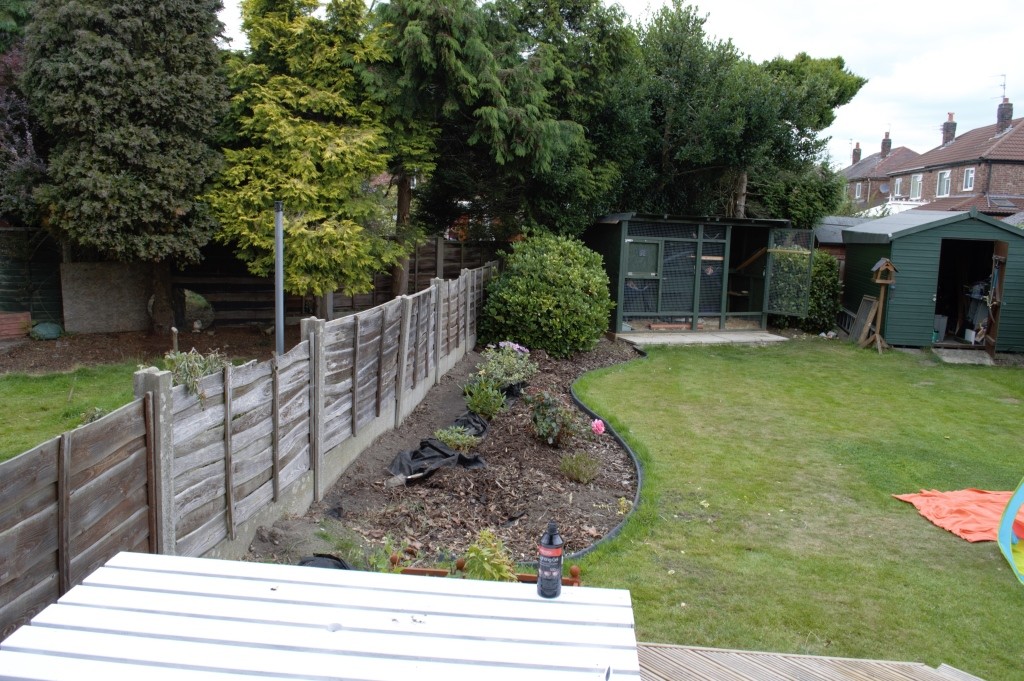
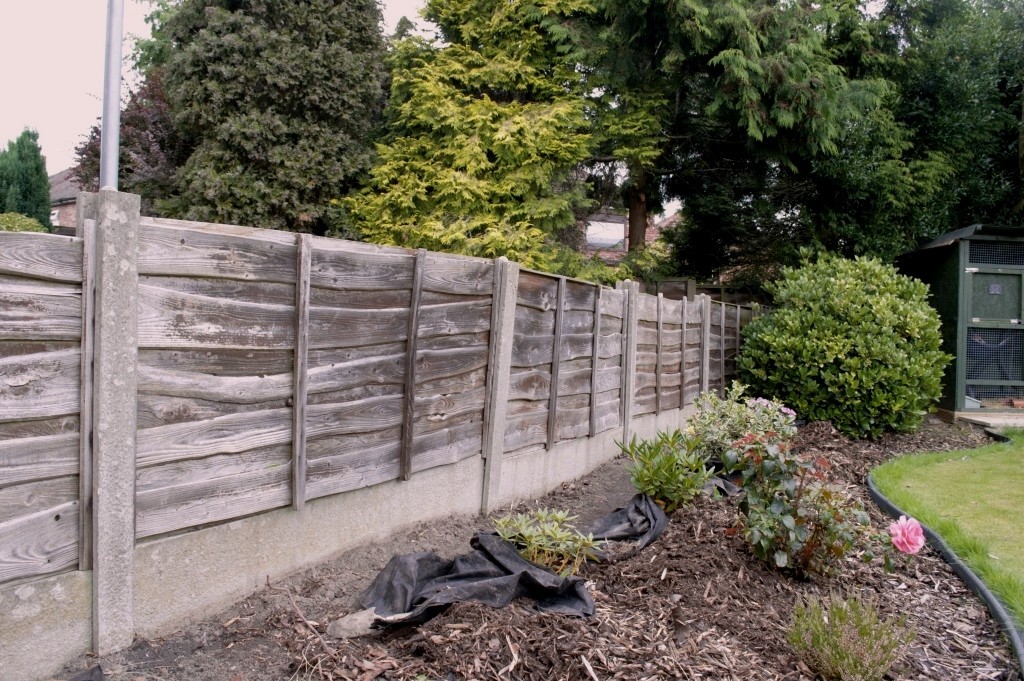
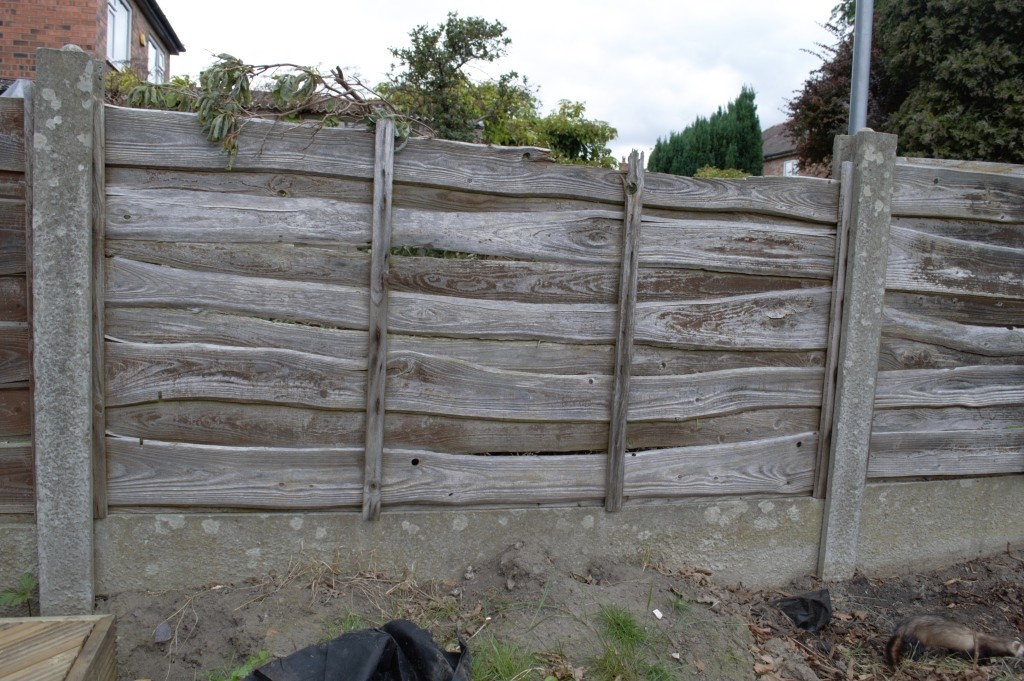
We knew that next door were going to renovate so decided that us replacing the fence just didn’t seem like a good idea yet.
And so we waited.
As luck would have it, our neighour used to do fencing for a living. It’s funny because Joe thought he was a professional fencer, as in the sport. It took us a while to clock on that he meant actual garden fences. FACE PALM.
So thankfully we got a great deal from his contacts.
Not that we don’t like our neighbours, but with the old fence there was zero privacy. If either one of us were to sit at the kitchen table, next door could easily watch the other having dinner. I can’t tell you how many times I came downstairs wearing…very little to make up a baby bottle, only to discover the lad next door and his mates are all having a smoke outside. GREAT.
(For the record, this was before we had bought curtains. I’m not an exhibitionist!)
For this reason, for the replacement fence we’ve added 8 foot panels where the fence is closest to the properties, and then reducing to 6 feet tall further down.
And what a difference it makes!
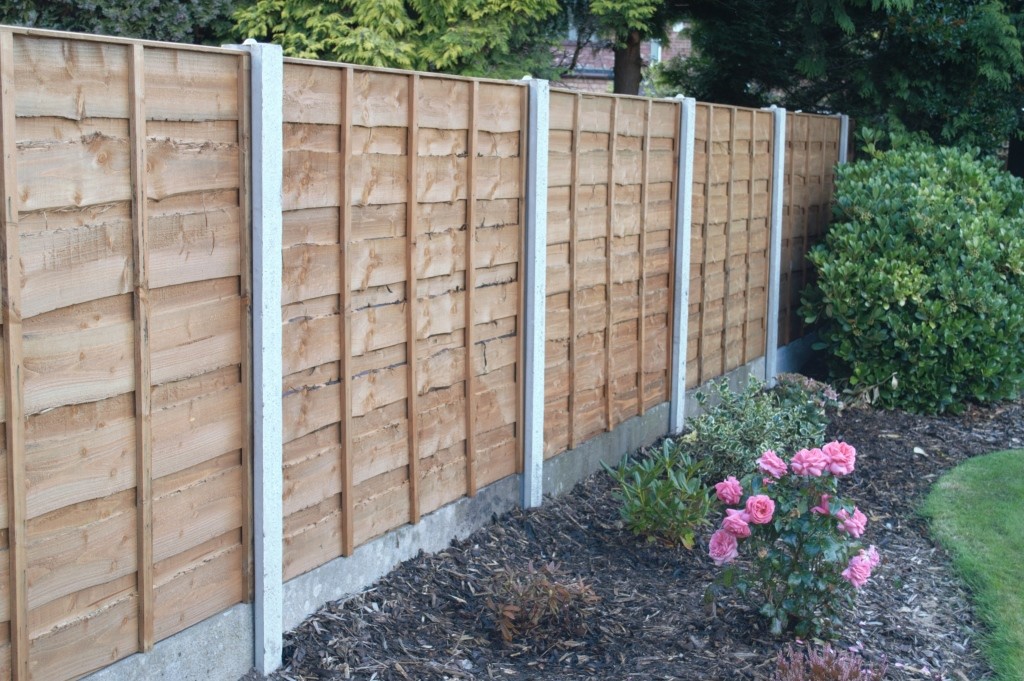
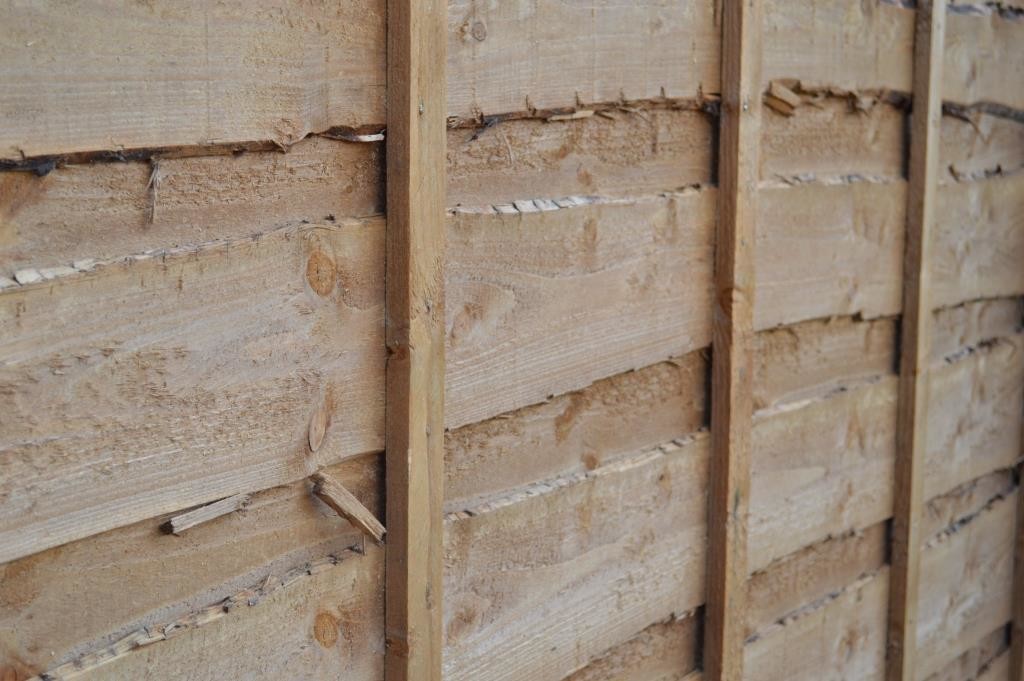
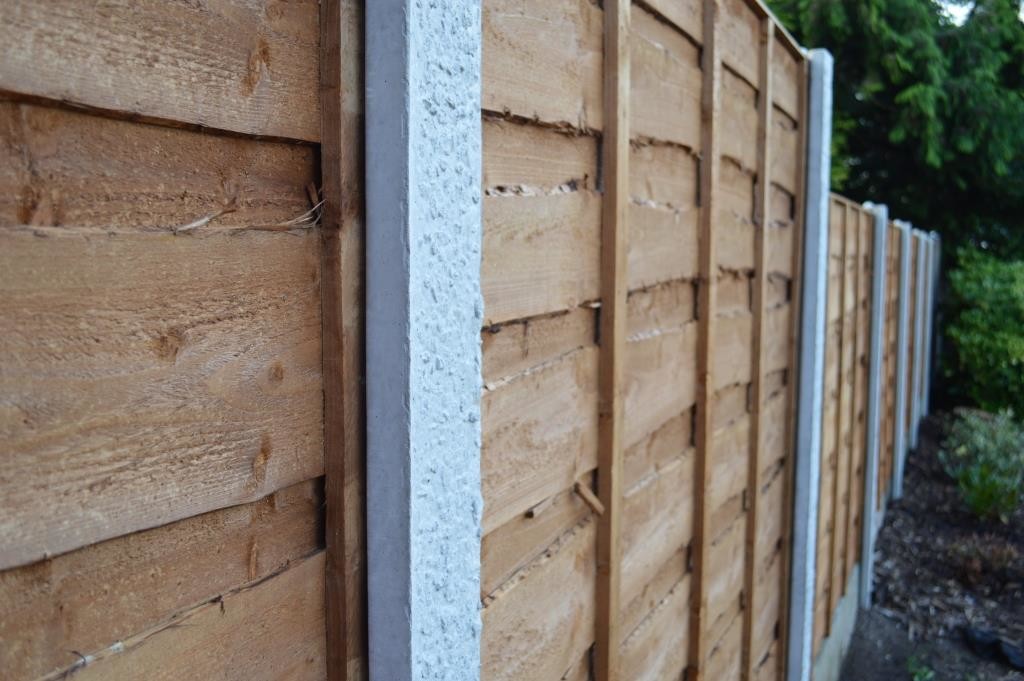
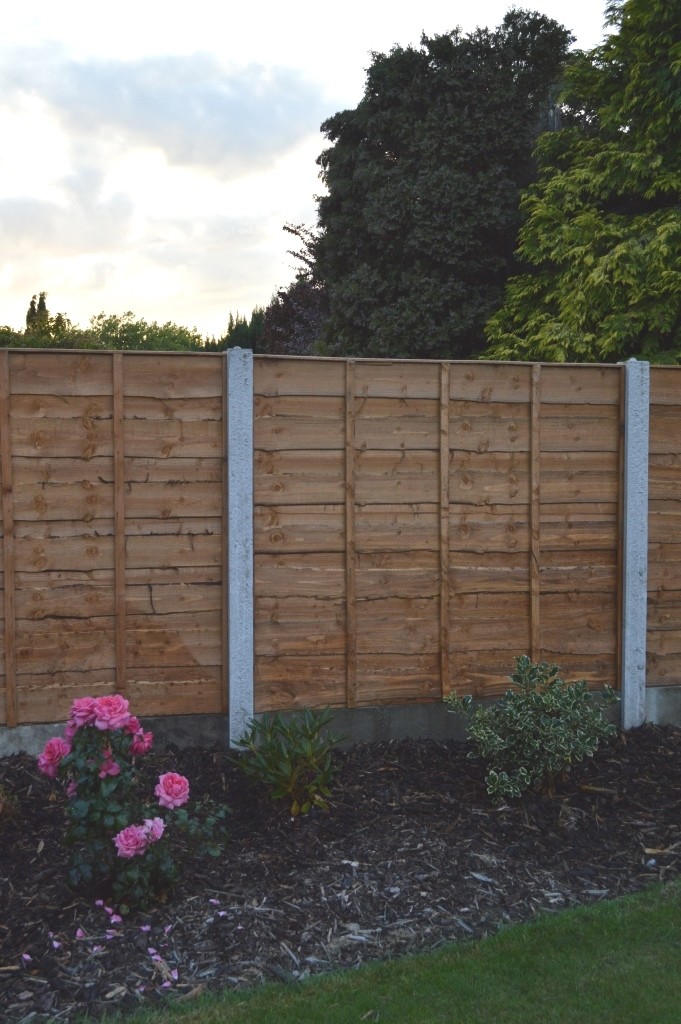
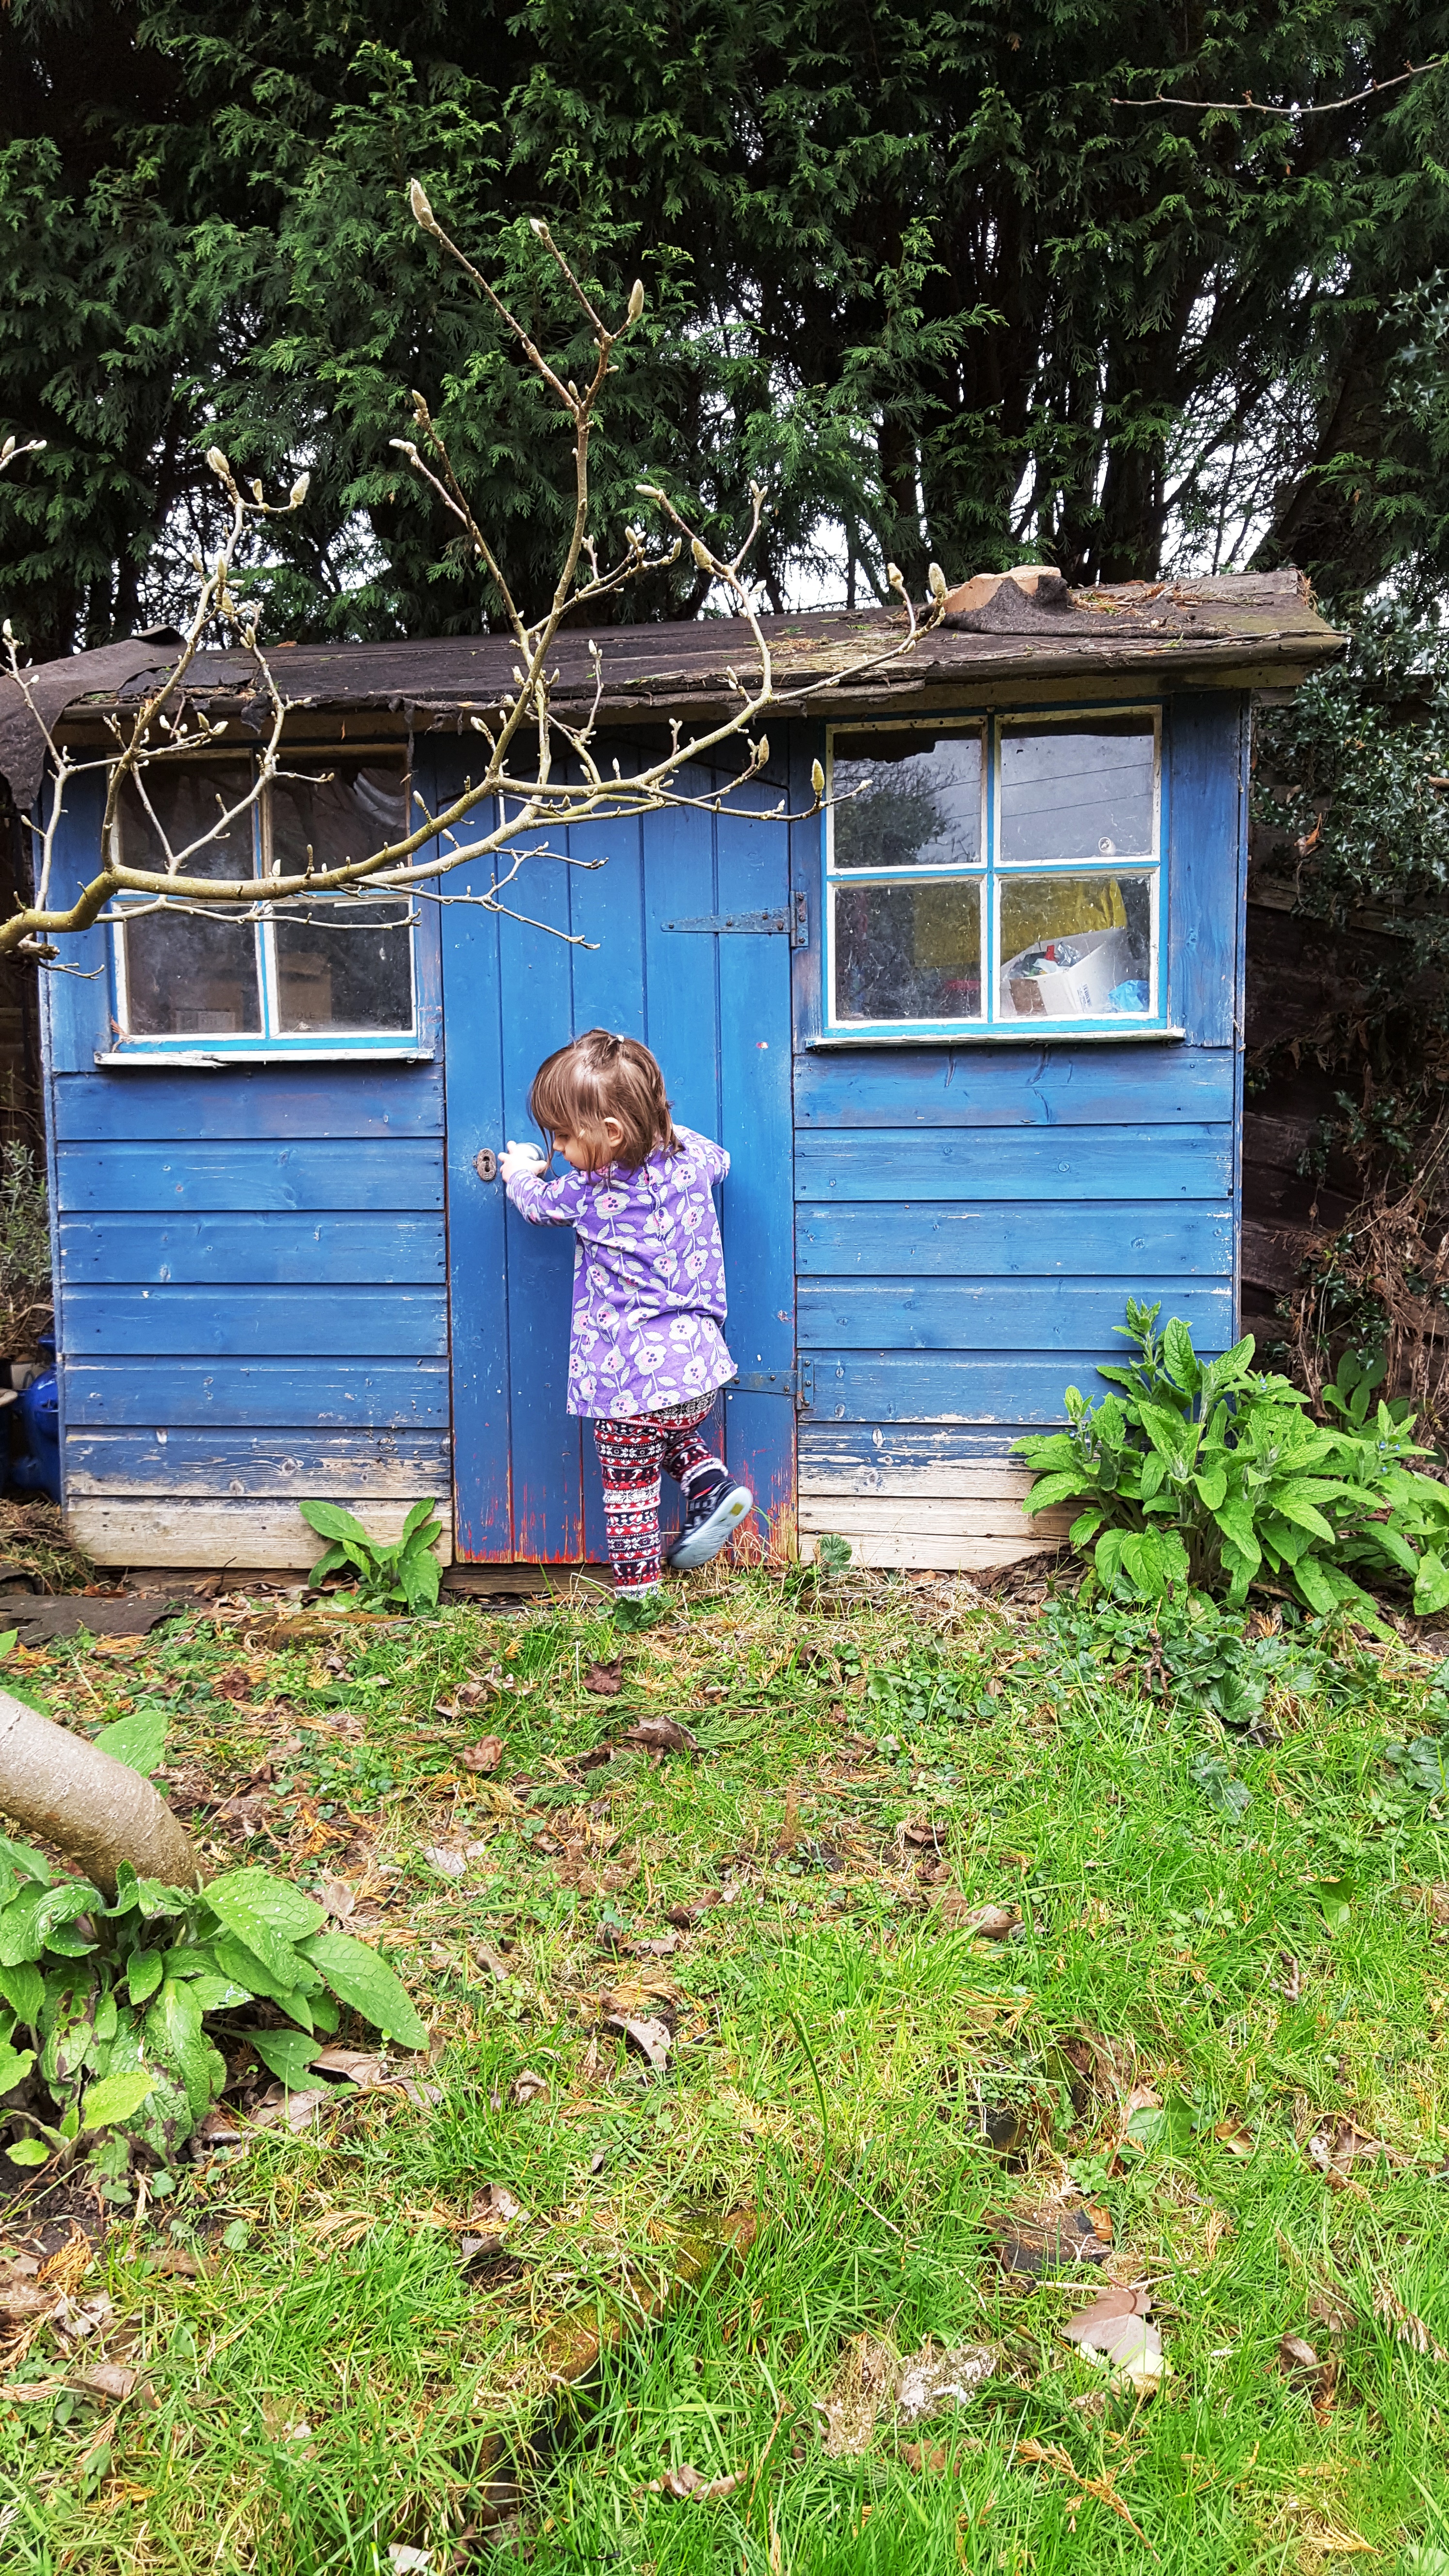
As Joe and the neighbours all tackled the project together, out of respect for them I’ve not added images of the work being done, but I tell you what, Luna sure loved watching her daddy hard at work through the window. She was dying to get out there and join in!

But let me summarise what we did.
- The old fences panels were removed.
- The concrete pillars were also removed. These were deep in the ground and took a lot of hard graft from three tough men to get them out! Because we were replacing with fence panels of a different height, we needed to replace the corresponding pillars and get rid of them.
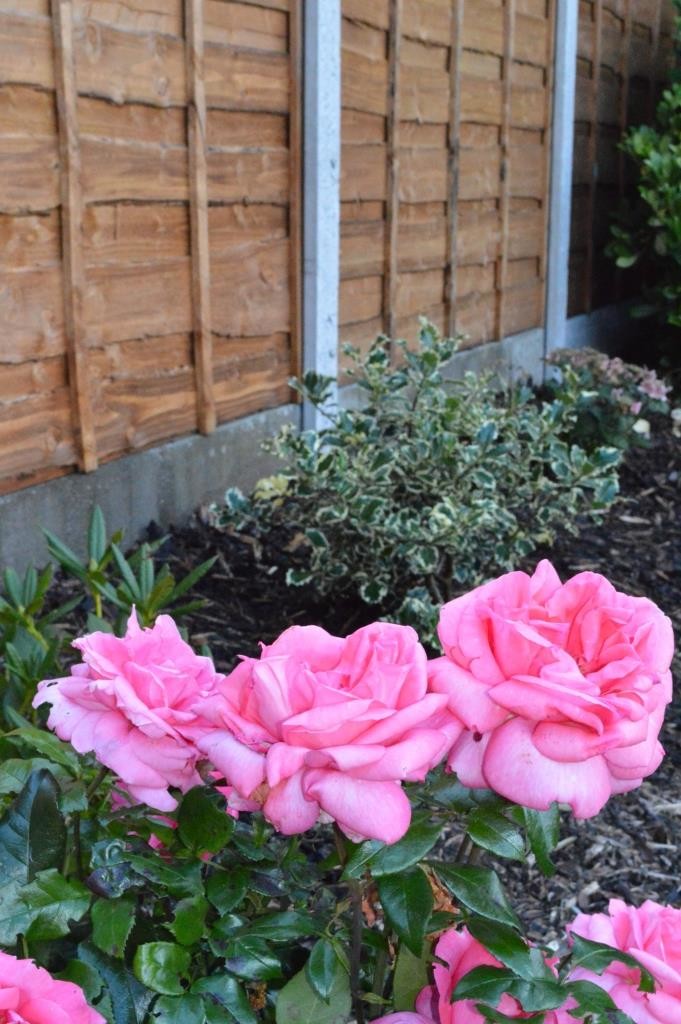
- The concrete supports at the foot of the fence panels we kept. They were taken out of situ temporarily so that the new concrete posts could be cemented into place. Then, in went the new taller posts, and the new fence panels.
- The bottom of the concrete panels were packed in with soil, and we gave our bark and bushes a good tidy up. They’ve nearly all been planted this year and should get significantly larger by next summer, so we want to keep them tidy!
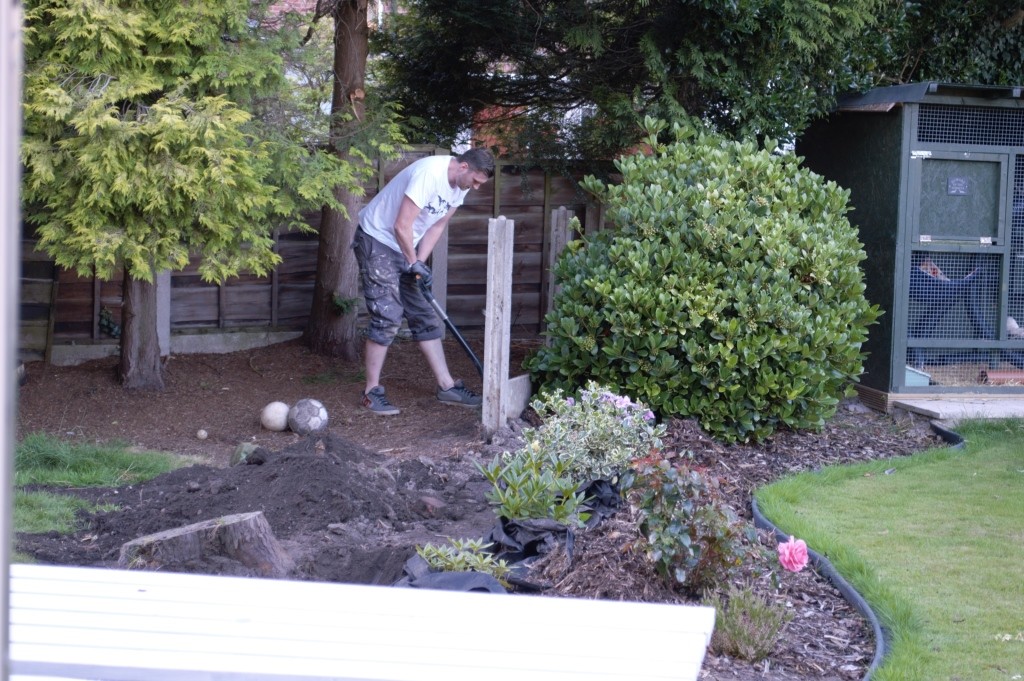
So, I understand that was a pretty basic ‘How To’. I think with this type of job you really need all hands on deck. You need your general garden tools, but also don’t neglect the fact that sometimes you’ll need more heavy duty equipment. The guys ended up using almost every kind of power tool in their kit in order to remove an unexpected tree trunk. You can just about see the size of it in the image above. It was a beast!
Here are a few tips we’ve got to offer, in case you’re thinking of giving it a go yourself.
TIPS
- If you’re not sure who needs to take responsibility for replacing the fence, check the deed to your home or ask your landlord. Sometimes it will state it in those documents.
- If this doesn’t work, just try talking to your neighbour and see how they feel about replacing it. It might not be a big deal!
- If one person damages the fence or removes it without your permission, generally speaking they should then replace it and incur the costs.
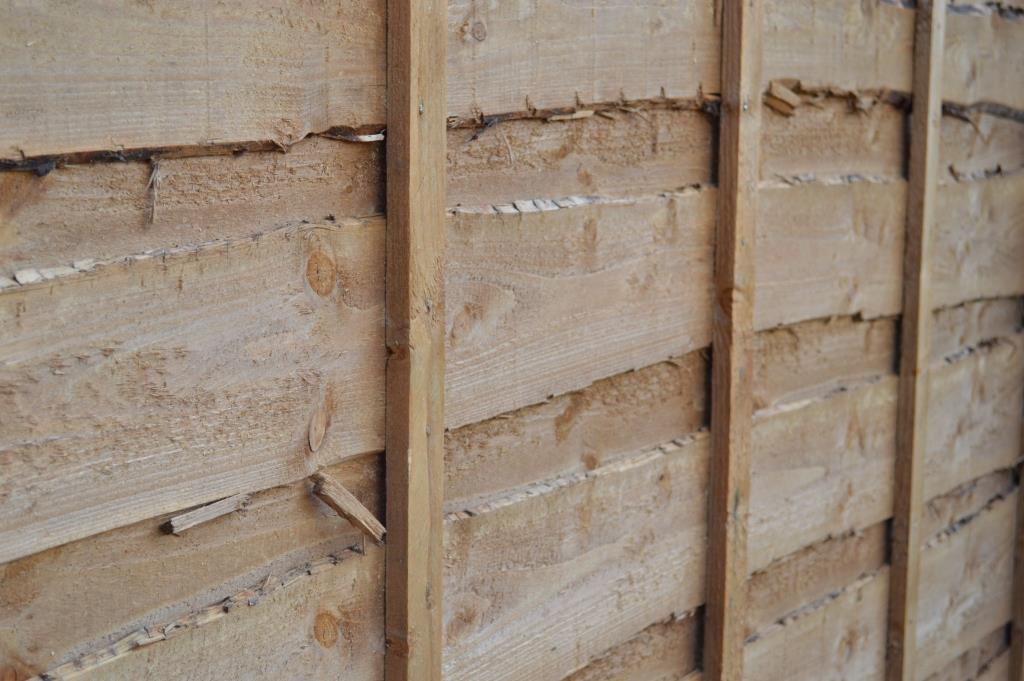
- You can often tell which is the front of a fence by examining the panels. Notice on my fence there are vertical pieces of wood. This tells us it’s the back of the fence. These vertical panels are the support. Again, we’re speaking generally here but whomever has the front of the panel should really be responsible for its upkeep. I’ve often heard this explained as “you’ll be responsible for the fence on your left side” or something similar. This isn’t always the rule, but the principle is that you’ll usually only have the front to one of your fences.
- Be understanding. And patient. Just because you’re ready for a new fence, your neighbour may not be able to split the cost just yet, if at all.
- If possible, try to replace your fence with panels that are the same height as the previous ones. This means you won’t have to replace the supporting concrete, which is expensive! I know this isn’t what we did, but hey, I was essentially flashing our neighbours so I had my reasons.
Obvously a lot of these are specific to the type of fence we have but I hope it was a helpful read. We’re really pleased we’ve got some privacy back, and whilst I’m late uploading our progress, it’s one that’s been on our ‘to-do’ list for almost 4 years and what a relief it is to tick this one off.
