Little over a year ago, Joe decided to shake up the bedrooms in our house. We had a big clear out, and re-arranged the furniture to make the spaces look as large as possible.
Our bedroom isn’t humongous, but it’s far from tiny, and we definitely got a lot more room out of shaking things up. But something just didn’t look right anymore. The green feature wall, I felt was looking a bit stale (although I’d still recommend Dulux’s Polished Pebble which is an awesome grey), and after adding picture rails to the guest bedroom and our nursery, we wanted one in our room too. It was time for a makeover.
Just in the nick of time, Homebase got in touch. They told me that on average, shoppers tend to spend 29 days researching ideas before kicking off a project, and then spend £243 updating their home décor.
Armed with that very amount to spend in Homebase, I wanted to finally get this show on the road and makeover our master bedroom. Here is how far it got me:
- Picture rails
- Skirting boards
- Antique brass bay window curtain poles with matching curtain ends
- Wall Doctor wallpaper in Easy Panel
- Solvite wallpaper paste
- 2 x copper bedside lamps
- Bedding set
- Pillow cases and fitted sheet in black/brown
I think it’s a bit of an odd number and as you’ll see from the pictures below, it CAN go a long way, but in this case, not necessarily enough to do the full transformation we have in mind. If you have a room that’s well presented and you’re just looking to update your décor, then shopping at a DIY chain like Homebase can make one heck of a difference – not to mention the fact that some of the newly updated stores stock Habitat items who have some really badass pieces.
We started from scratch though. Here is how we started the makeover, with a buttload of pictures to tell the tale. Take a look and let me know what you think!
Before
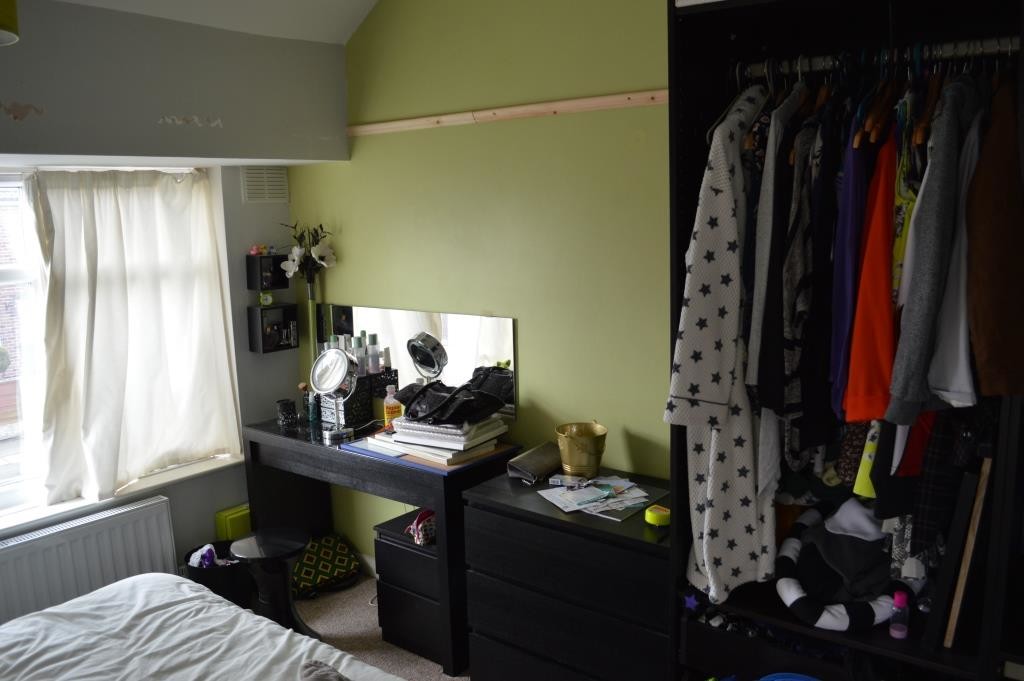
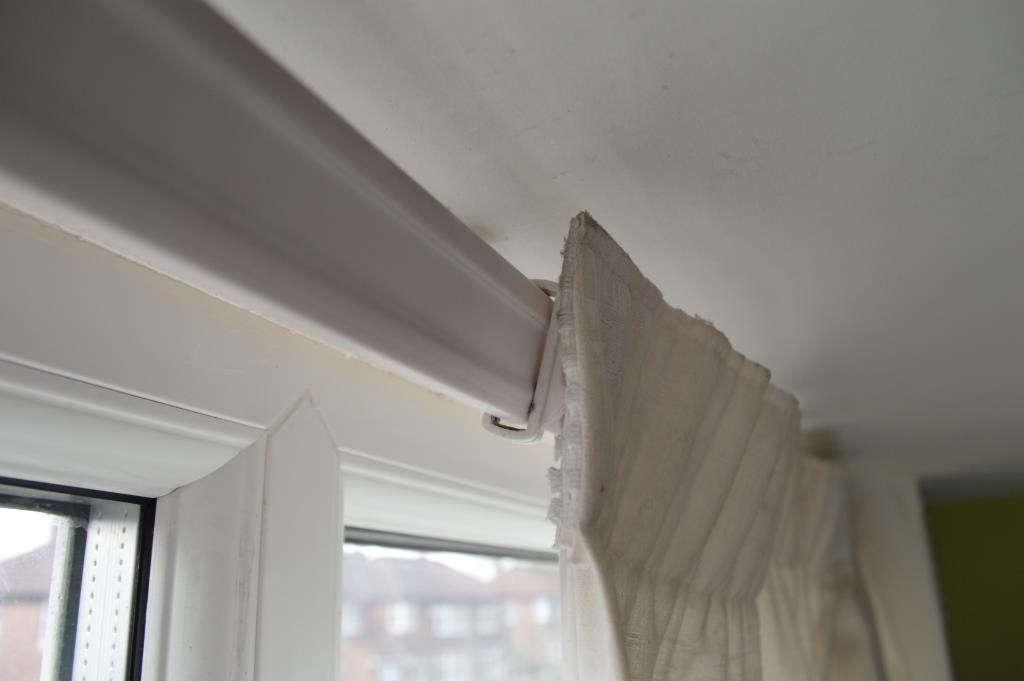
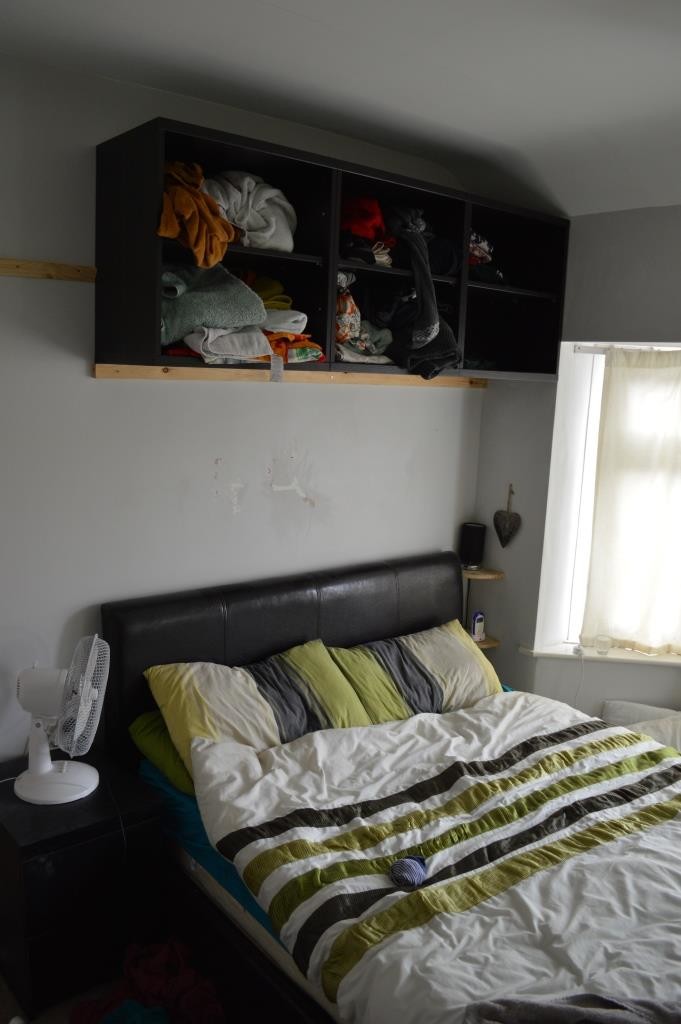
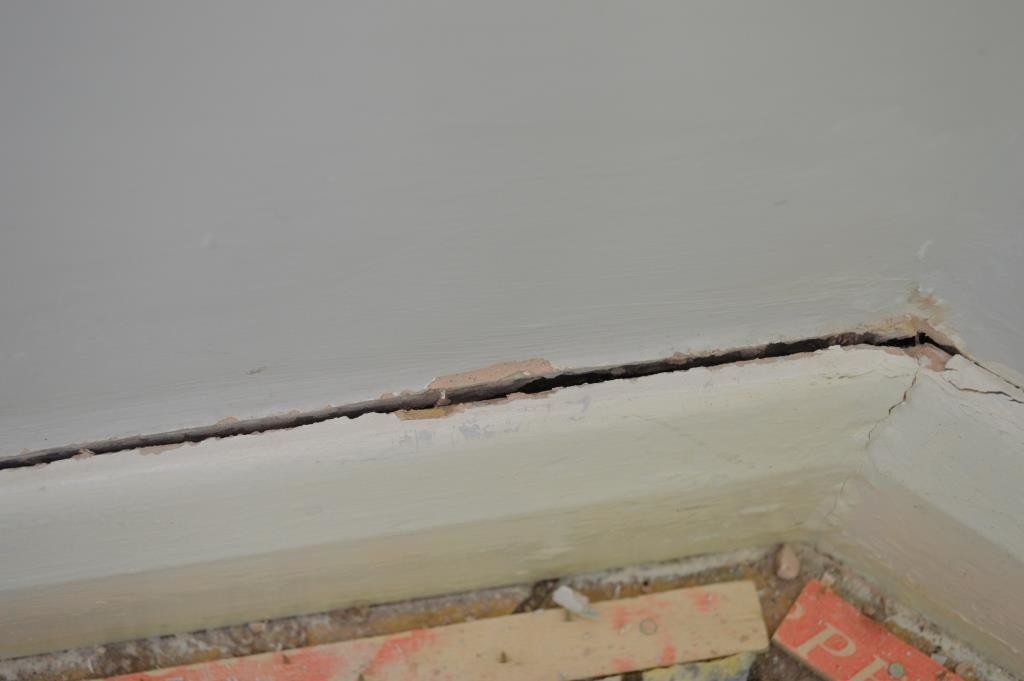
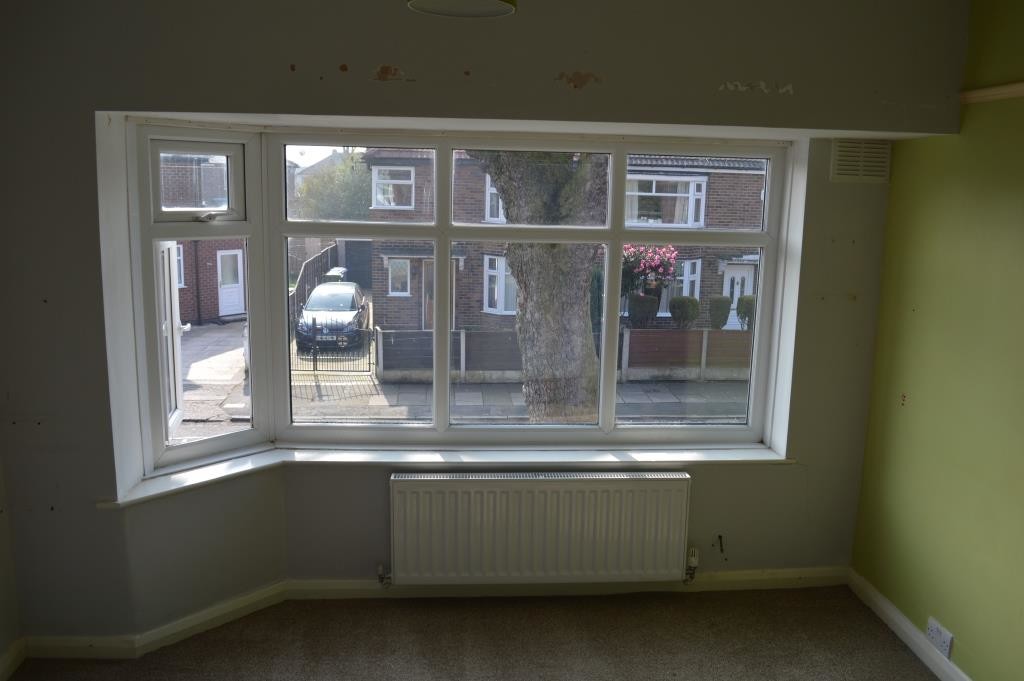
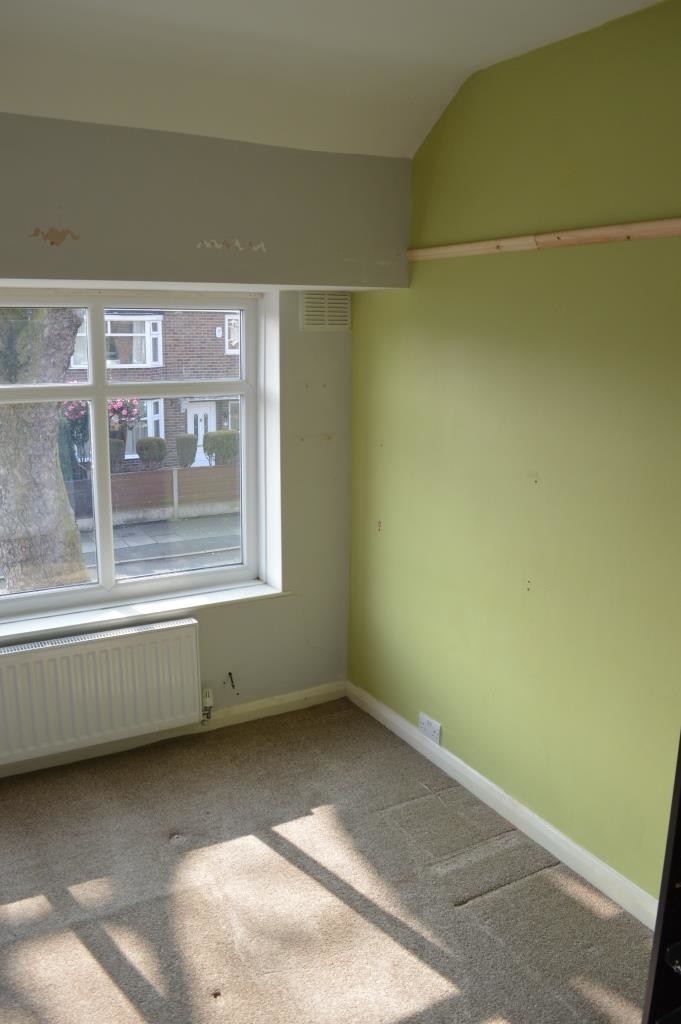
Our bedroom was a neglected space. We have slowly introduced storage – our wardrobe and over the bed – but haven’t even secured doors for them yet, so it’s been looking scruffy and cluttered. The green paint needed to go, and as you can see, we’d already started adding picture rails to the walls using what was left from the other bedroom makeovers. Our old curtain rail was a curved plastic piece, necessary for our bay window. I truly don’t like it, which is why buying a new metal rail was top on our shopping list. With cracks in the wall and the skirting board, Joe was on a mission to get the very basics of this room looking spick and span.
(And yes, if you’re noseying at my clothes, that is 100% a collection of Christmas jumpers, and absolutely my lemur onesie popping out of the wardrobe. Haters gonna hate…)
During
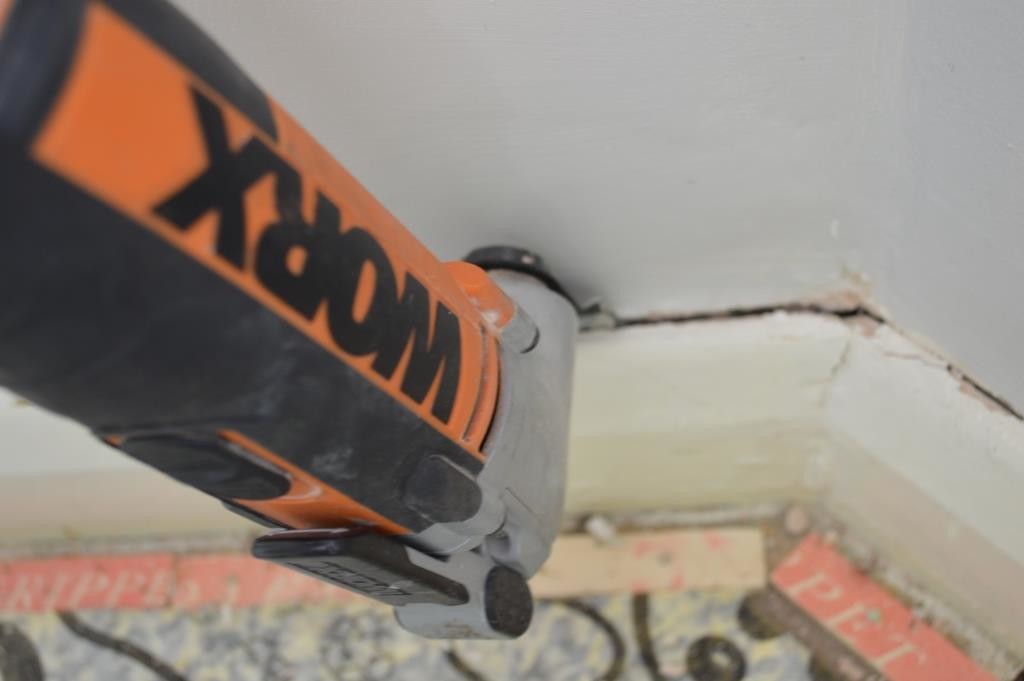
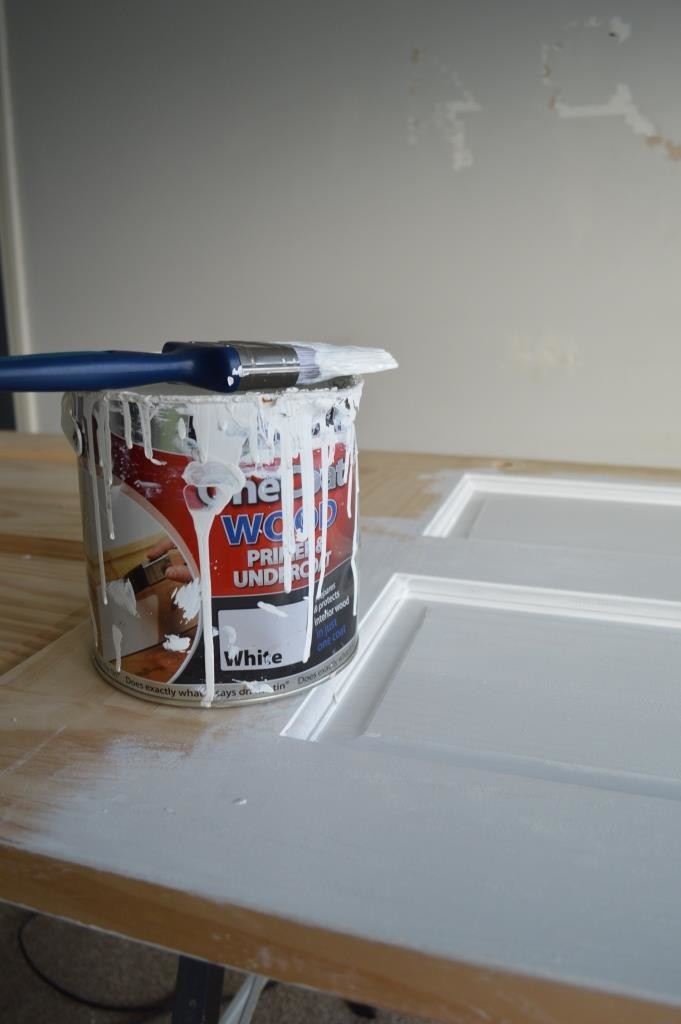
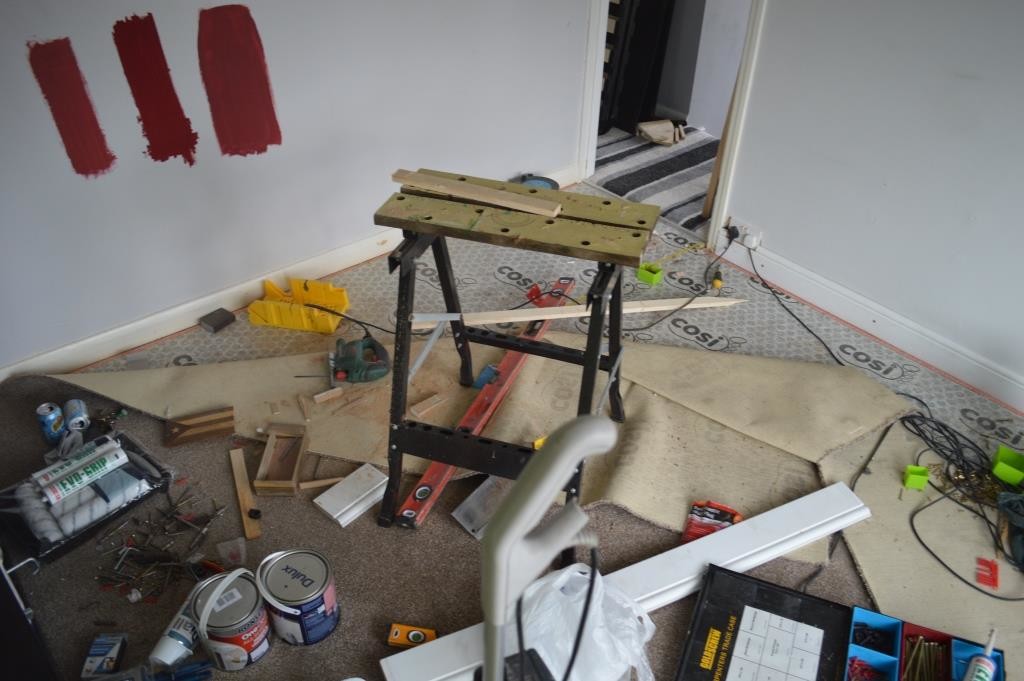
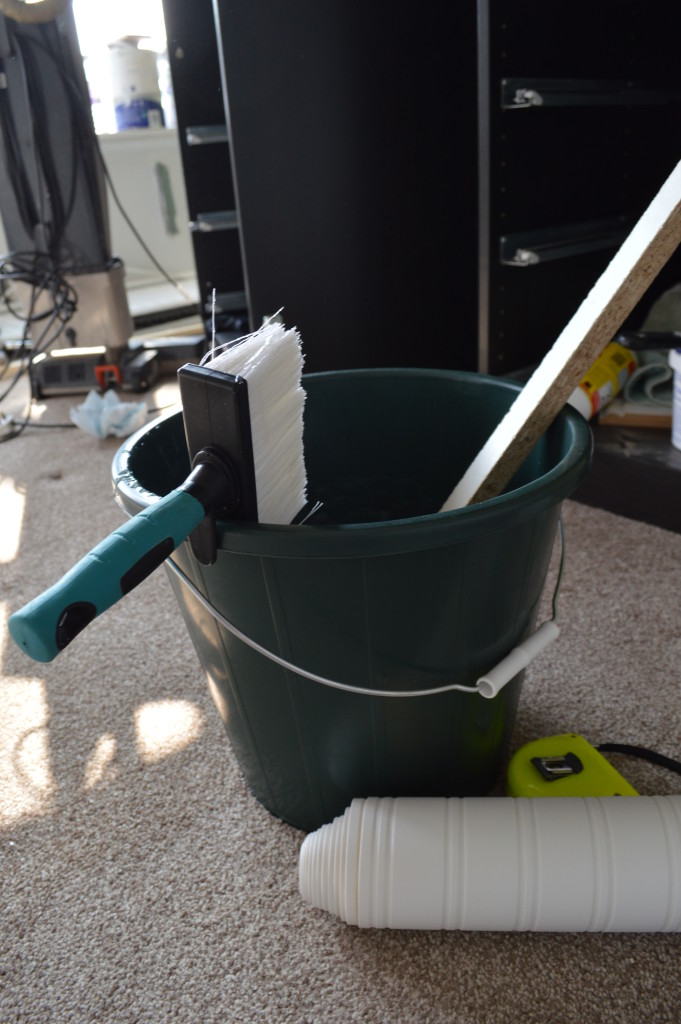
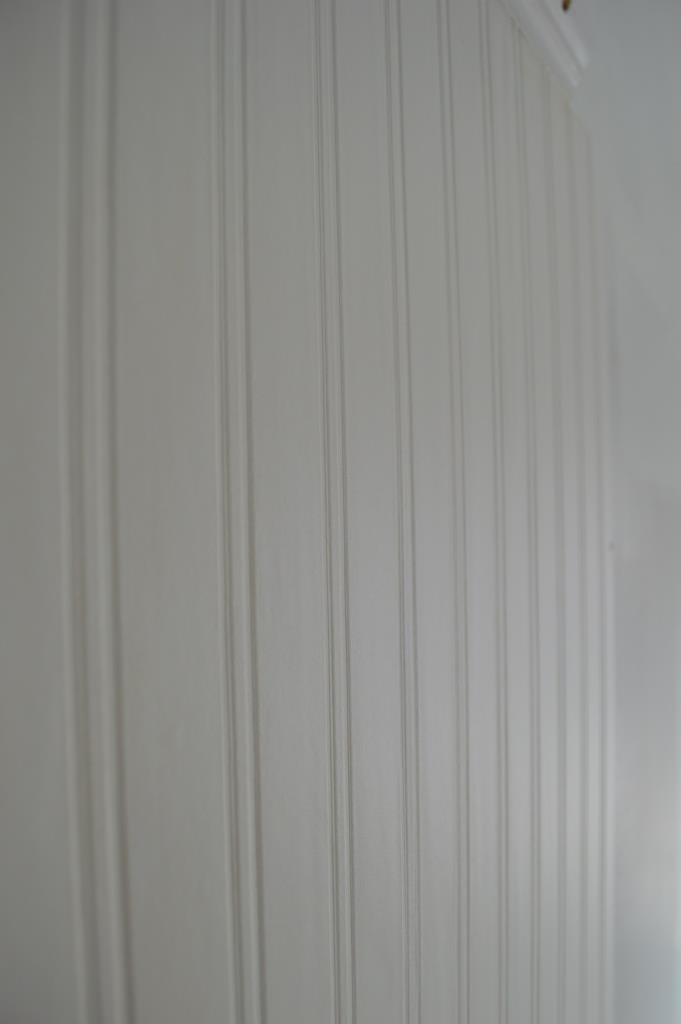
Kicking it all off, everything left the room. We cleared ALL the junk, and every bit of furniture was dismantled and moved to another room of the house. In fact, me and Luna – who was only a few months old at this point – left for a few days and allowed Joe to really be in his element. Joe used his Worx Sonicrafter Hyperlock Oscillating Multi tool to remove the old skirting boards without affecting the walls, and replaced them with the new wood. After finishing the picture rail, he added white gloss to the rail, the skirting, and also our bedroom door to give them a new lease of life. To really give the room a new blank slate, he painted the ceiling and the wall areas above the picture rail in a few coats of matt white. Then came the wallpaper. We chose a thick textured paper to hide the cracked walls, and I adore this panelled effect which, when painted, will really look like wooden slats – something I’ve wanted to do for quite some time.
After
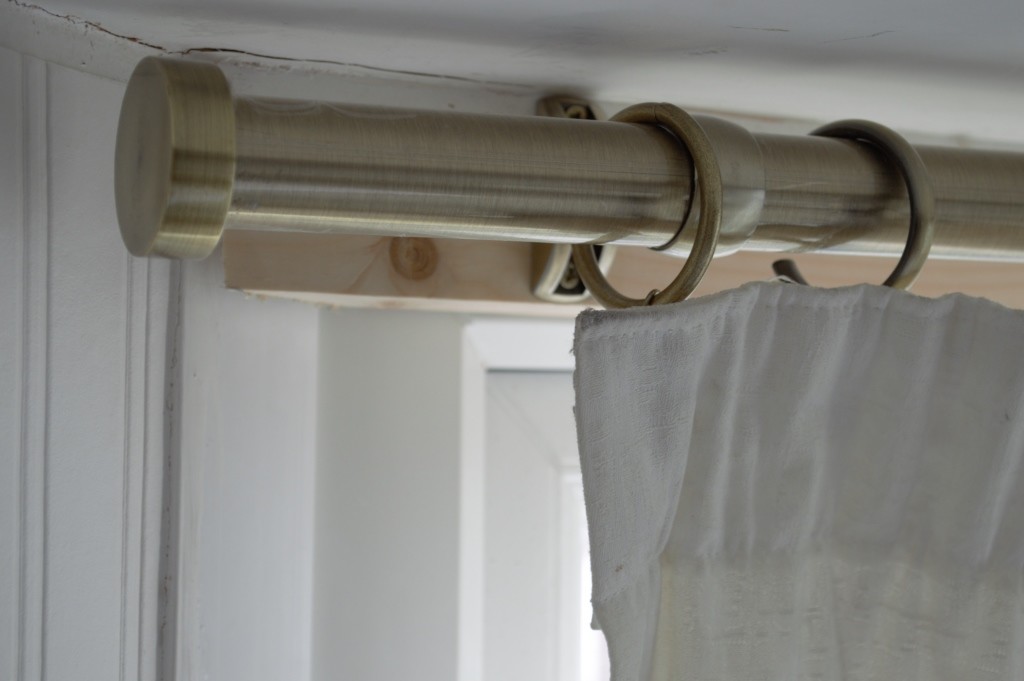
We fitted the bay window pole pretty swiftly. It’s an antique brass, SIGNIFICANTLY better than the plastic rail previously there. As we have an incredibly awkward window, in order to avoid the pole being practically stuck to the bay ceiling, we attached it to a piece of 2 x 4 wood, to be painted shortly. I actually prefer really long curtains draped to the floor, but to do that in this room we’d lose about 3 feet of floorspace. So shorter curtains on a new shiny pole is fine by me.
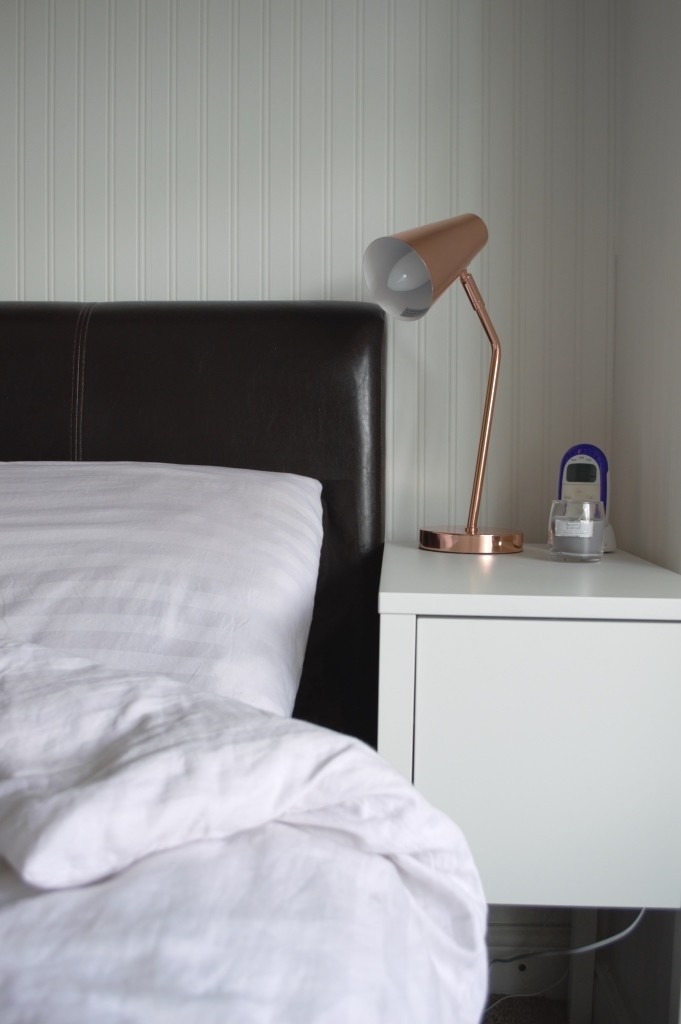
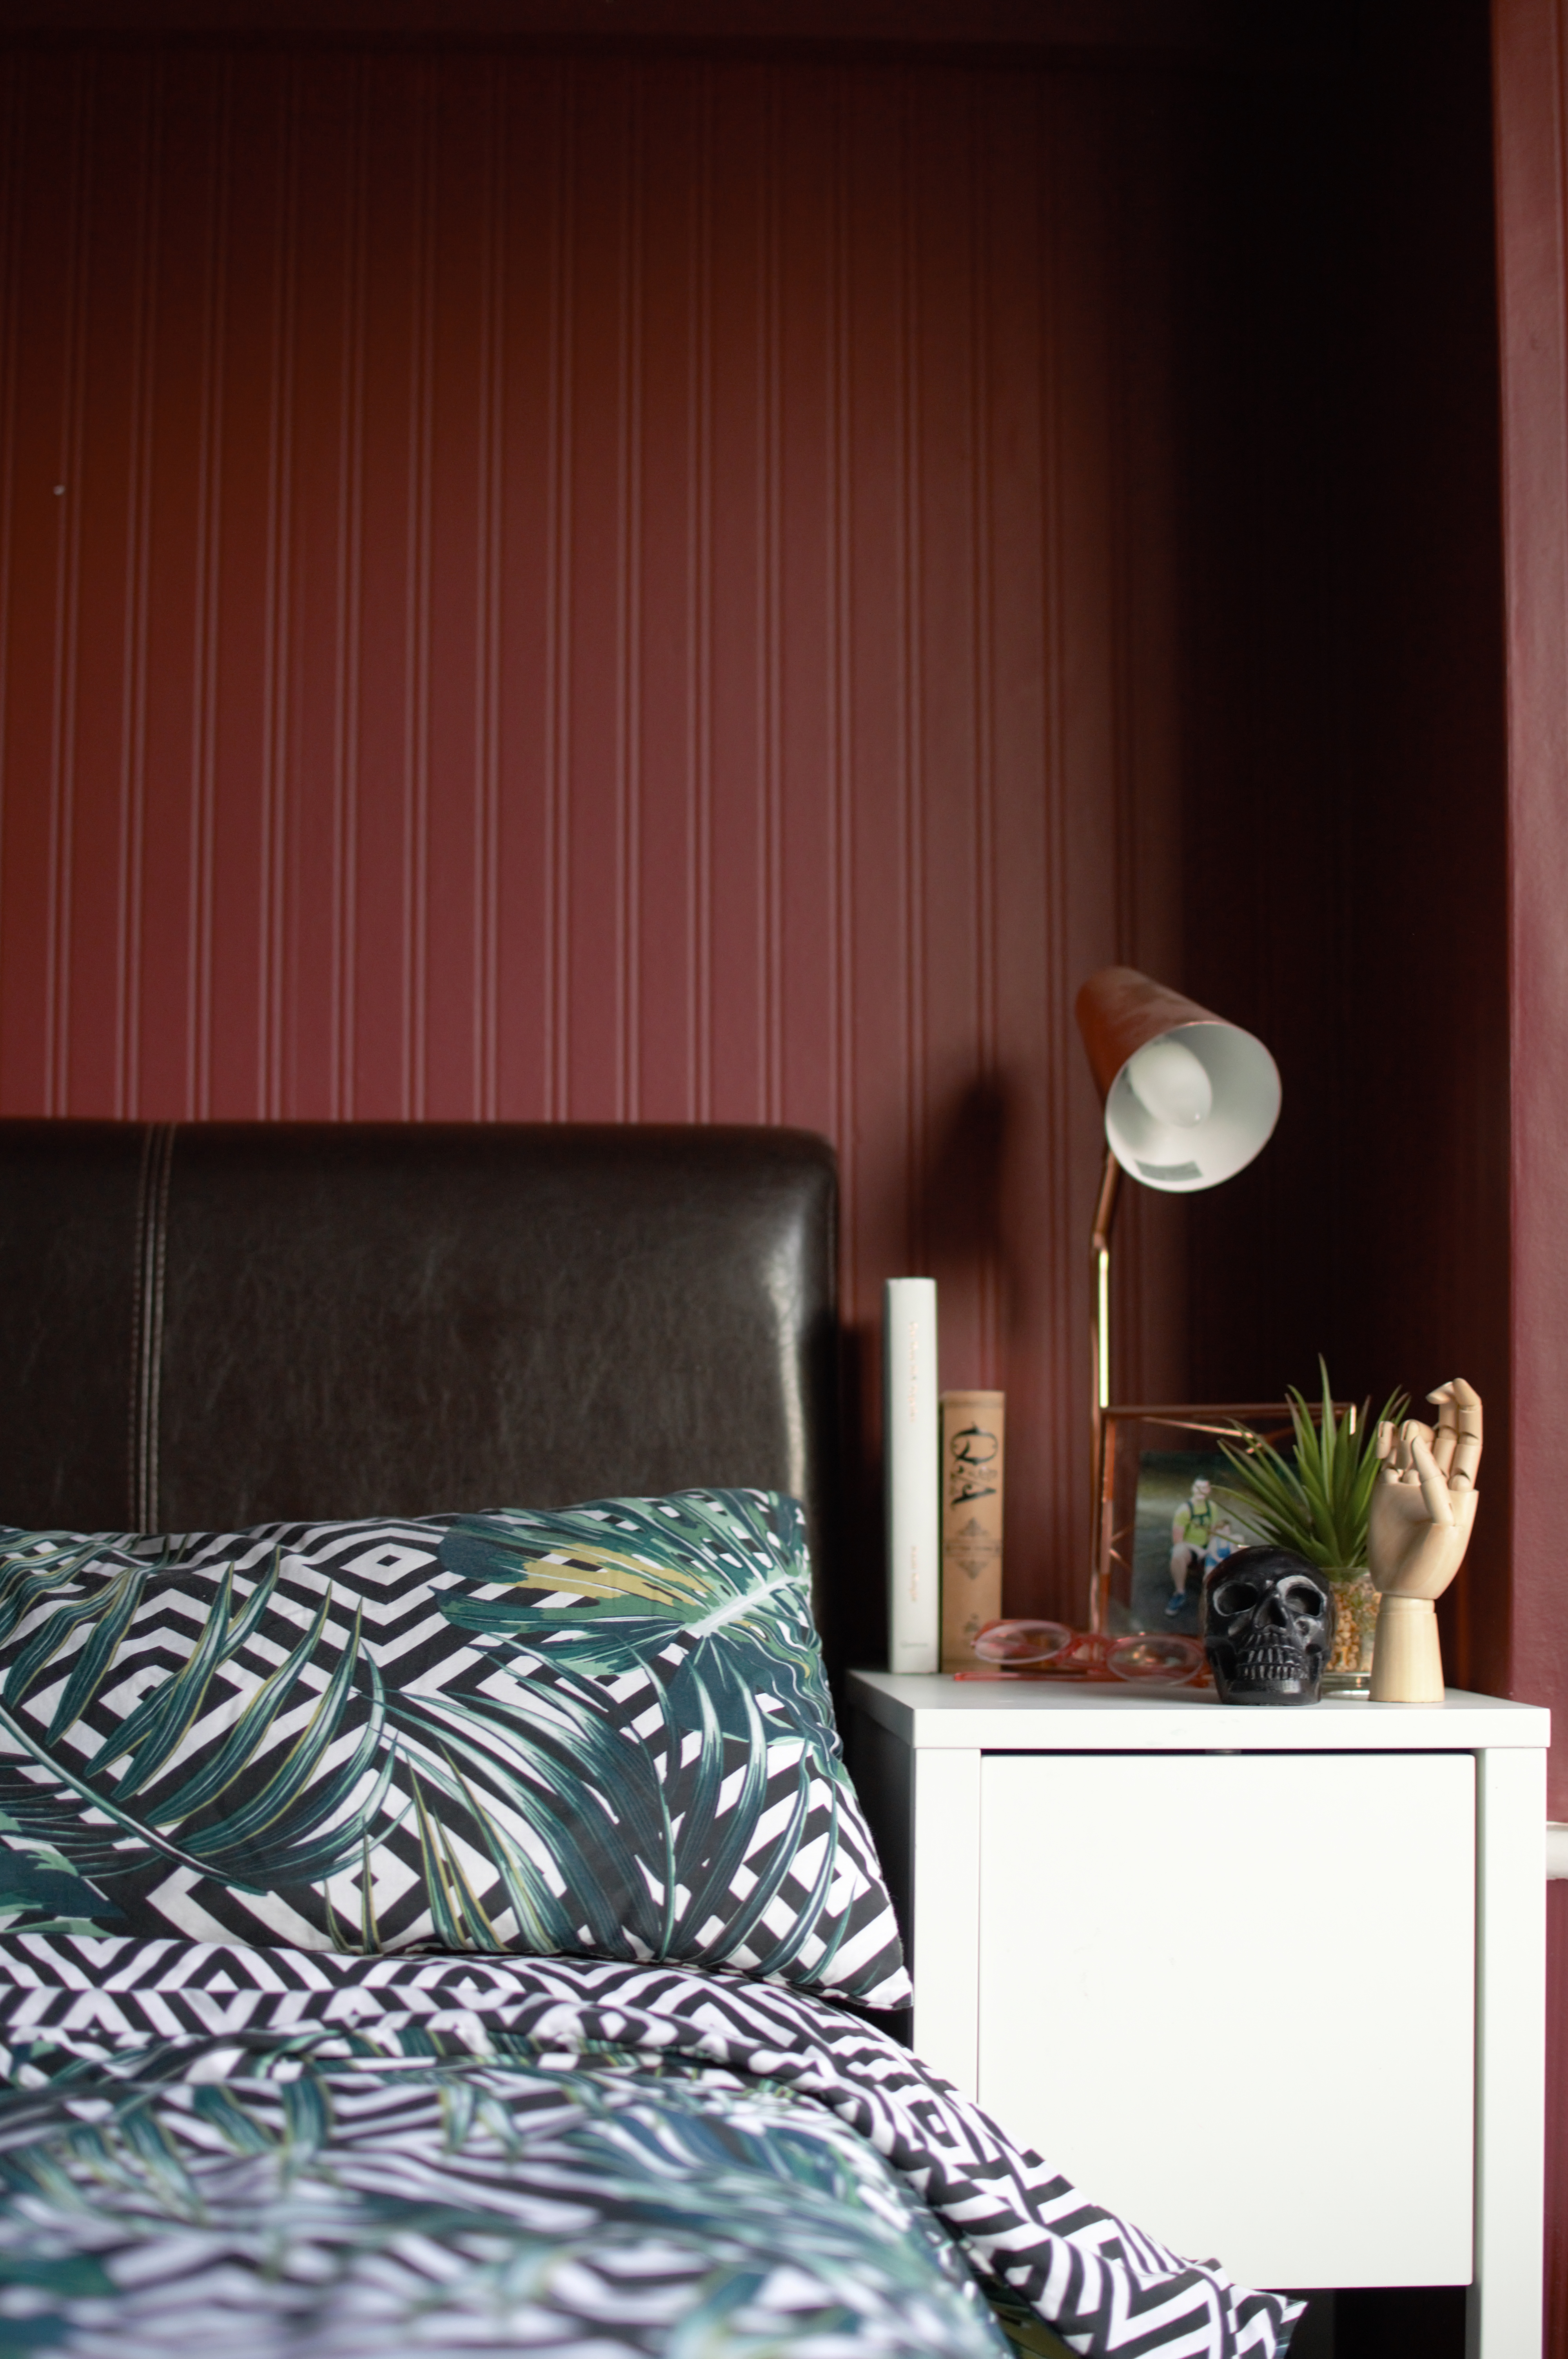
The new bedding from Homebase has been added. It feels absolutely beautiful and I adore the striped whites. In fact, I love how the stripes compliment the panel effect of the wallpaper. When you see the walls in their entirety you really get a feel how much more grown up the room is starting to become.
The copper lamps have been added, one on each bedside table. Oh yes, I have a bedside table now! HIGH FIVE. I didn’t before and it feels amazing, even if it’s just somewhere to stash my baby monitor and latest favourite candle (which at the minute are these cheapy Primark ones – 80p, yes please – in coconut and pineapple) . The tables are from Ikea and we’ve been waiting for this makeover to get them assembled.
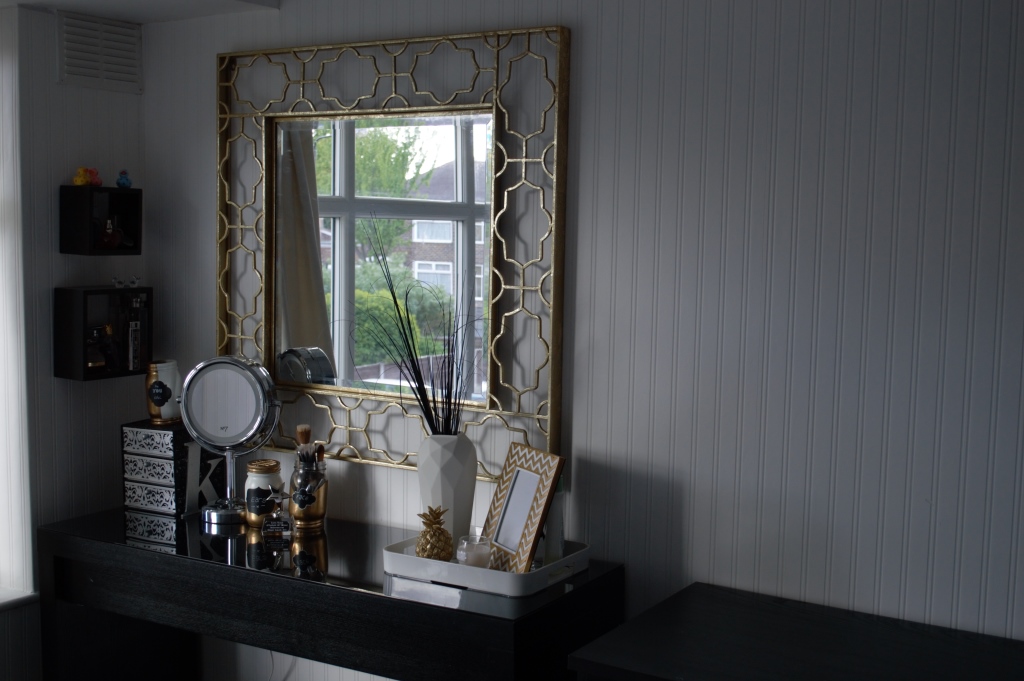
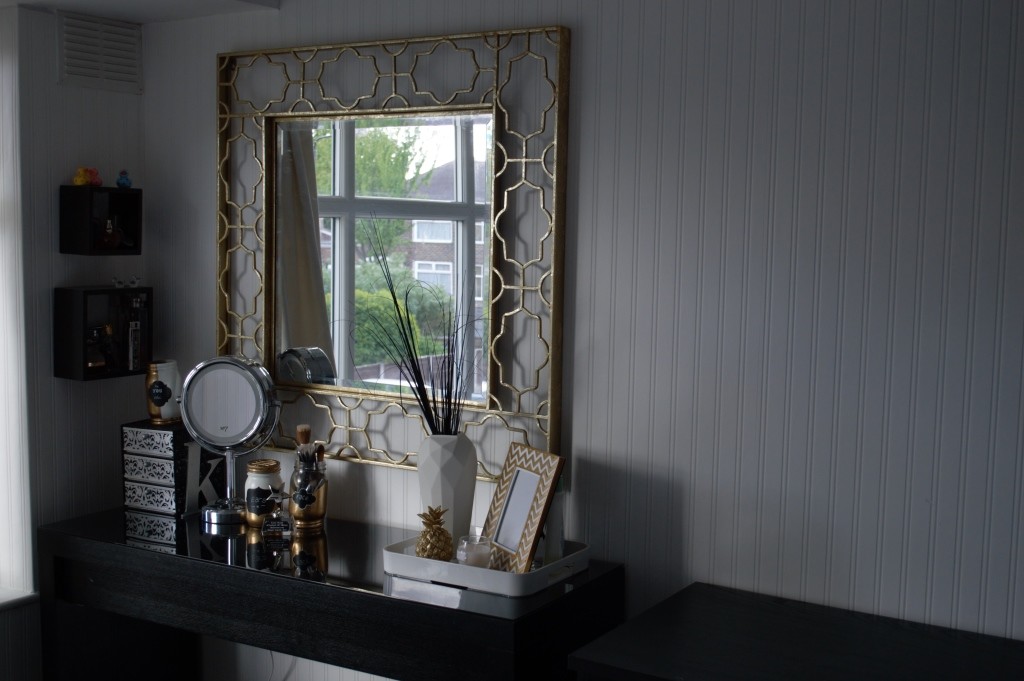
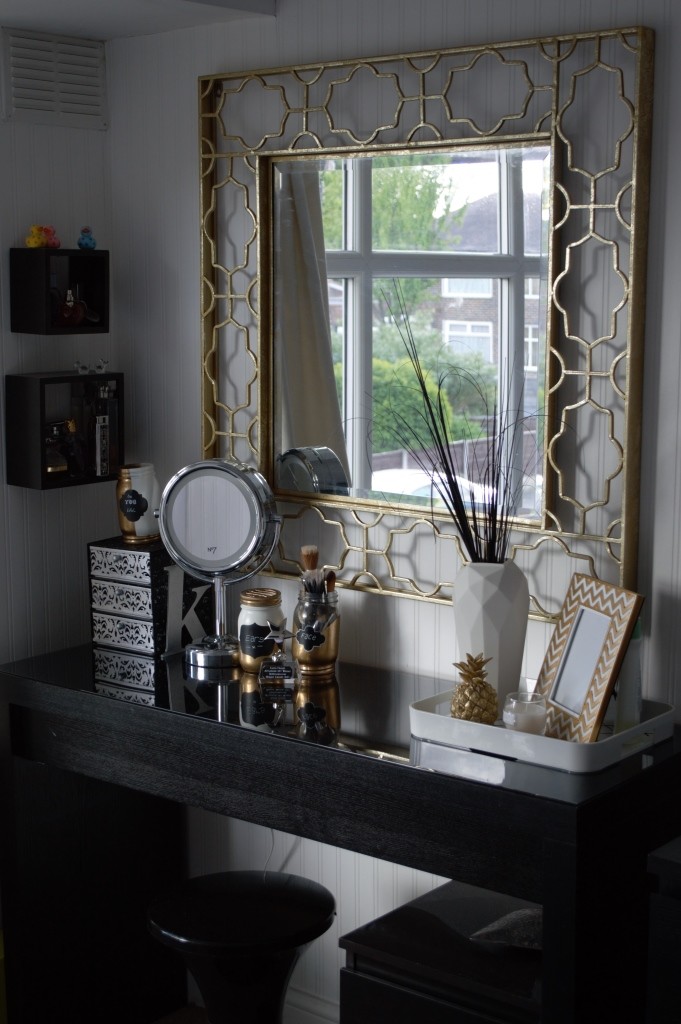
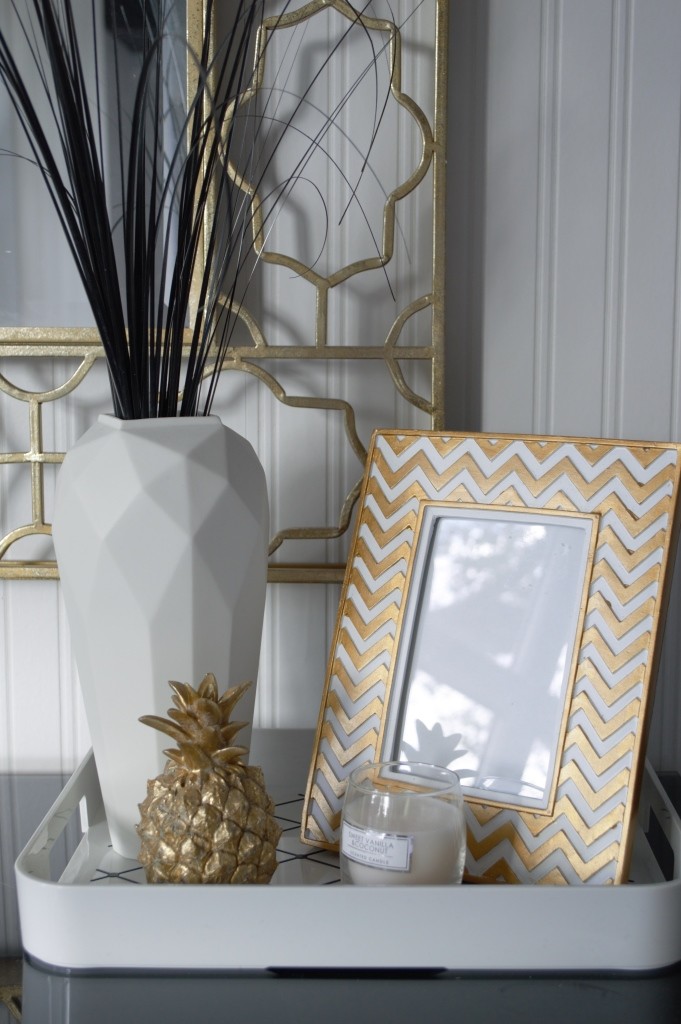
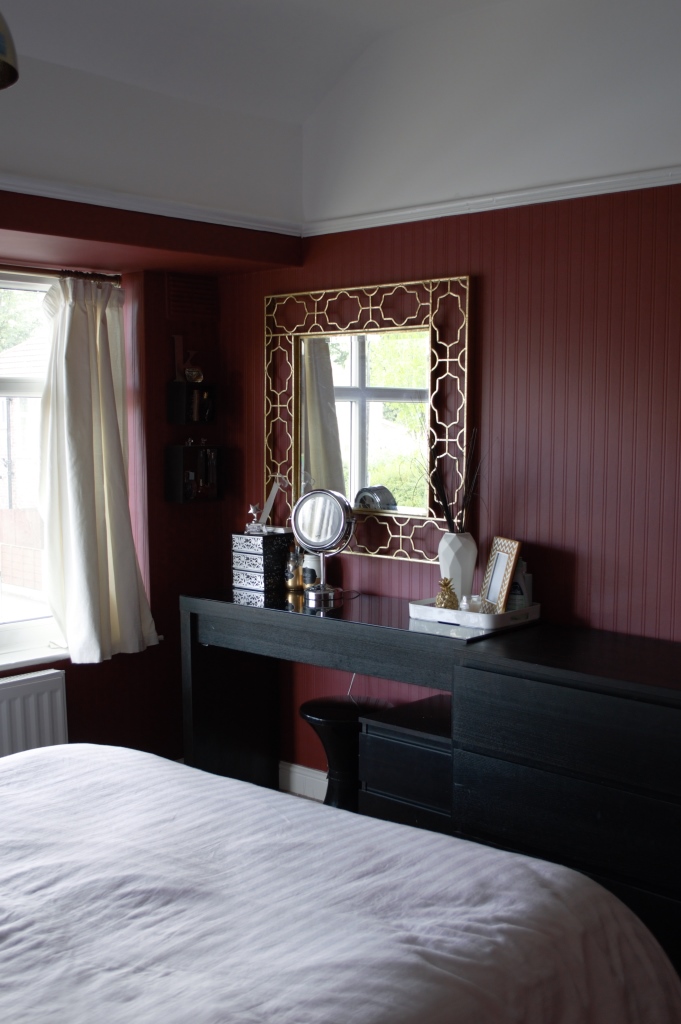
With the room blanked out in white, I’ve started throwing in some of the decorative bits I’ve been collecting for months. The mirror is just my absolute favourite. It’s easily my best find from TK MAxx in the past year, and I shop there…A LOT. But generally, a lot of it is yet to be displayed/organised as we’re going to paint this room and eventually I want to customise some of the furniture as it’s pretty Ikea-heavy.
You may notice I’ve got a bit of gold, bit of copper and a bit of brass. I know, I know, you’re meant to pick a favourite and run with it. Well, to be quite frank, I love them all and couldn’t make my mind up, so to hell with the rulebook. I’m taking the lot!
So that’s where we’re at! What do you think so far?
What would you do with £243 from Homebase? I think it’s a decent amount. You could repurpose furniture with that money. Update your upholstery. You could paint striped walls, if that’s what you’re into. You really can do a lot to transform a room with that amount, but for us, it was all about getting the details right, and building on it later.
I reckon we’ve gone from what looked like a shabby dorm room, to a real grown up space. It’s going in the right direction for sure. The next step in our makeover involves painting, customisations and glam, glam glam! You can get a sneaky peak of the work we’ve already done by following me on Instagram.
