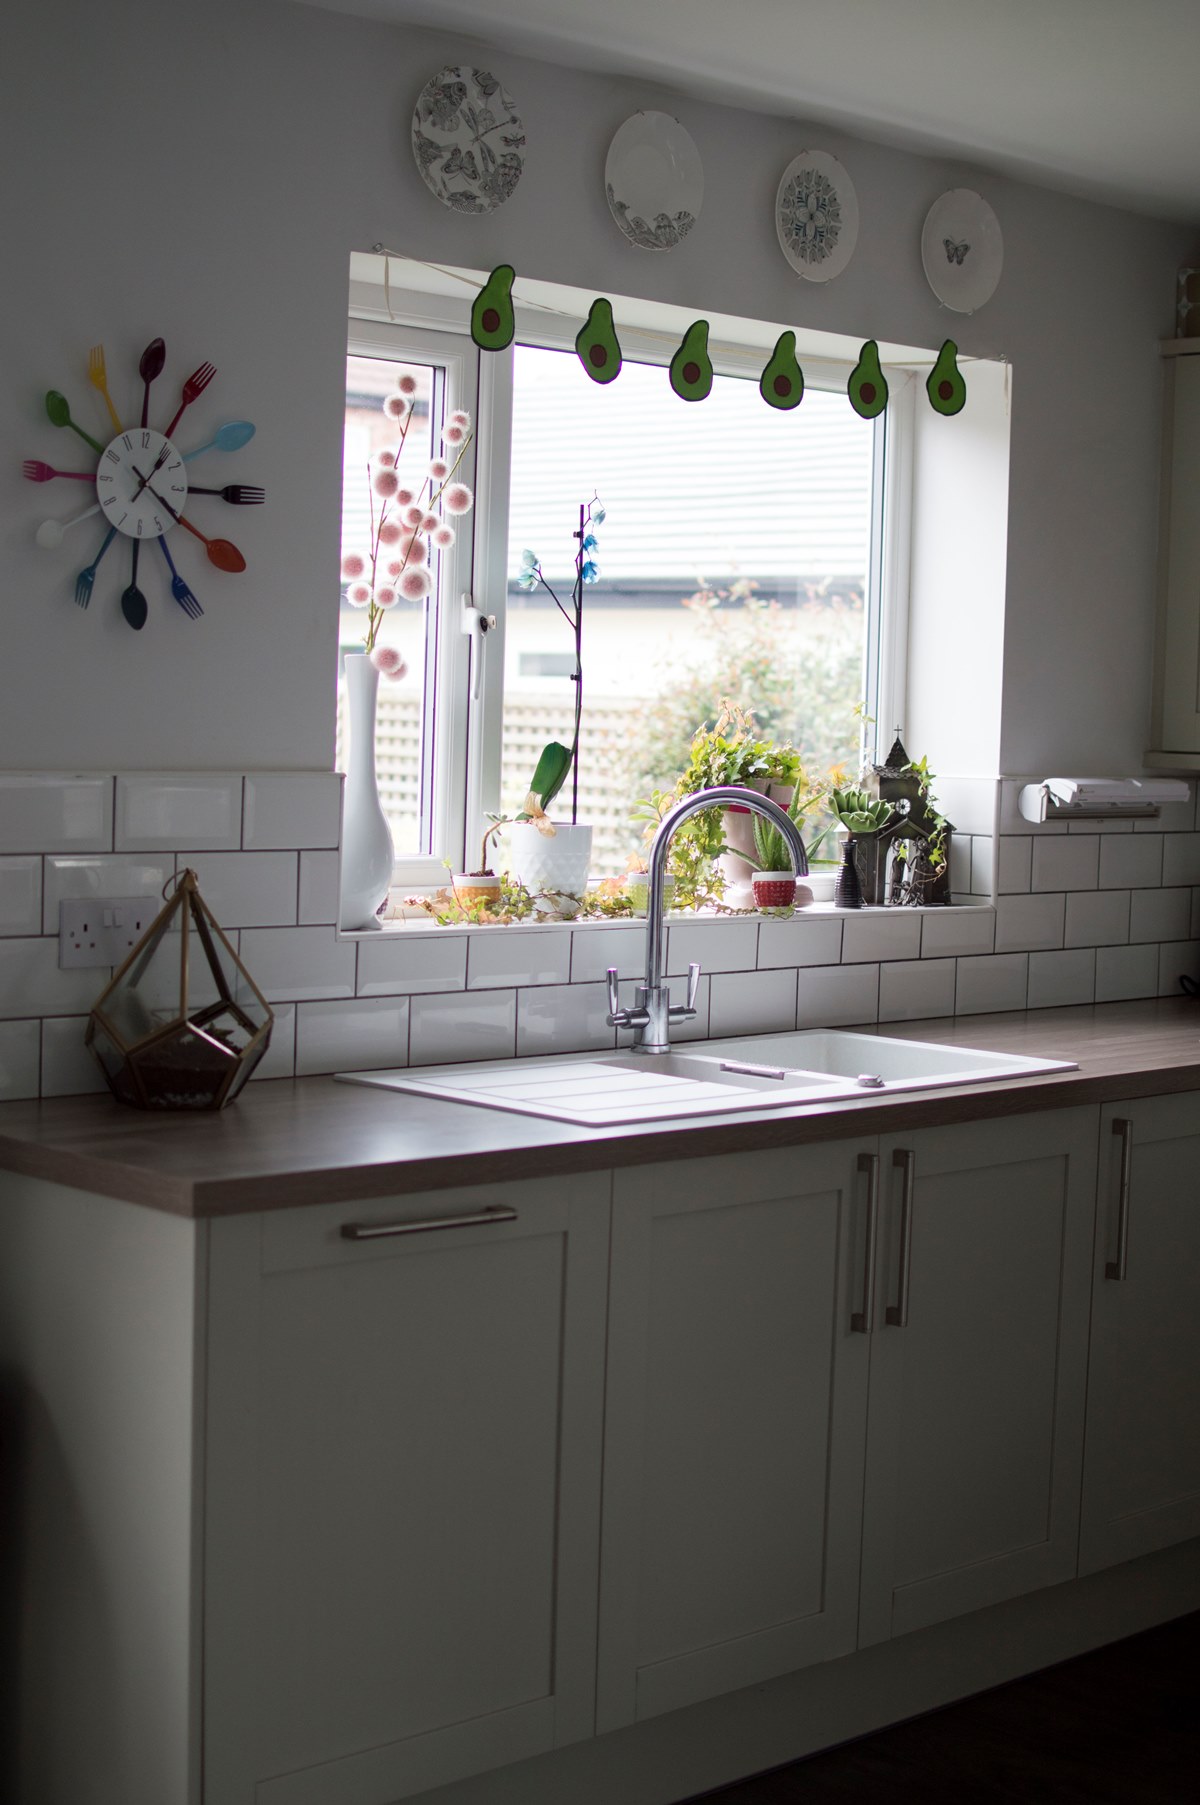
When you’ve worked long and hard for a kitchen – as we did – it can be a little disheartening to have to alter things only a year after completion.
One thing we really neglected when designing ours was a tumble dryer. I never felt the need for one really, but following the birth of Luna, and the enormous amount of additional laundry we’ve got, it was essential that we added one to our appliance collection.
The laundry was starting to take over the house, and quite frankly it was starting to affect the heating, especially having draped babygrows over every radiator. The paintwork was starting to look a little tatty and our radiators are already looking a bit sad from the renovations. Adorable it might have been seeing teeny tiny clothes everywhere, but practical it was not.
So we bought a tumble dryer and as it was clumsy old us, it didn’t fit in the unit we planned to just place it into, so for a while it served as a coffee table in the lounge whilst we found an alternative location.
Oops.
Turns out Joe had miscalculated by about 1 cm. Doesn’t sound like a lot, but this tiny measurement meant a cupboard door wouldn’t fit on, and the whole point of a kitchen with SO many units, is that all the ugly stuff would be hidden.
Another DIY day for Joe calls! I thought I’d share what he did so anyone starting from scratch with a kitchen or utility room can get an idea as to what’s involved. Remember, interiors aren’t always picture perfect until you get your foundations right. I hope it’s helpful!
Here is what Joe did to hack away at our existing units to find a place for the new dryer, in his own words.
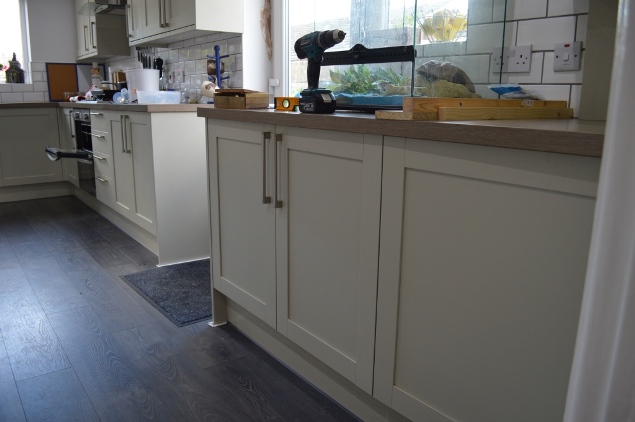
We agreed that the most logical place for the tumble dryer was next to the washing machine. This is in our not-so-interesting corner of the kitchen. Our washing machine sits behind a 700mm unit with a door (image above – yes the place is a tip, DIY ain’t tidy work in this house I’m afraid). This is adjacent to a 1000m double unit with double doors which we used to store things like washing powder and ferret treats, which you really don’t want to mix up by the way!
The whole lot is topped with a worktop just like the rest of the kitchen units. To fit a tumble dryer in however, we’d have to gut that double unit completely, with a single unit fitting in the remaining gap. Oh and did I mention I’d also have to cut a hole in the exterior of the house for the vent?
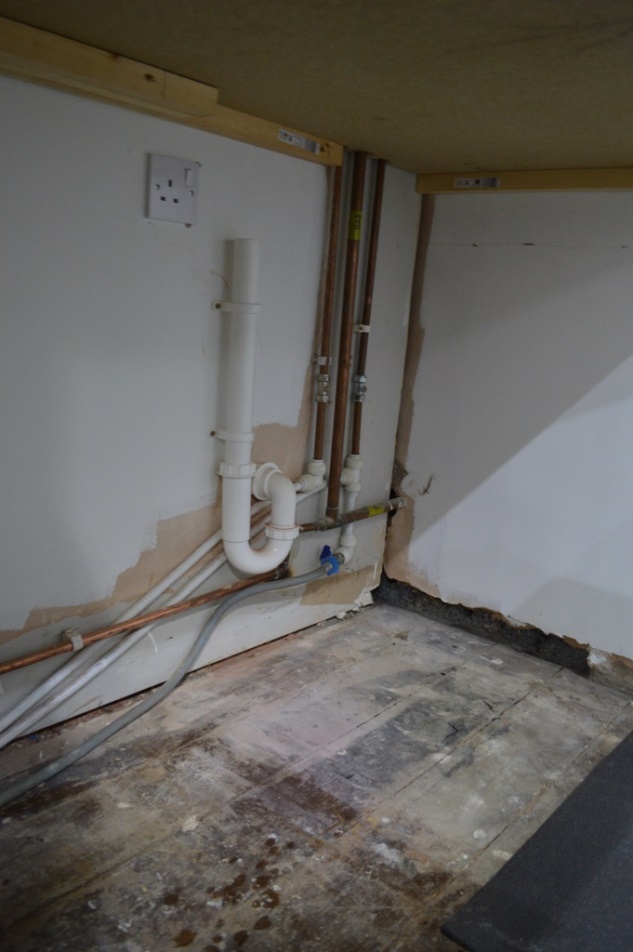
I started with behind the scenes stuff; After taking out the units, it became clear pretty quickly that it’s pipe central behind there with a gas pipe and water pipe running across the back of the washing machine. In fact, these lead to the sink and cooker at the other side of the kitchen (hidden from view of course) and couldn’t be relocated so it was difficult to position the tumble dryer vent due to the gas piping. But I did it.
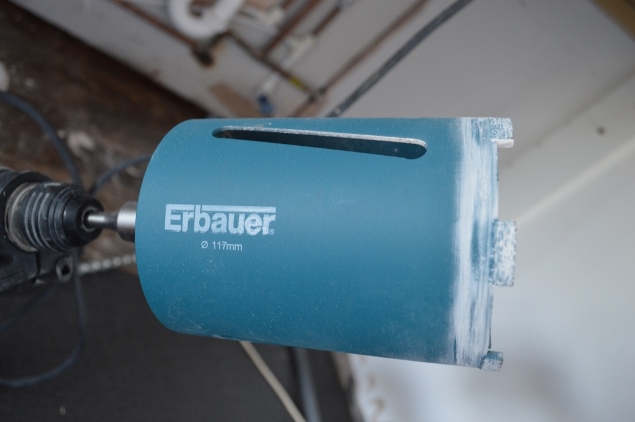
To cut through I bought a 117cm Ebauer core drill bit. You can hire these but it’s pretty comparable to buying it anyway, so it turned out affordable for the job.
Even though the vent was only 100mm in diameter, I chose to go one size bigger on the drill bit, and I’m glad I did as there wasn’t much wiggle room.
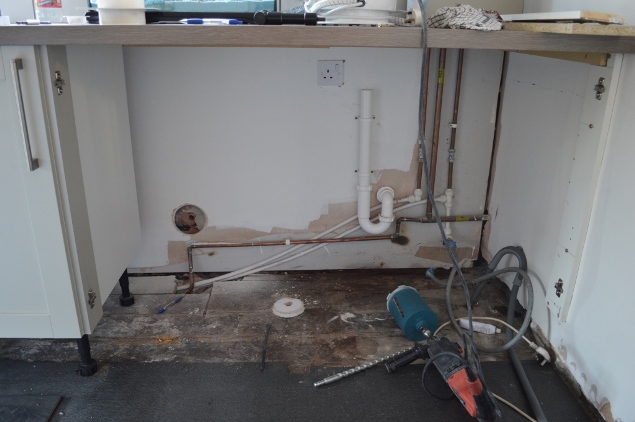
I drew a circle on the inside of the wall where the vent was going to go and marked the middle and drilled though the wall with a very large masonry drill bit and an SDS drill. From the outside of the wall, I drilled with the core drill very slowly to gradually chew at the wall making a circle. Going too fast will cease the drill and could hurt your hands, and maybe the wall too. By the way, starting on the inside and continuing outside is far better. Do it this way to avoid most of the brick dust going indoors – thank me later!
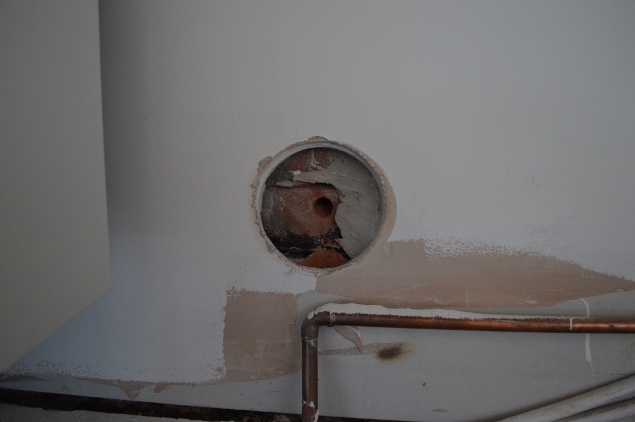
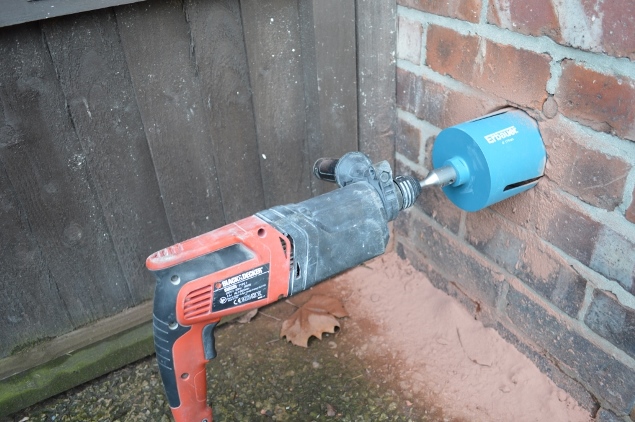
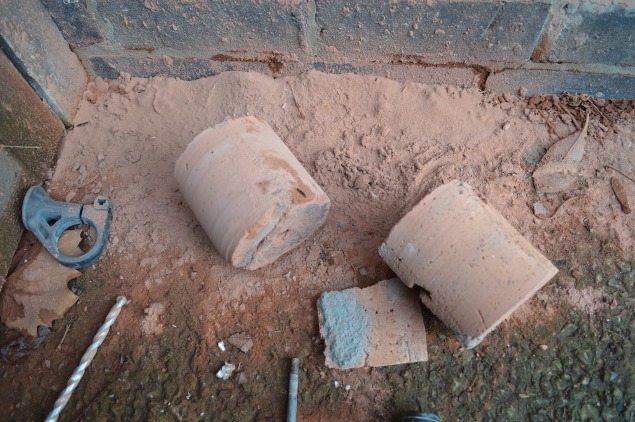
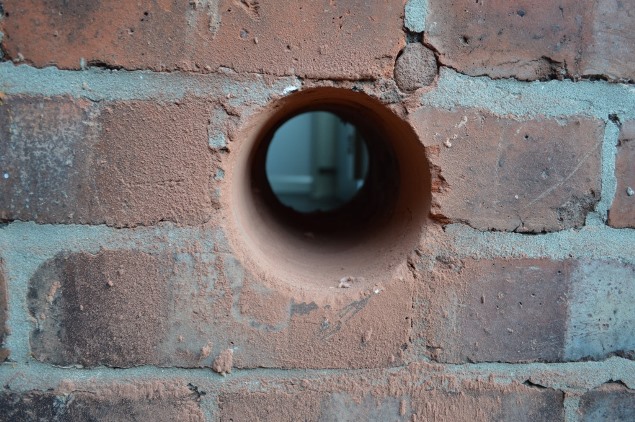
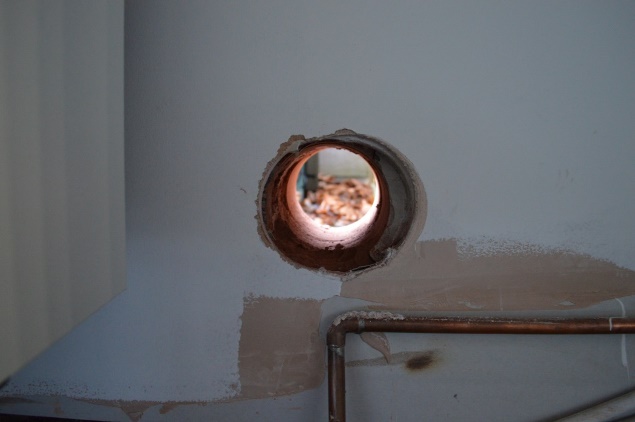
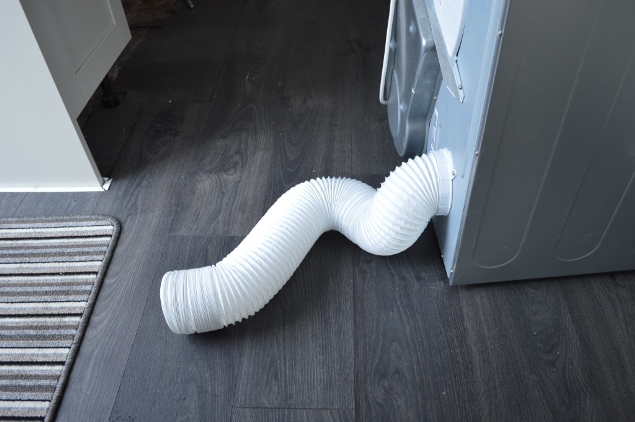
Once through the wall with a perfect circle I fed the vent through, glued the exhaust vent on and screwed to the brick wall.
From the inside I put the other end on the tumble dryer. Don’t forget, if you’re thinking about doing this yourself, make sure there is a plug nearby if you want it to actually function!
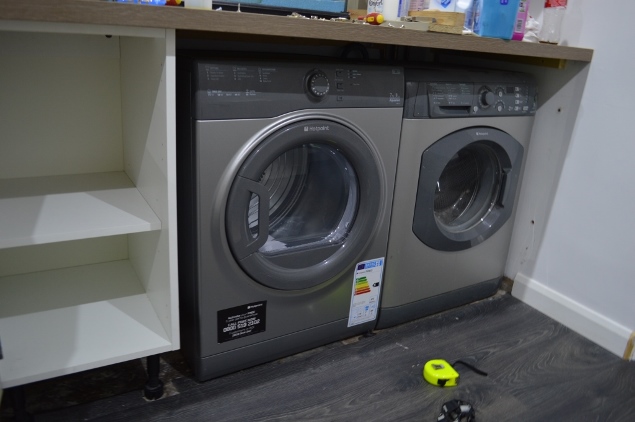
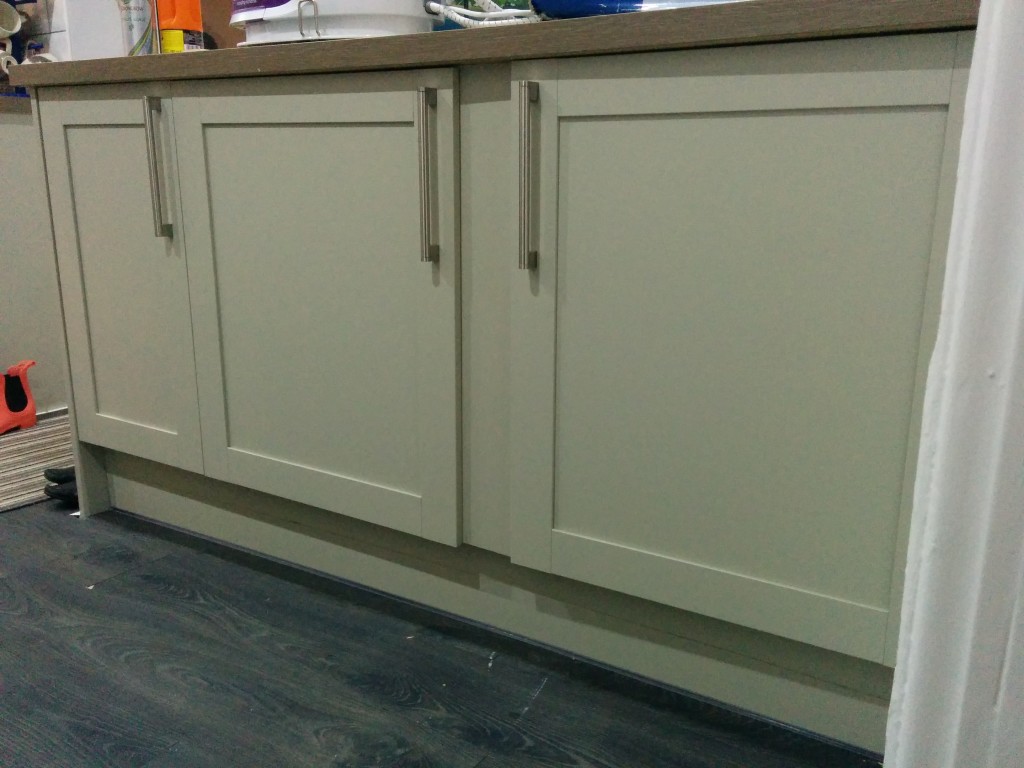
With the installation finished, it was back to the units to touch up. I had to do a lot of fidgeting with measurements to make closing the doors flush, but I just measured, and measured again for good measure (see what I did there?) to be sure. we bought new doors, because our old ones no longer fitted the space, and I used an existing side panel (trimmed down) to form a new central panel for the doors to close upon.
I’m pretty pleased with the results even though at first we were hesitant about hacking up kitchen units that hadn’t been paid for at first, but what you gonna do, we needed a dryer!
I hope this was mildly interesting for you! At the very least, it’s another thing ticked off my list and hopefully this gave you some insight into our mad DIY weekends in the Clough household.
*Disclaimer: This post was written in collaboration with Homebase and as always, all words and opinions are 100% my own. Thanks for supporting brands that support Well I Guess This Is Growing Up.

