One beautiful Autumnal day early this November, we added decking to our garden.
As usual, I am using the collective “we”, when in reality I am merely the storyteller in this equation and all credit must 100% go to my husband Joe, his wonderful dad, Peter, and his brother-in-law Andy, who we wouldn’t have been able to do this project without, since this is something he has completed in his own garden, as well as having a landscaping qualification. Pretty neat, eh?
In fact, this decking was Joe’s birthday present from his family and we’re so grateful for them taking their precious weekend time to spend it working on our little old house!
So before I get all mushy, if you’re interested to see how we (should probably say “they” shouldn’t I?) did it, stick around!
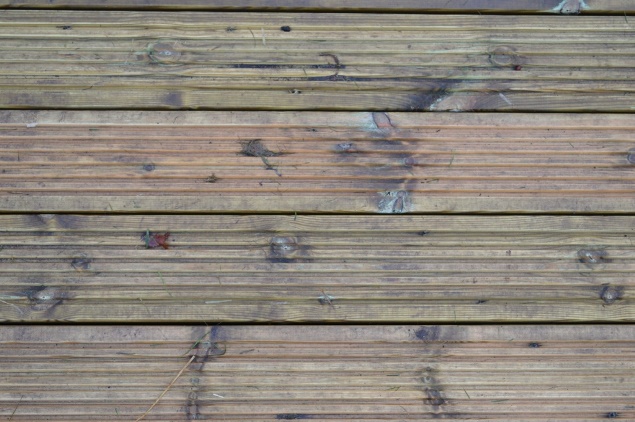
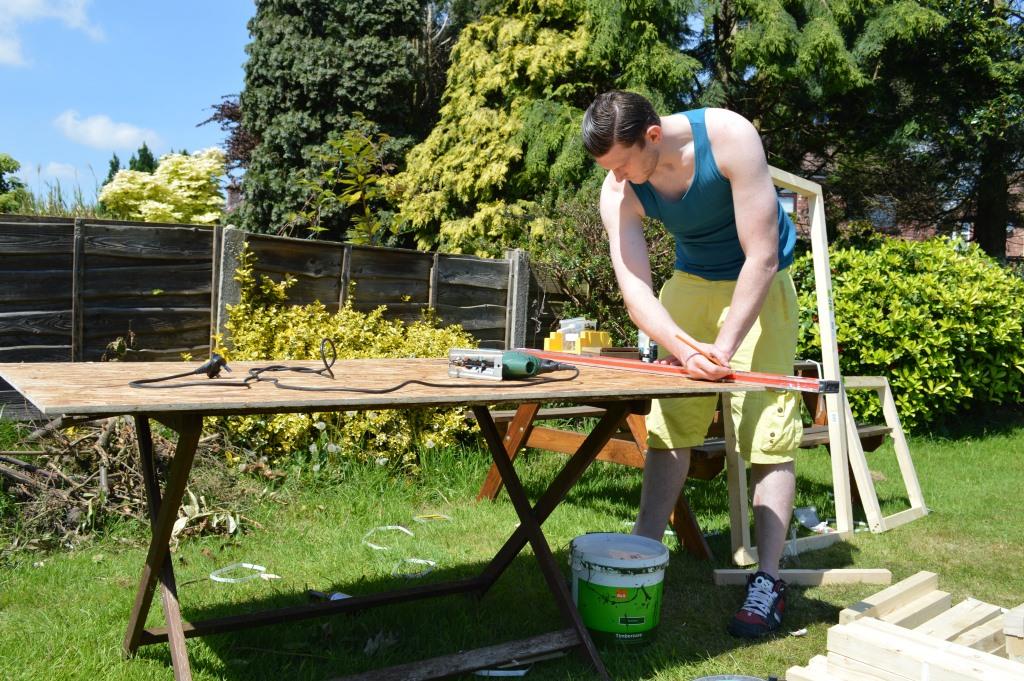
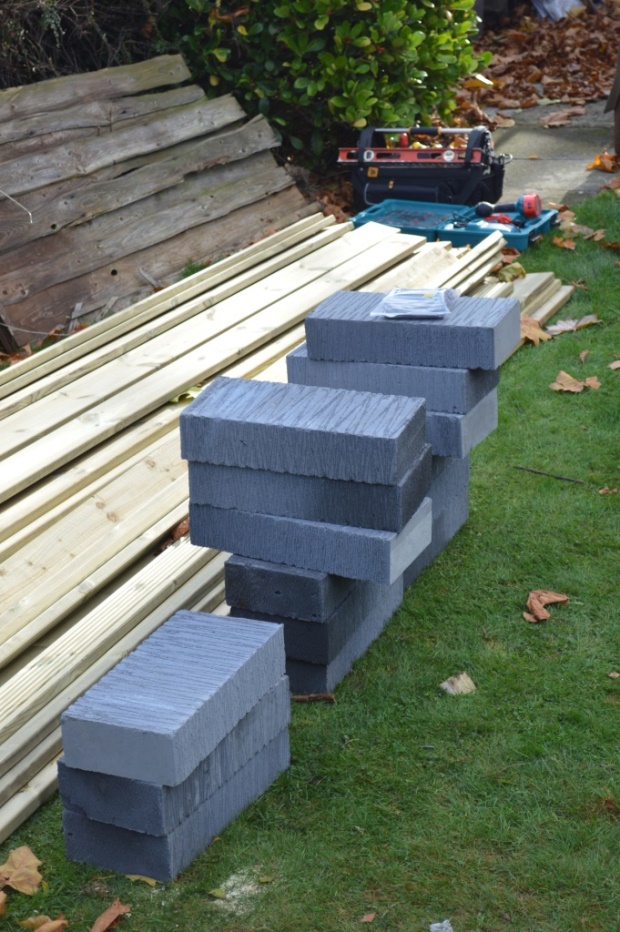
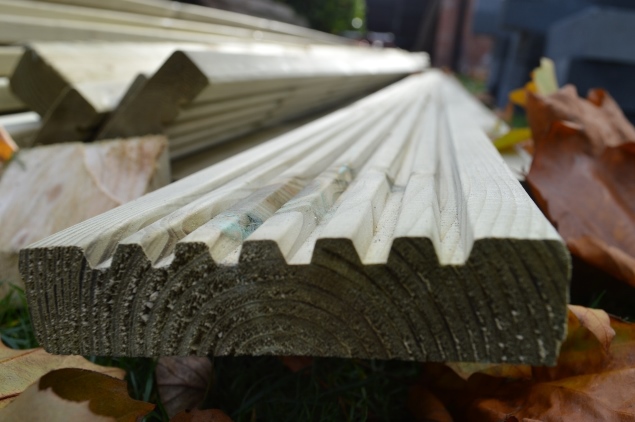
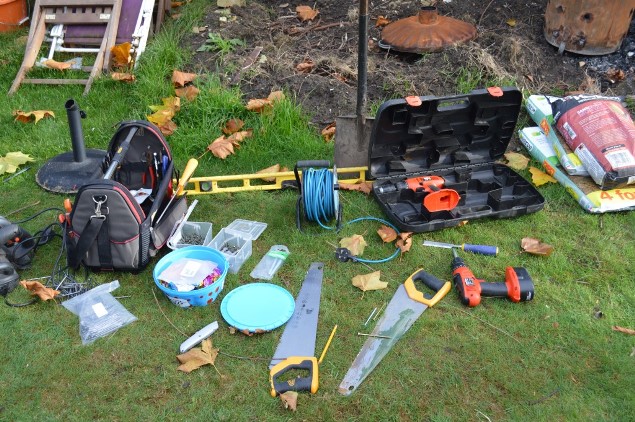
The lads started with materials. As you can imagine, this involved decking timber – those slabs of grooved wood we’re all familiar with – as well as timber joists and breeze blocks. And since it was a “man day”, they all brought their tool bags for the job.
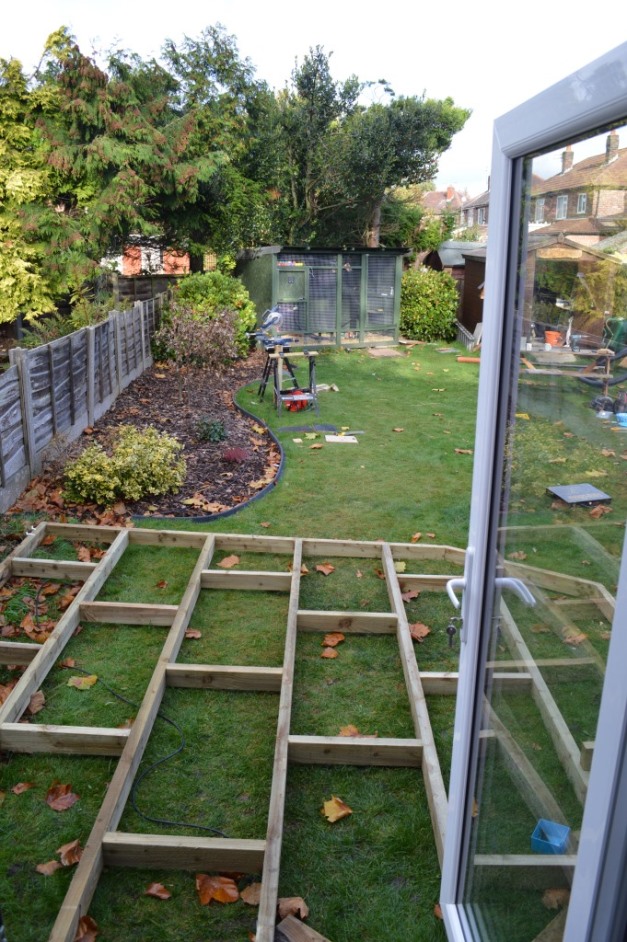
They laid out the area with timber joists and I was called in to approve the space. It was pretty much my only participation in this project! The decking sits directly out upon our French doors at the back of the house, meaning when summertime comes, we’ll be able to walk out onto our decking straight from the kitchen, for some breakfast as the sun beams down on our house. Previously it was quite a big drop from the double doors to the outside, so had we not have chosen decking, there certainly would have been a necessity for steps of some sort.
Once confirming the size – large enough for a table, yet not too large that it would swamp the whole lawn – the lads created a structure from the timber to map out the decking area. In order to secure this frame to the ground, breeze blocks were cemented down at an even level for the frame to ‘sit’ on top of.
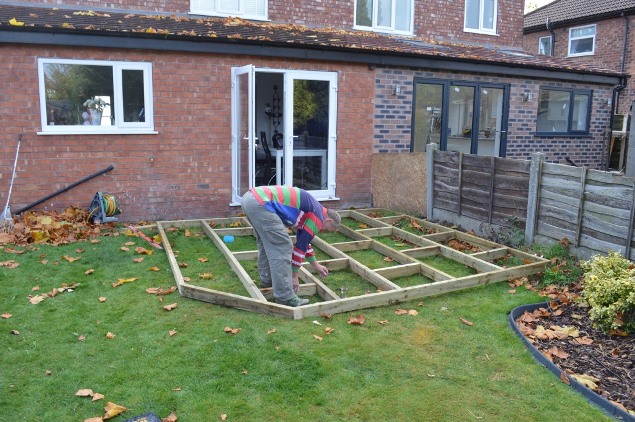
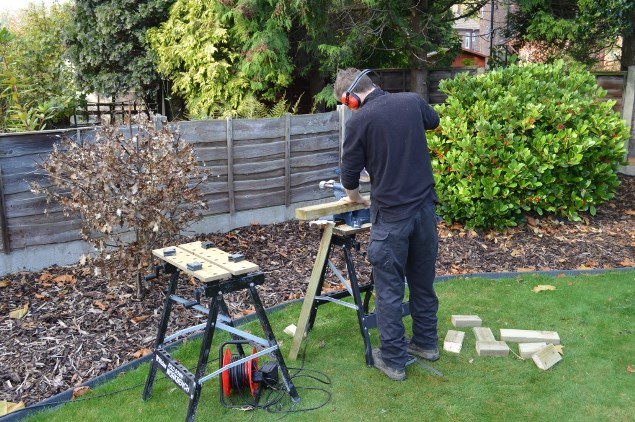
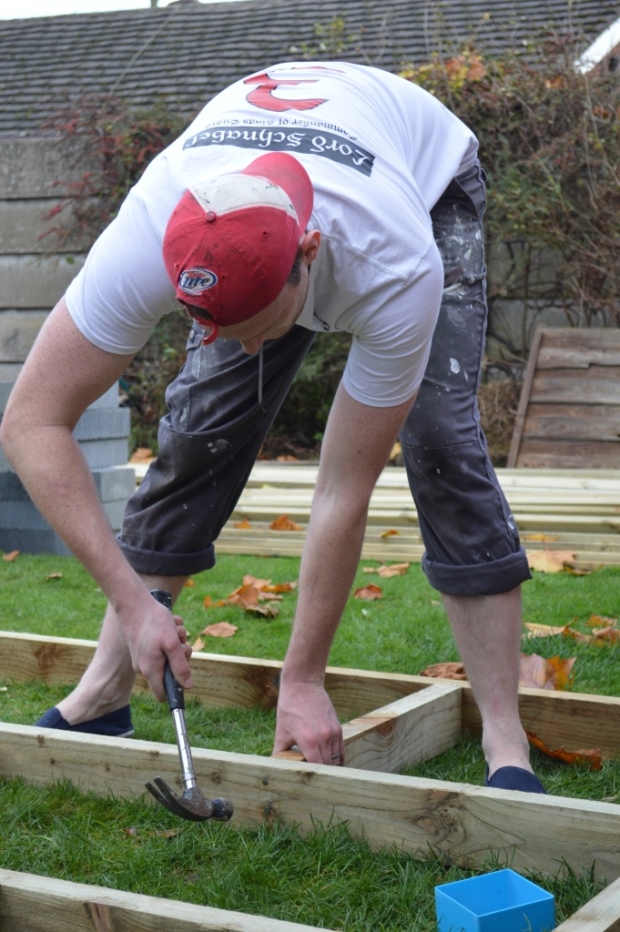
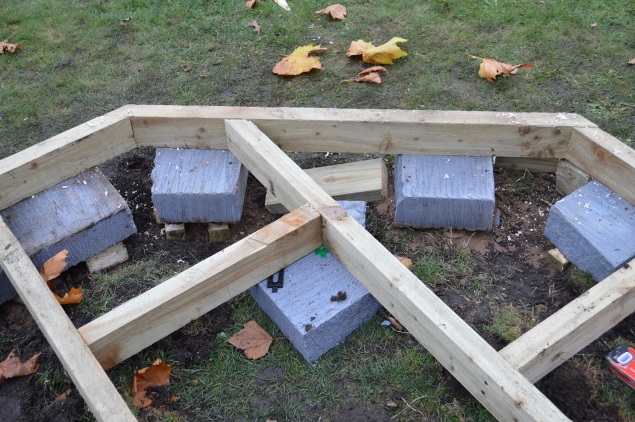
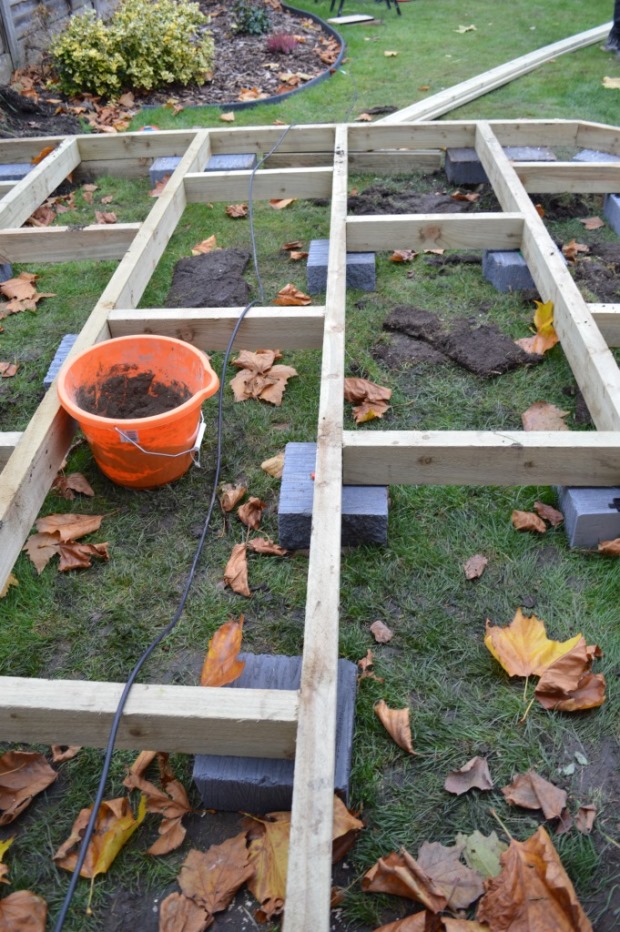
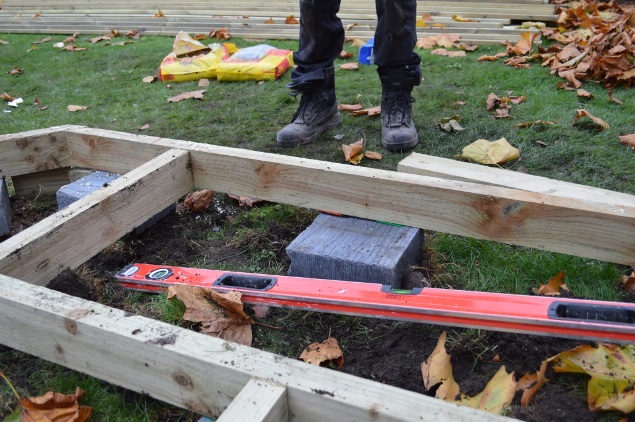
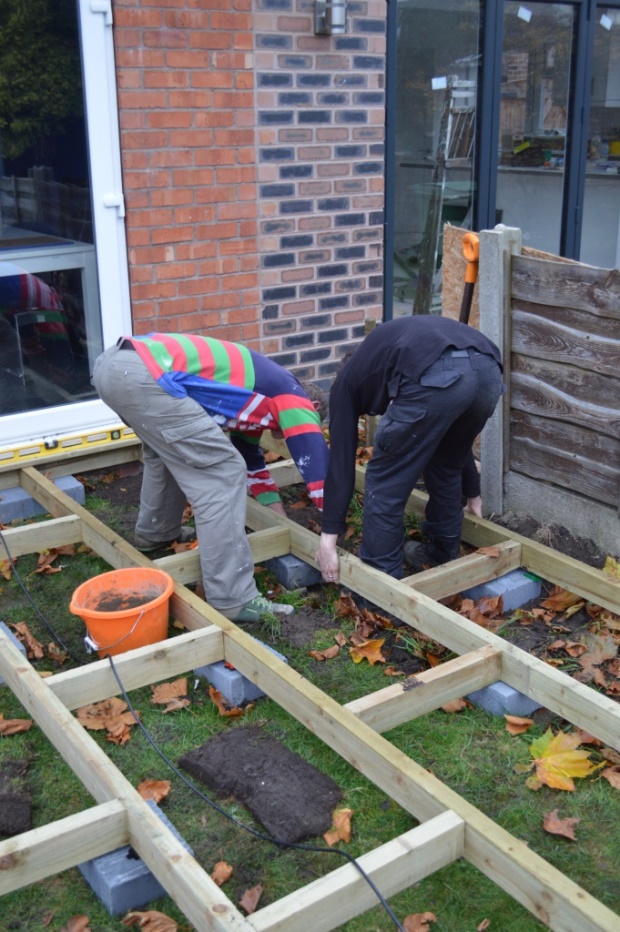
(A lot of bums in the air in these photos!)
I’m told that as an alternative you can use wooden stakes into the ground and then screw your frame to these as joists. However, cementing can often make it easier to add the frame in situ once you have the correct levels.
A note on levels if you’re doing this yourself, make sure you do it when conditions are dry. There was a lot of digging involved to get our lawn even enough, which just isn’t accurate when too damp. Oh, and use a spirit level!
With the frame sorted, the next step was the decking itself. The decking timber lengths were trimmed to size using a chop saw. You may notice that the lengths are diagonal and that they were cut slightly longer than needed. Firstly, they are too long in order to add overhang for trimming later. It’s always better to do it this way around than trim an inch too short and waste full lengths of expensive wood.
The reason the pieces themselves are fitted diagonally over a relatively square space is due to safety. Our step from the decing to the lawn will be in the upper right corner (if you’re leaving the kitchen). Having the decking planks run parallel to the step rather than towards it will usually be less slippy in soggy conditions. Safety first, people!
These were added to the frame using an electric screwdriver and approximately 500 screws – it’s amazing how many of those suckers you can get through in a weekend!
Decking was also added to the sides of the structure – y’know, to add that extra bit of awesome.
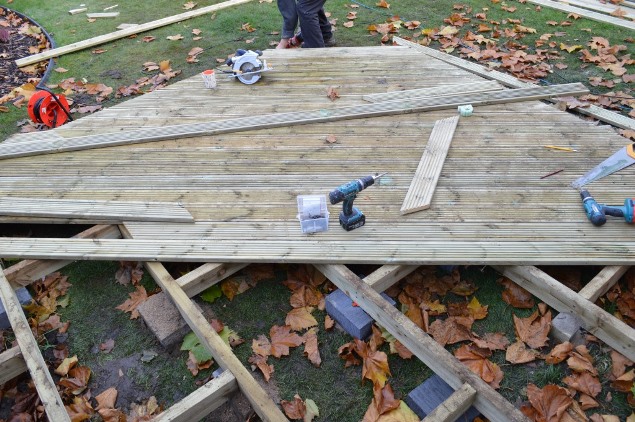
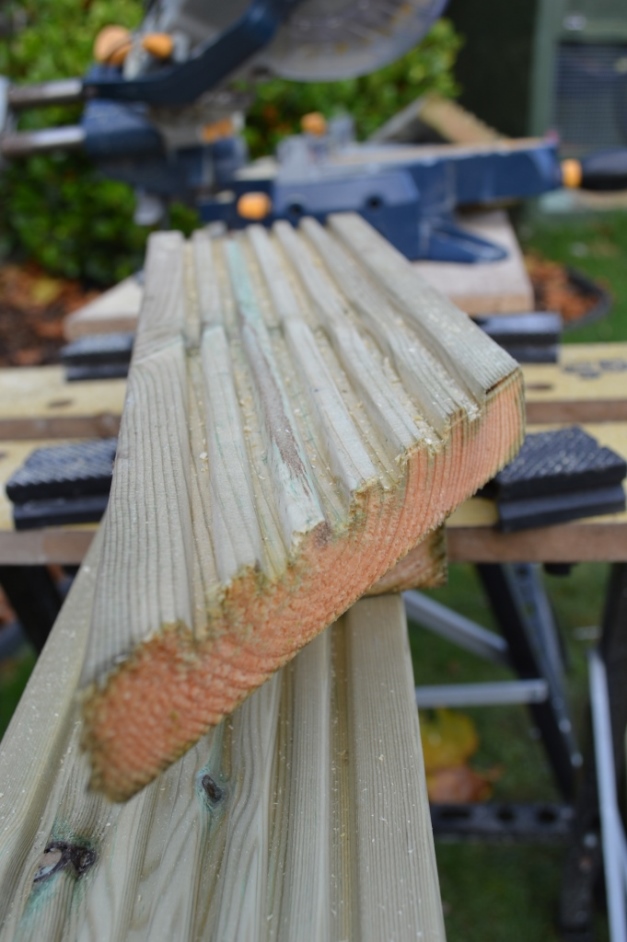
I think the lads had a great time on this project together, and it’s funny, even though I was a little concerned this big addition would make our lawn look smaller, it really doesn’t. If anything, it looks wider! Probably because it’s finally got a decent and legit garden addition rather than just piles of leaves and bricks from construction work which is what we’re so accustomed to seeing there.
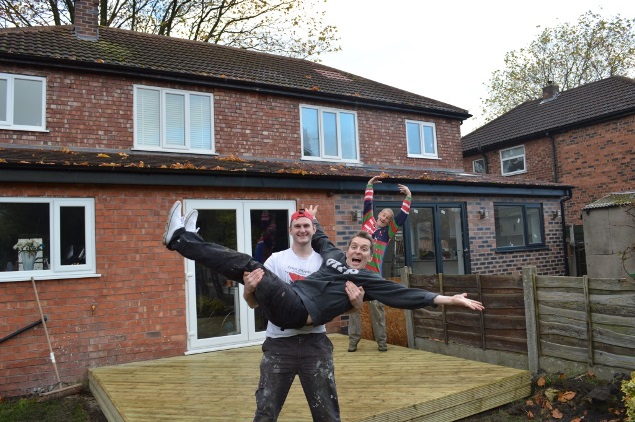
I love this picture so much.
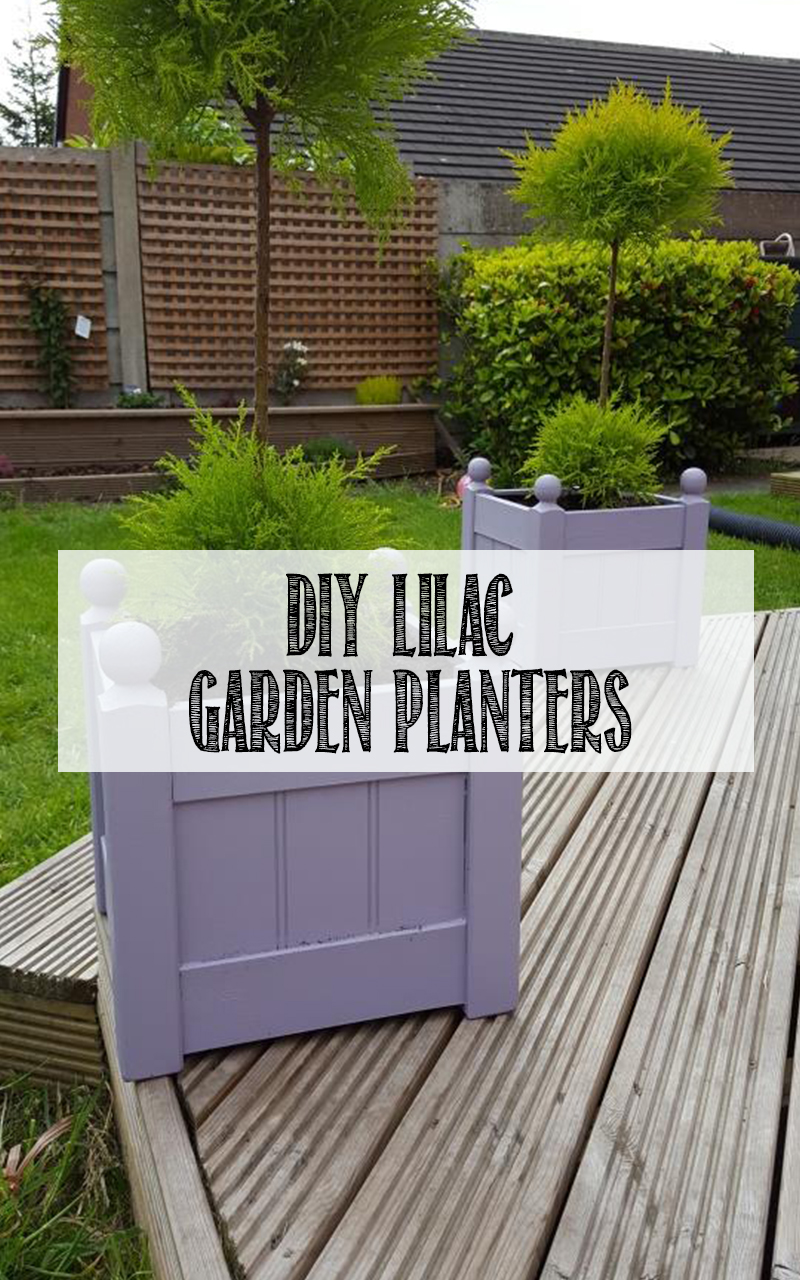
The project took the guys the best part of a full weekend and a few days later, Joe added the step going down from the decking to the lawn using 2×2 kiln dried wood. Since then, we’ve added our picnic bench, and a few potted plants – another birthday gift to Joe!
We’d love to add more greenery, buy a new outdoor table and even add a border of some kind, but that’s all for a later date. Here is what it looks like now. Hope you like it!
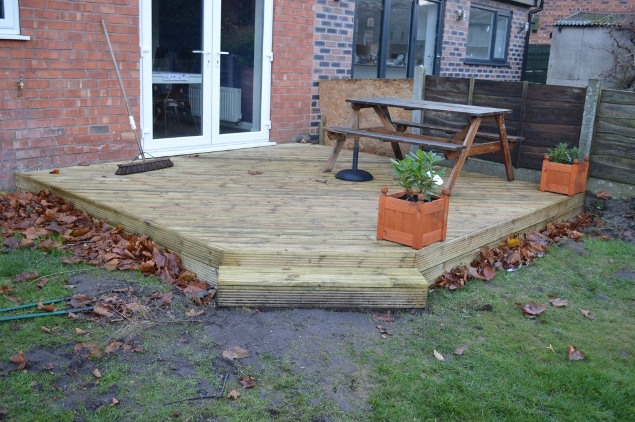
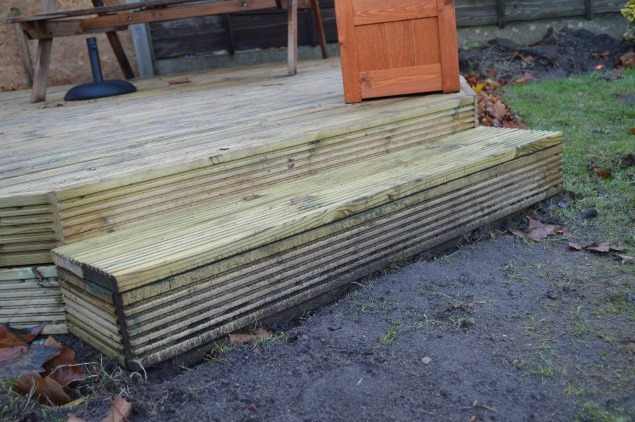
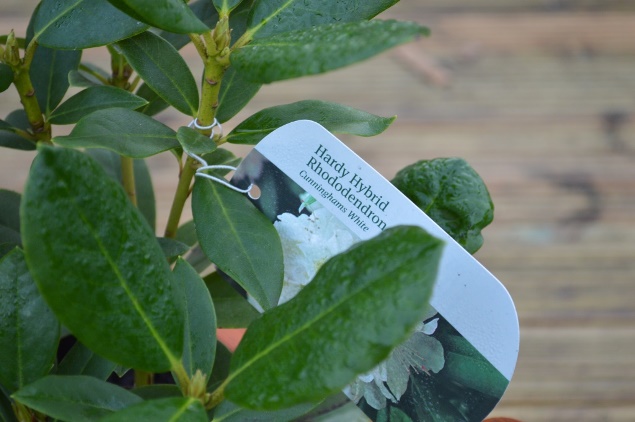

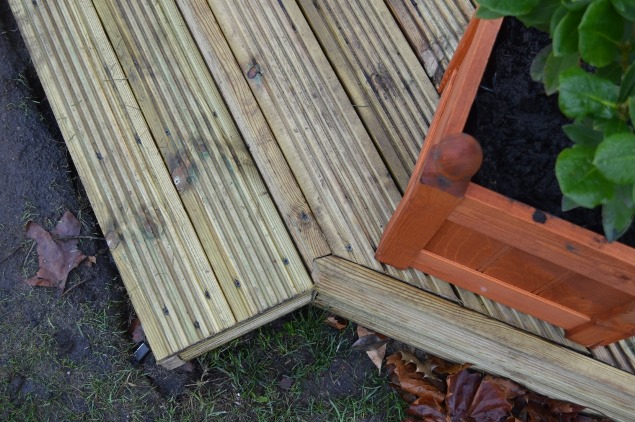
Jerry Springer style, Joe also wanted to add his final thoughts for anyone who are thinking of trying garden decking for yourself.
- Go for a bigger space than you need, or at least think about what you’ll want to use it for. Use washable spray paint to make markings on the floor to get an idea of your size first! Instead of working with numbers, it’s always better when you can visualise it properly.
- Buy pre-treated timber. The wood we have used is pressure treated. The suppliers at Screwfix have advised to let the timber weather for a year before thinking about treating with a protective coat such as Cuprinol.
What do you think everyone? It’s one more thing off the to-do list for us hooray!


