I remember September 2011 very clearly. We had just bought our house at the tail end of the previous month and it was what a house inspector referred to as a bit of a hazard to live in. Nonsense, we thought. We spent 2 weeks “decorating” it to a standard that we deemed we could cope with, and made ourselves at home.
I say decorating, but really it was things like, adding heating and removing mould. The height of glamour!
The lounge and the bedroom were the 2 rooms we chose as the priorities. Places we could be comfortable whilst the rest of the house got very necessary additions (like getting a bathroom and kitchen – pretty essential am I right?).
I distinctly remember decorating our lounge.
We stripped off the mouldy wallpaper. Down came the plaster, which was mostly Sellotaped to the wall. We added radiators. We re-plastered. We removed the old school fireplace. We gave the room a lick of white paint, and then I re-painted it in Dulux’s Natural Hessian to hide the colour of plaster, which ironically, is a paint colour that looks exactly like plaster. D’oh!
I remember so well when we painted. We did it at about 10pm, and without blinds or curtains, passers by gawked in. Perhaps I had a builders bum situation going on? Either way, this stage is what Joe and I refer to as our Lounge: Version 1.0
We haven’t really changed it since, but it’s never what I considered to be decorated – just a temporary hidey hole from the rest of our renovations. In fact, it’s been a bit of a dumping ground to be honest. Our kitchen units remained in the lounge for 3 months at the end of last year. We had our bathroom suite in there the year before. More recently, it’s been home to piles of baby clothes I’m yet to organise, and all of the pram accessories I need to find a home for.
Now, we have decided it’s time for a makeover, in time for the baby’s arrival. It’s time for Lounge 2:0.
It started in August with the skirting board…
Skirting Board
Some of you may remember that we had a flood downstairs last August. We salvaged the carpet and replaced the underlay to avoid mould. But the woodwork wasn’t too lucky. It expanded and rotted a little so we made the decision to replace it.
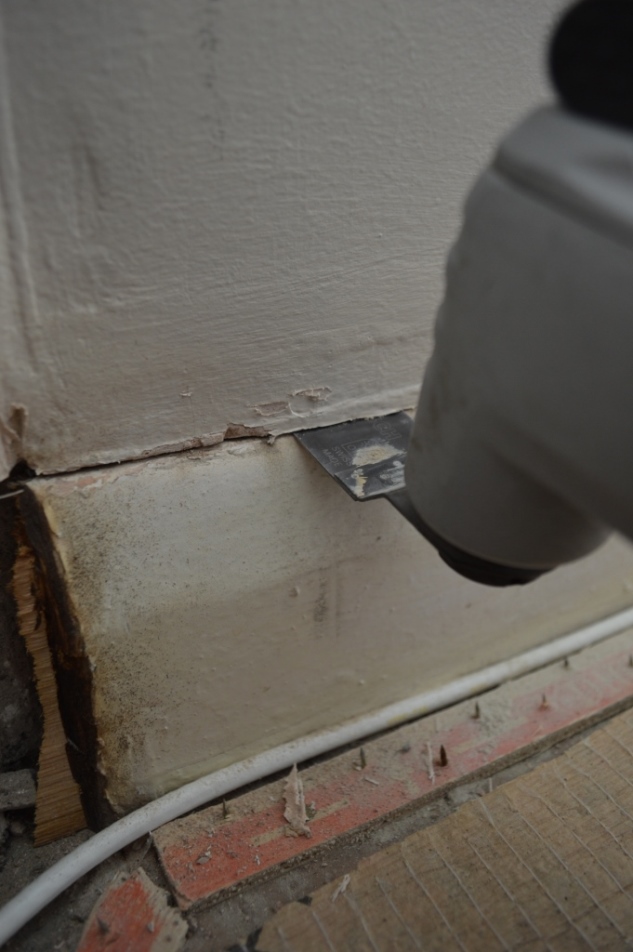
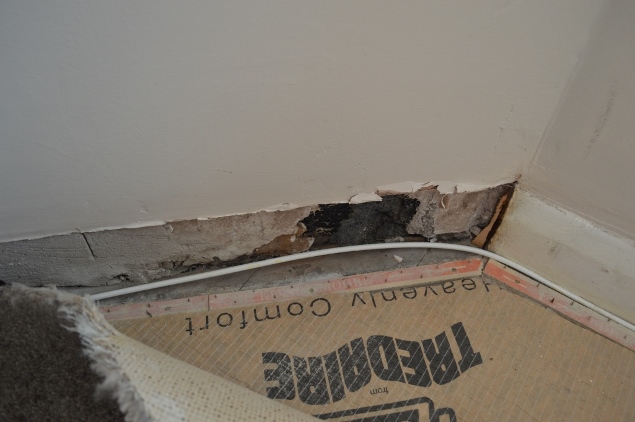
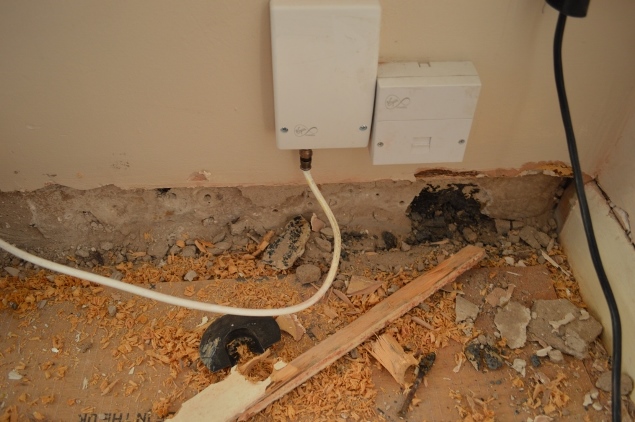
Joe started by removing the old skirting board from the entire room using a oscillating multi tool. This one is from Worx and allows you to accurately cut into materials from head on which is pretty great because it allowed us to remove the skirting without damaging the surrounding plaster. Sadly, the brickwork behind the skirting was pretty weak, but hey, as long as the house stays up, am I right? 😉
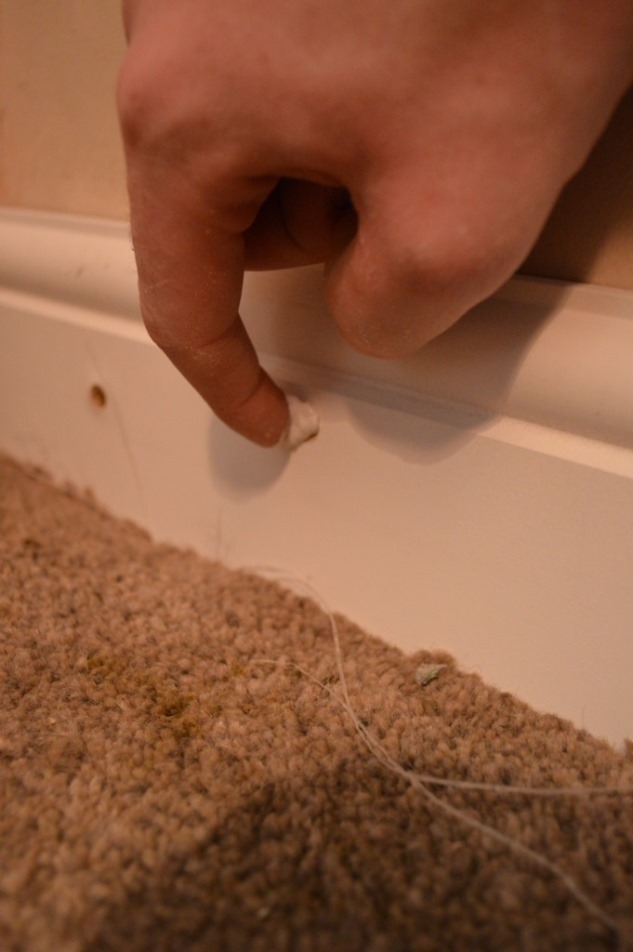
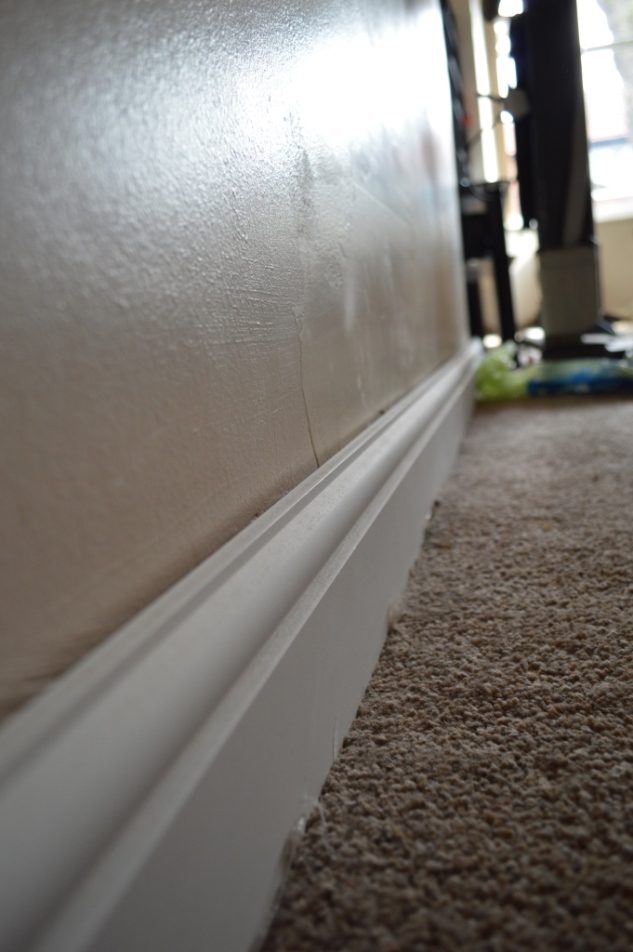
After a good old clean up of the dust (MORE DUST!) Joe nailed in new skirting – MDF in 119mm, which isn’t actually too tall for skirting, but it’s taller than the original stuff. Quite unusual as older houses tend to have very high skirting.
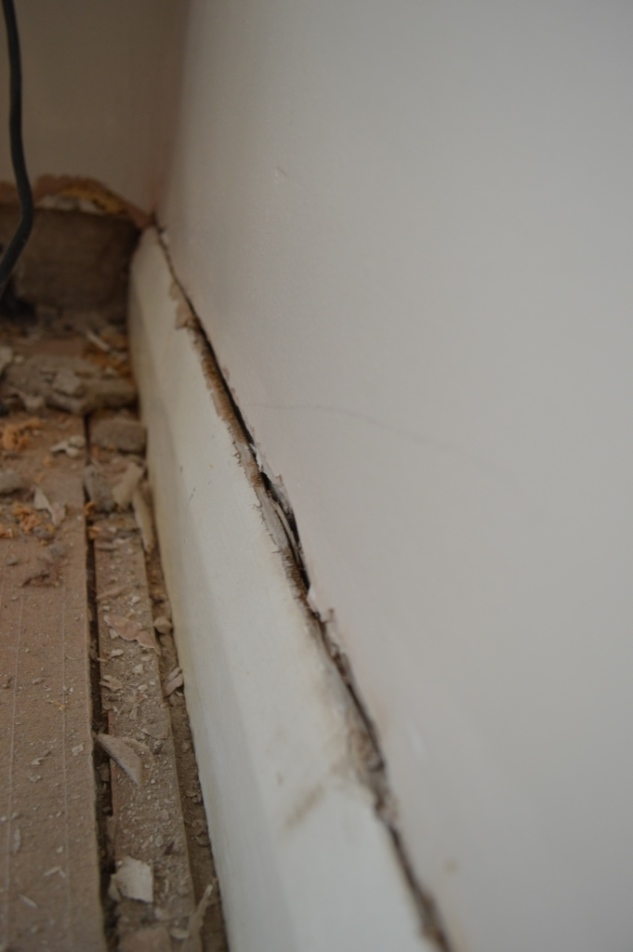
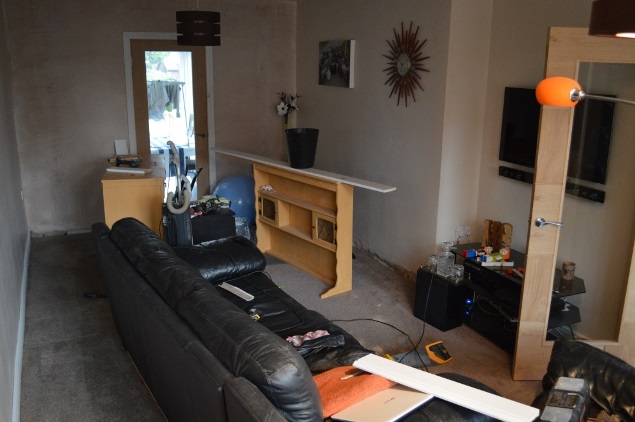
After filling in the holes made by nails, one undercoat later and a coat of white gloss, we had new skirting. It sounds like a quick and easy job when I put it into a nutshell but as you can see from our piccies below, it’s certainly a messy one, and as per usual, our furniture was given a tour around the downstairs.
Coving
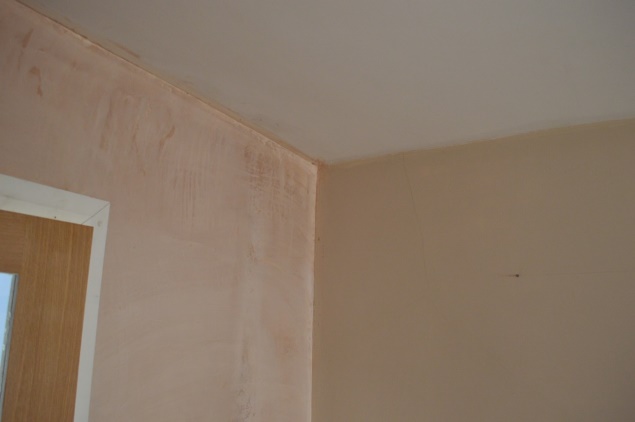
For most of you reading this who are doing up an older house you may find that you already have coving! They really are a finishing touch to the room and they’re great for decorating because it gives you that straight line to work with when you’re adding paint or wallpaper. Sadly, our house didn’t have this feature, and like most homes of our age, the walls aren’t even. Of couse, you may never know this, and really, it doesn’t make too much of a difference how straight your walls are…until you try and paint it! Then you realise just how uneven they are.
Upstairs we solved this problem with a picture rail but with the lounge being a long room rather than square, I didn’t want anything that could potentially make the room look longer or lower the ceiling.
So Joe bought some plaster artex. You can also use polystyrene coving as an alternative, but it’s not quite as sturdy in construction so may need re-doing after a few years. We only plan on doing this the once so felt the plaster artex was a better investment, even if it costs a few pounds more.
With this room being about 22 feet long, there weren’t any pieces that would fit the entire length of the wall, so Joe had to do a bit of chopping. In addition, because the walls were so incredibly wonky, it made more sense to do them in smaller lengths around the room. to make any wonky lines a little less obvious.
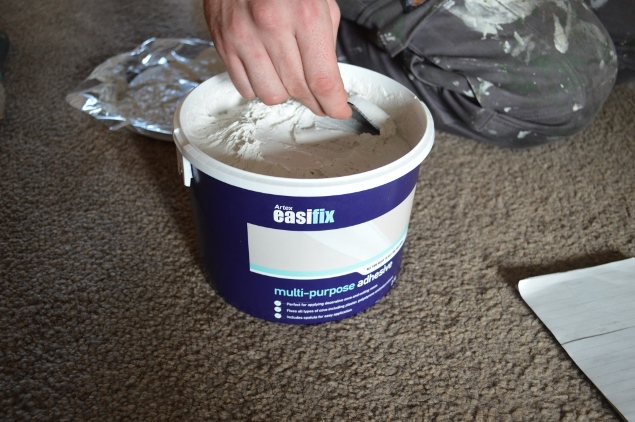
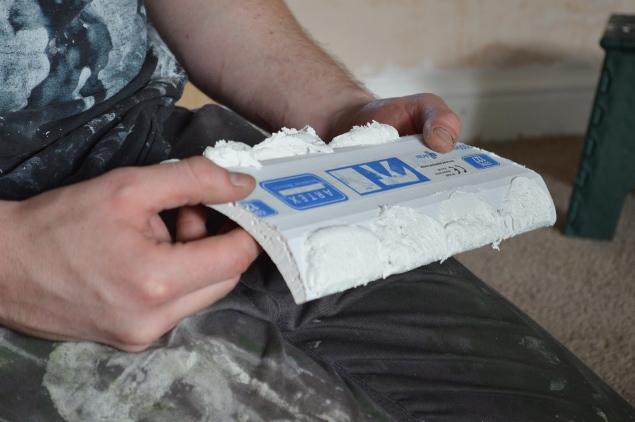
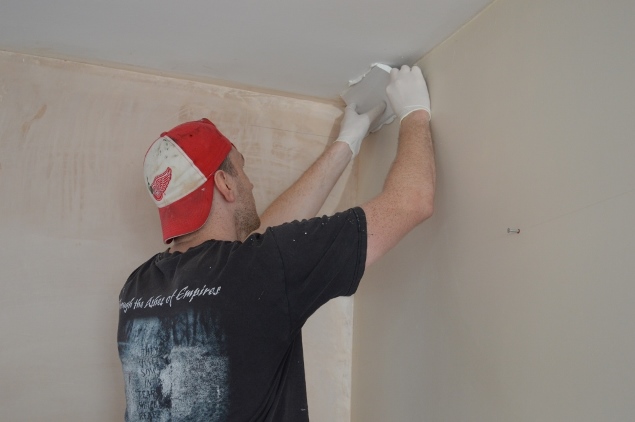
Using a multi purpose adhesive, Joe pushed the two curves of the coving into the corner where the wall met ceiling. Sadly, he was unimpressed with this product, as it was so runny, the coving wouldn’t stick! He had to use nails in the wall to hold the pieces in place whilst it dried. You can see this in the images below. The next day when he returned to the job, he tried a grab adhesive instead, which also acted as a filler to help make the joints between pieces a bit more seamless. Much easier, he tells me.
Since then, the coving has had a coat of white emulsion after sanding down the joints, and voila, a blank set of coving on the ceiling!
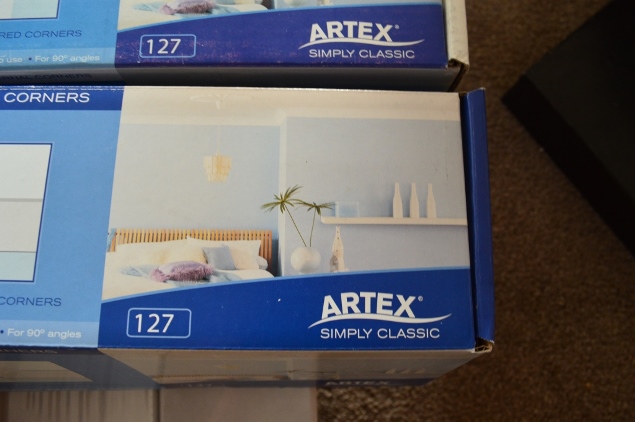
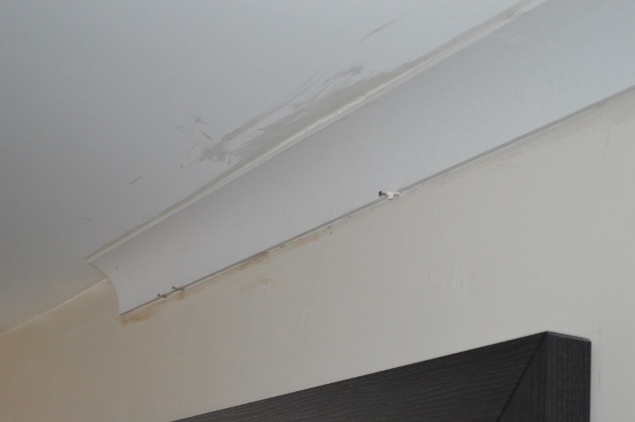
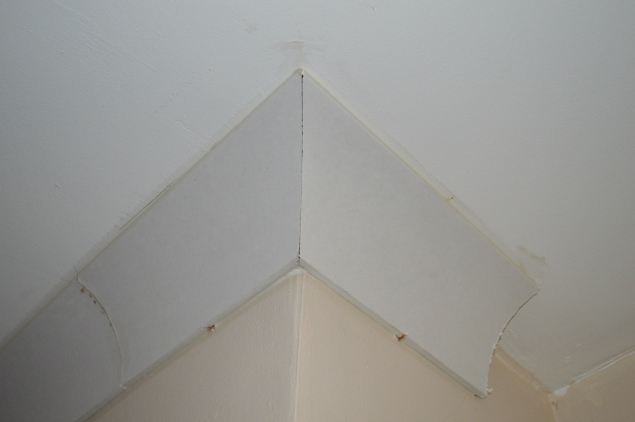
I know, I know, skirting boards and coving aren’t going to set most people’s fire alight. It’s certainly not the kind of thing you’re going to find in your monthly interior magazine subscriptions. But every room needs a good foundation before it can be transformed from an ugly duckling into a swan. This was phase 1 of that. I haven’t included the “after” pictures of these yet because the difference in this room is really amplified when you see all the changes we’ve made in the last month, so you’ll see these soon enough.
The next step on our list for the lounge was wallpaper. Come back on my next update to see what we chose.


