Whilst I’m not the craftiest of people naturally, I do like to put a bit of a personal touch around the house here and there. After all, being on a strict budget over the years has meant we’ve more often than not opted for generic furniture choices and items of necessity over style, so any customisations we can add without spending a fortune is always welcome.
With the nursery, I’m not planning on doing anything majorly over the top. I do love perusing Pinterest for ideas but then I automatically feel like a bad mum before the baby is even here because I haven’t hand-crafted every single item in their room! And it doesn’t follow a specific theme, when all of these wonderful rooms I see on other sites follow a strict well thought out ‘concept’. I think if I could have my own way again, with a lottery win behind me and a decorator at my beck and call, I would have gone for a Dr. Seuss theme – I think the quotes are adorable and the designs just so colourful and fun. But that’s a story for another day!
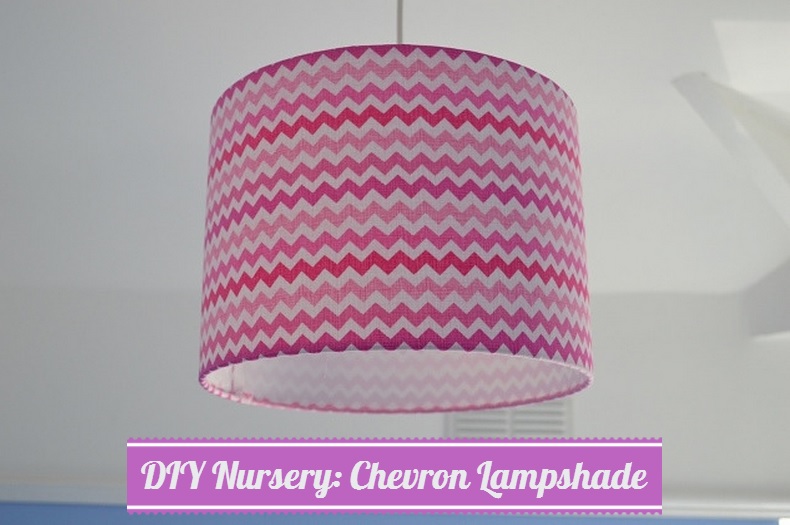
One thing I have managed to achieve myself however, is the lampshade.
I’d seen a few I adored on Etsy and was merely awaiting payday to get one ordered. I’d narrowed it down to 3 – all of which were a blend of white and hot pink. Girly enough, but not in a candyland in-your-face type of way. Sadly, when the time came, all 3 were either out of stock or the shop had taken a hiatus. With a bit of further digging I found another I adored, but it was £50, and whilst I know that for some this is a perfectly acceptable price tag, our budget just wasn’t going to stretch that far.
After a bit of Googling, I’d read that it’s actually incredibly easy to make your own lampshade. Well, let me be the judge of that!
I ordered a lampshade making kit from eBay for a bargain – I believe it was £8. And I ordered material from Fabric Rehab for £6 (which by the way I love everything on there, and the delivery was so so quick – highly recommend) in a multi-toned pink chevron pattern – my love of chevrons I’ve already talked about in my Nursery wishlist post so it was an irresistible choice for me.
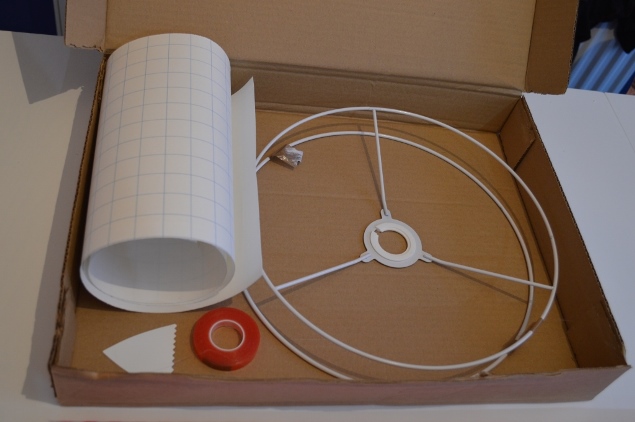
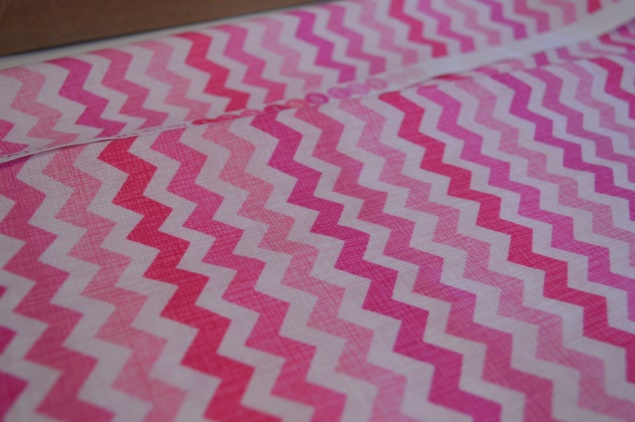
And then, I was off following the instructions. Here is how it went…
Instructions
Trim your fabric so it’s slightly larger than the adhesive panel (this came with the kit). Peel off the backing from the adhesive panel, ready to stick onto the back of your fabric. This is what makes the loose fabric sturdy enough to become a lamp covering.
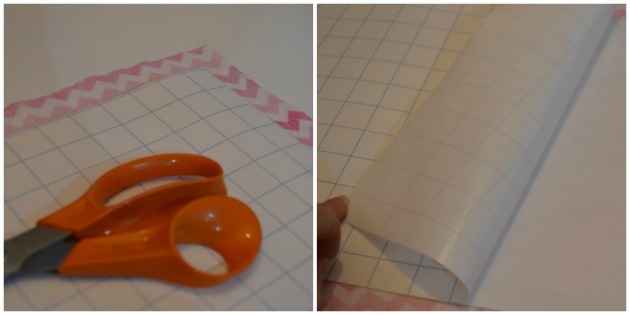
Once it’s all stuck down – and take your time with this so there are no bubbles – trim the excess fabric to the edge of the panel.
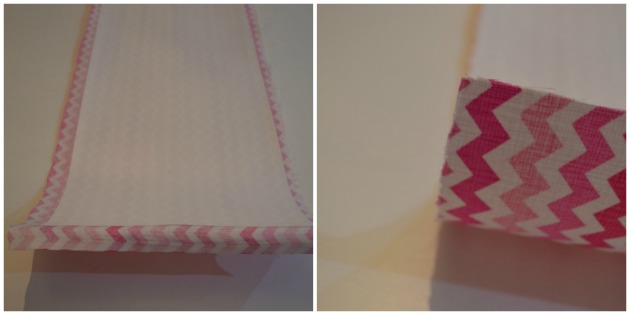
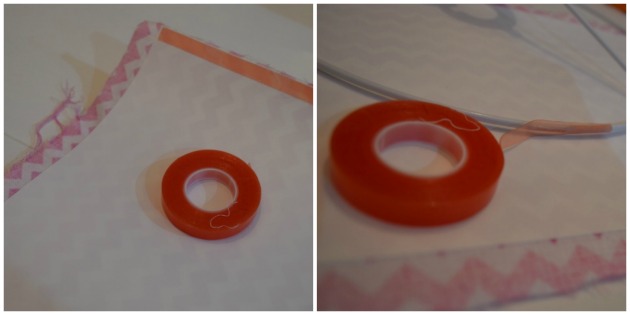
At the bottom and top of the panel is a removable strip to expose an edge of the fabric. Remove this, and then add a strip of double-sided tape to either the right or the left of your covering which will stick together the overlap later. Whilst you’ve got your double-sided tape out, apply it evenly to the outer section of both lampshade rings. When you remove the backing of the tape, it will make the rings super sticky and ready for shaping the fabric. Position one ring at the top of the fabric panel, and one at the bottom. Then roll the rings along to make your lampshade shape.
Fold the excess fabric completely over the rings. It will stick firmly thanks to the sticky tape. This kit came with a laminate squeegee tool to tuck in the plastic which makes it look so much neater and a lot more professional!
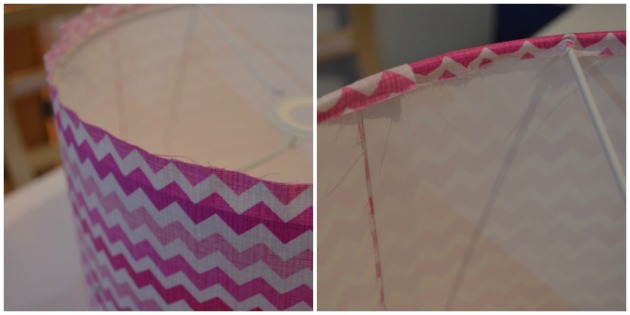
Don’t worry about those tatty bits there. I trimmed them afterwards and then tucked the rest underneath.
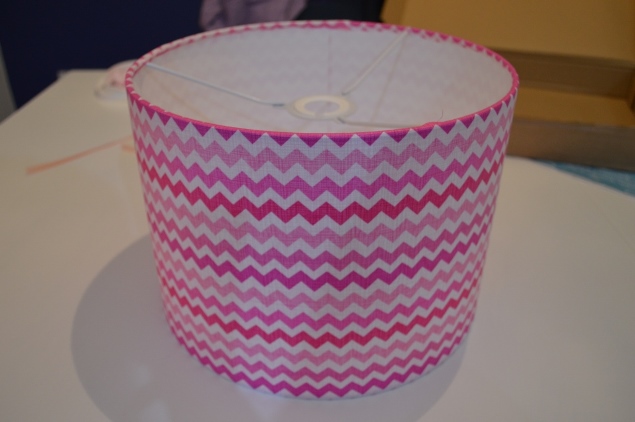
Lessons Learned
Whilst this came with instructions, and was a really quick and easy DIY, here are some tips I’d give anyone else willing to give it a go.
- If your fabric has a directional pattern, you’ll want to mark the positioning at the beginning before trimming the fabric.. Mine was chevron so I was conscious that sticking the adhesive panel at the wrong angle could mean a wonky finish. For plain fabrics with no pattern, you should be okay.
- Iron your fabric first! No matter how well you attach the fabric to the panel, any creases will be super obvious if you don’t give it an iron.
- If possible, use a proper blade to trim excess fabric. I used regular scissors and when it came to the finishing touches there were lots of frays to touch up.
So there you have it! Here is what it looks like in the nursery…
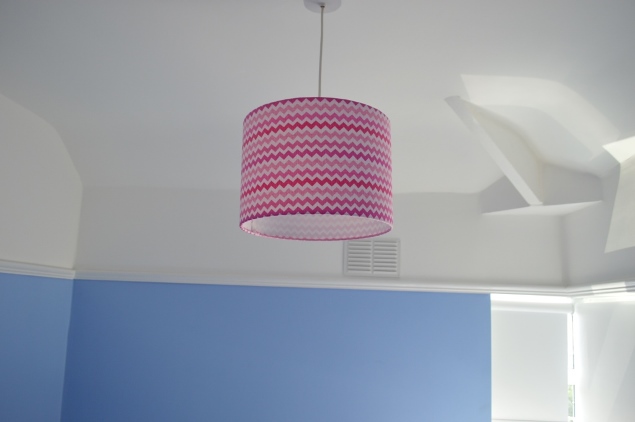
I personally love the combination of the baby blue and hot pink colours. And I’m really pleased that I got a lampshade that I love but for under £15.
I need a lampshade for the guest bedroom so may do the same for in there as soon as I narrow down which pattern of fabric I want to use. Like I said, I’m not the craftiest person ever, so if I can do it, so can you! What do you think?


