Last September, Joe took on the challenge to remove all of the rotten plaster in the hallway and landing. If you need to refresh your memory you can read all about that here.
After he’d had some success with bedroom 3 adding the plasterboard himself, and our plasterer telling him he’d actually done a pretty good job, he decided we might as well do the same in the hallway and save ourselves hundreds of pounds in labour costs. So this is what he’s been doing ever since.
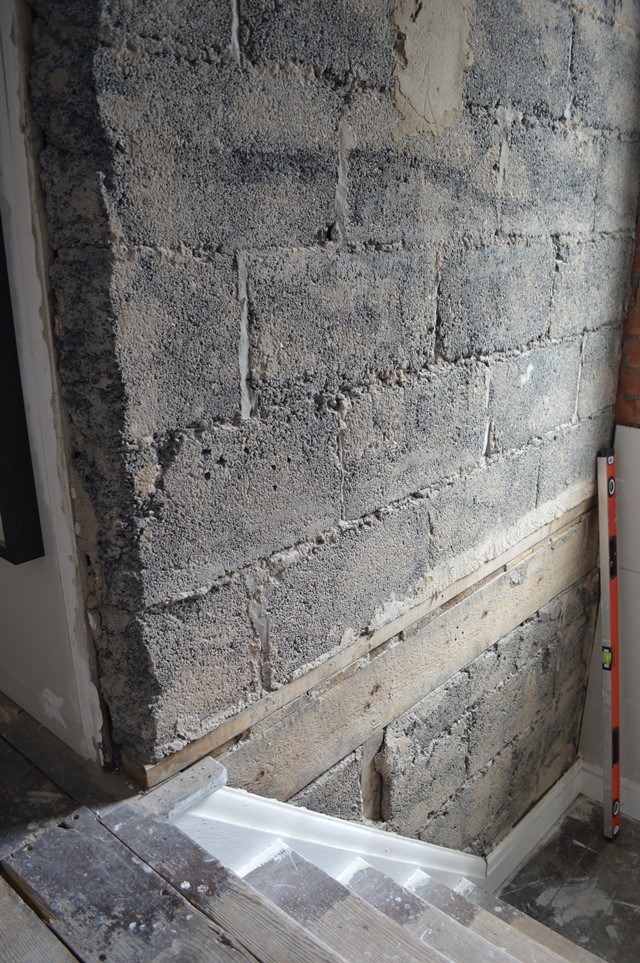
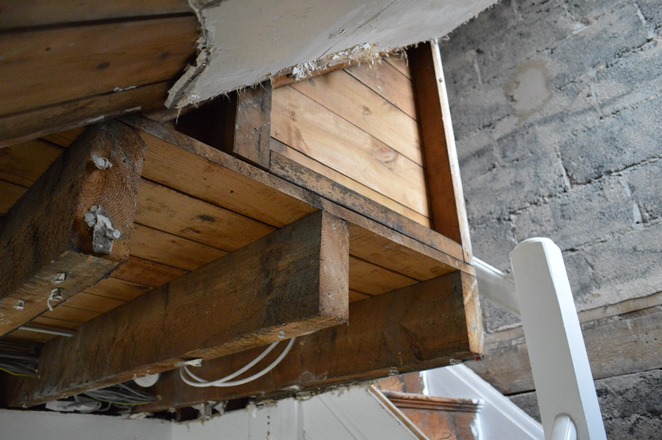
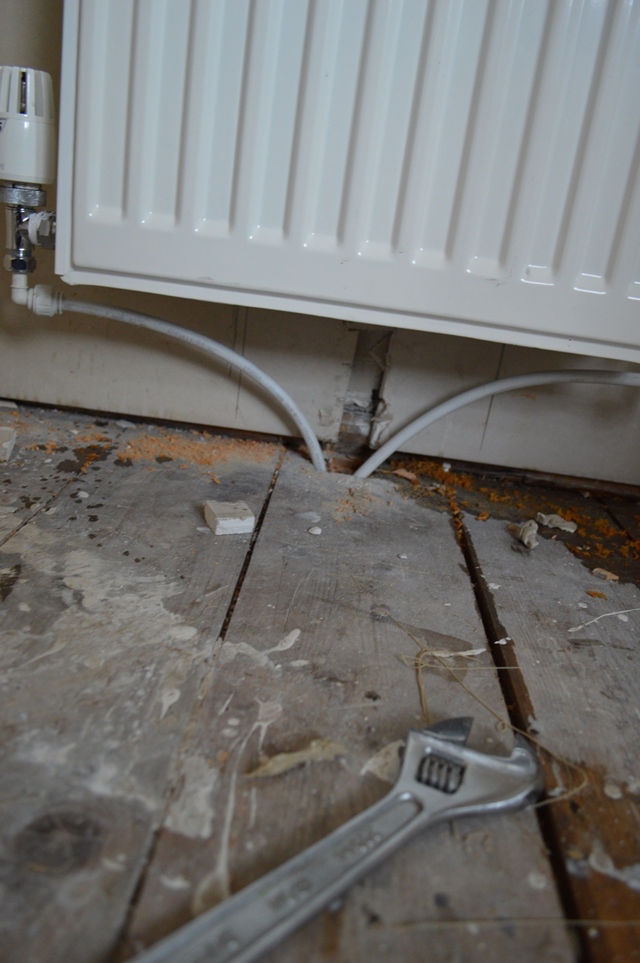
Whilst I originally loved the idea of having the exposed brick up the stairs, due to the central heating pipes being on show as well as the joists and breeze blocks on show upstairs – as you can see below – it’s just not the best basis for decorating I don’t think. I mean, it’s not the kind of sexy stuff you seen in the magazines now is it?
Warning: Lots of images to follow. For anyone who is looking for interiors inspiration, I’m sorry, but unless you have a particular fetish for LOADS of bricks and dirt, then you’re probably in the wrong place. You see, to me this stuff is exciting because it’s all amazing progress. Sure it’s a mess. And my gosh, it’s not always fun getting brick stuck in your feet. It’s certainly been suuuper dusty during this long makeover process, but when you’re designing a room from scratch, sometimes it looks a whole lot worse before it looks better.
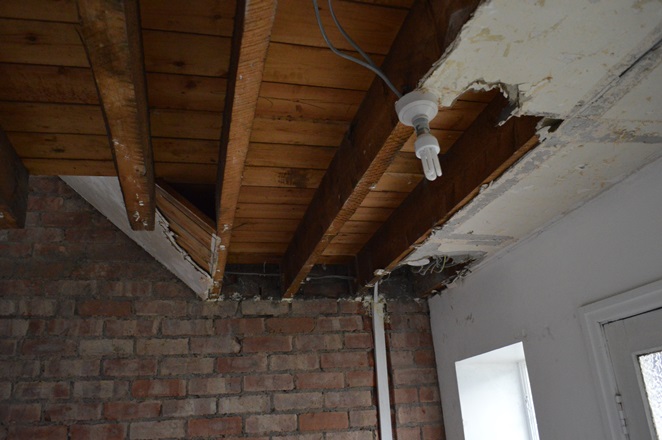
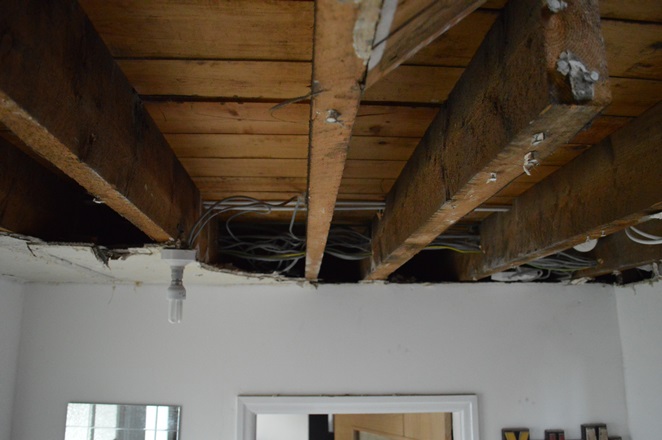
ANYWAY. Joe finished removing all of the old plaster, which was mostly falling off independently anyway. If any of you follow me on Instagram you may remember the day I came home from work and found that Joe has removed the hallway ceiling – just another normal day for us!
So let’s take a look at what the exposed walls look like, and how it looked when Joe removed the ceiling to expose the joists and electricals upstairs…
Exposing the brick
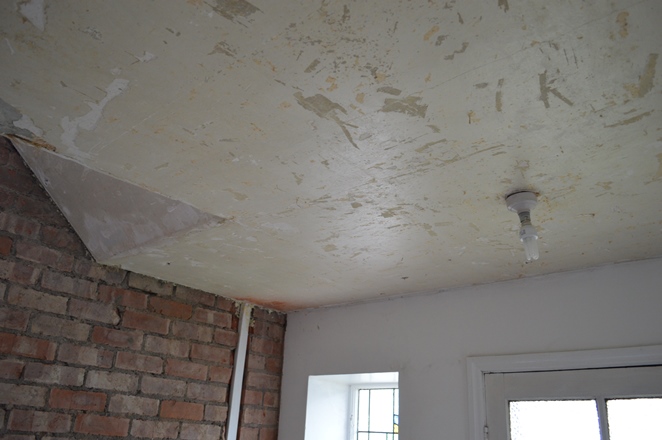
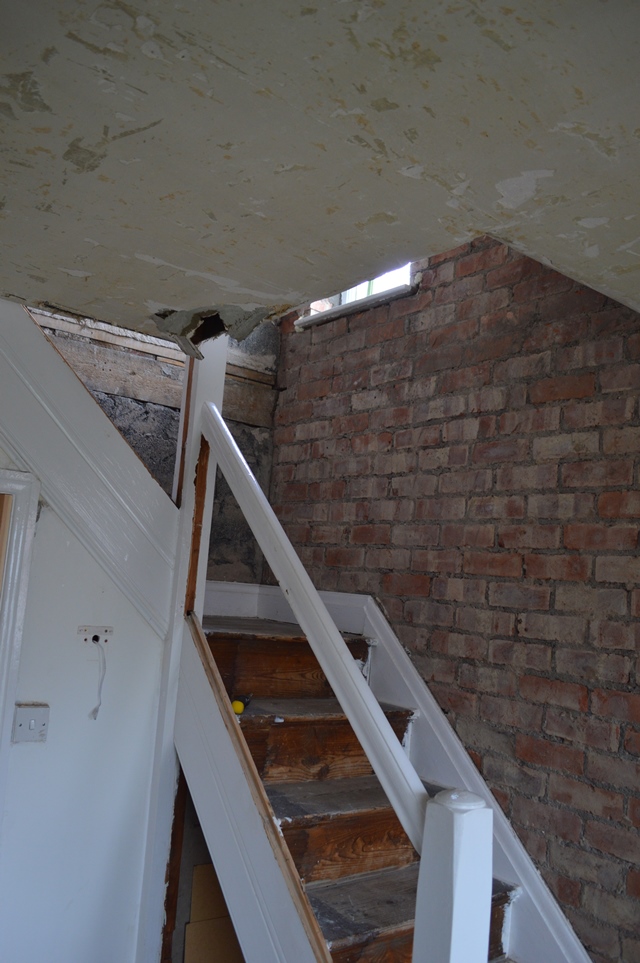
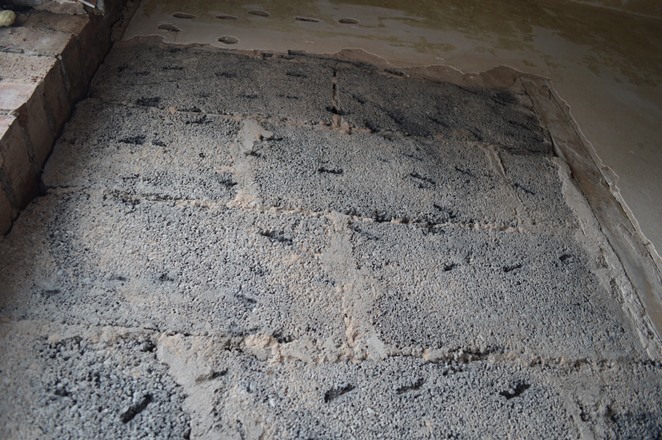
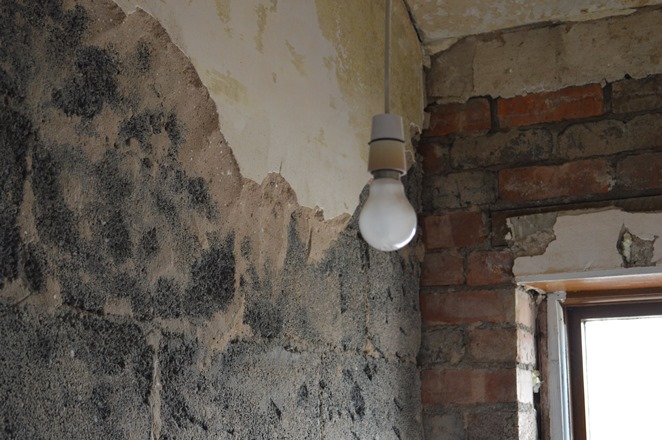
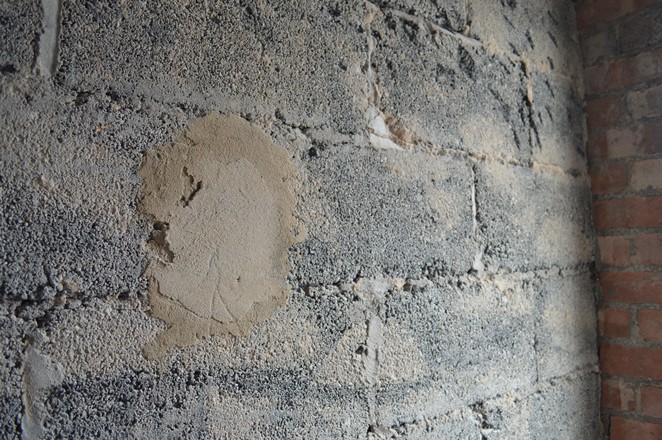
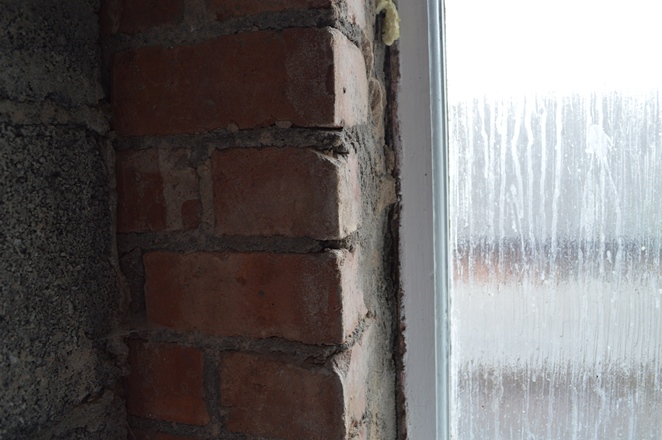
Byebye ceiling
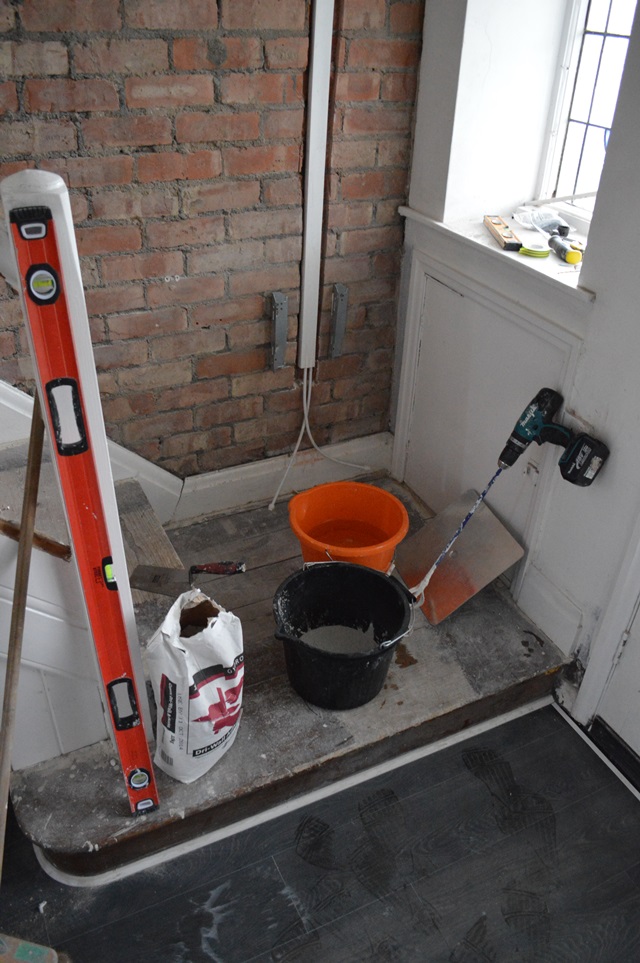
Prepping the plasterboard
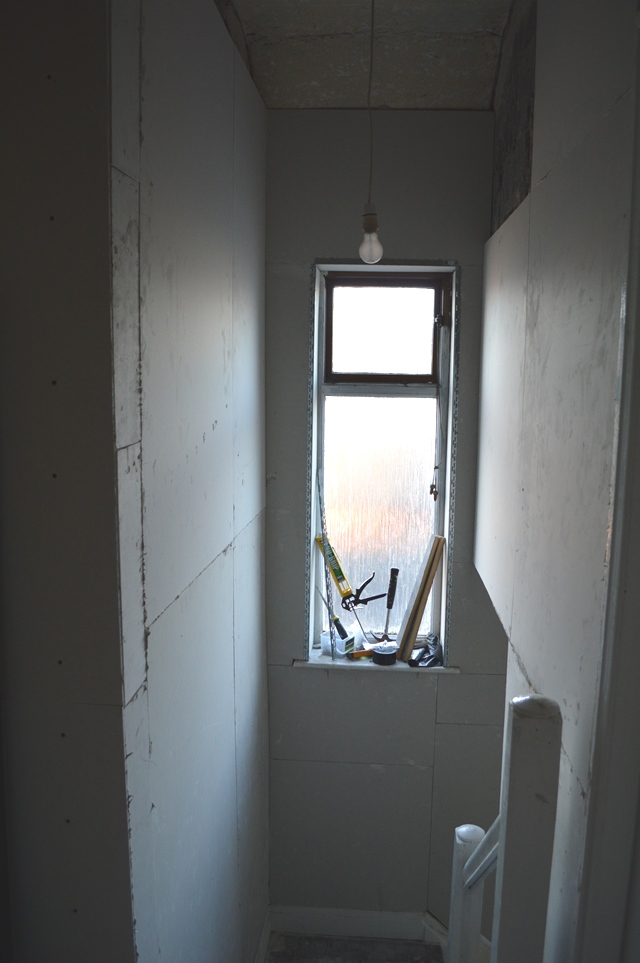
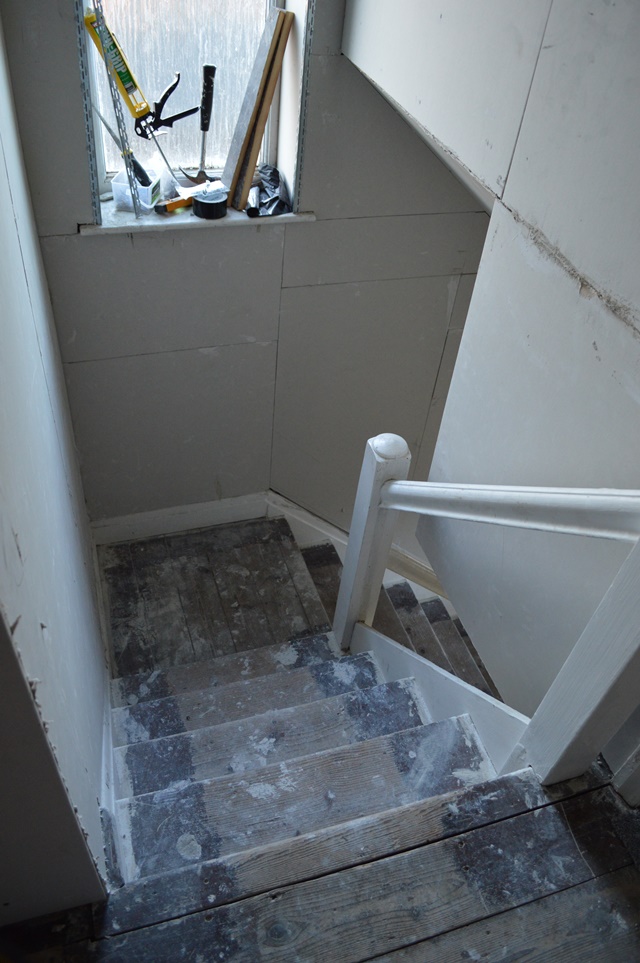
The finished result
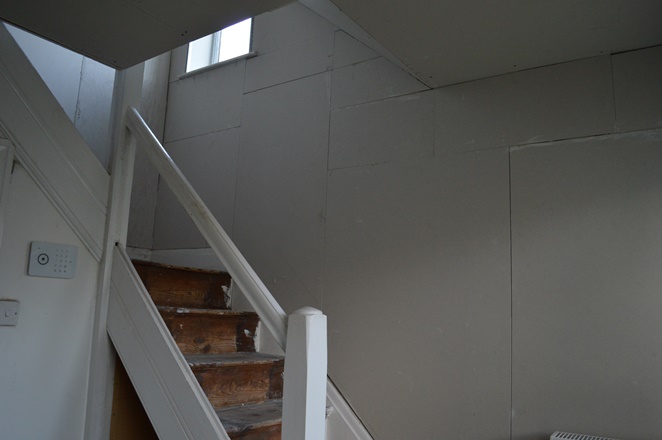
Voila!
Whilst the room isn’t finished and will need a skimming, a coat of paint and some form of flooring, it’s significantly neater than before. You may notice that the plasterboard is in lots of weird and wonderful sizes. The fact is, it’s an awkward space, full of angled walls and an incredibly high ceiling upstairs, so for Joe to make sure every inch was boarded up, it took a lot of measuring and trimming. It also explains why these images were taken over a period of about 6 months. We’ve had tools on the stairs, rubble in our hair, and a room that generally just looked a little down in the dumps, but to me it’s already a happier place to be.
Lessons learned
Although most normal people wouldn’t attempt to tackle such a job, from Joe doing this work himself, we saved a few days’ worth of paying a labourer to do it for us, which actually adds up to hundreds of pounds. So just in case we have any nutty readers who are thinking of taking on a similar job, Joe has some tips. Hope these are helpful!
- This looks neater because I did a lot of tidying along the way. Don’t underestimate how dusty and mucky it is.
- I bought larger pieces of plasterboard as it covers more area, but in the end I had to cut down and waste a lot more. Instead, buy the smaller sizes to save money and time.
- Buy more adhesive than you need! I kept running out halfway through sections.
- Spirit levels are wrong. Okay, they’re not. But if you live in an older home – or anything that isn’t new build – chances are your walls won’t be even. Sometimes you need to make a judgement call from eyesight.
There we have it! It’s not 100% baby-ready yet, but it sure beats bricks falling on our heads. What do you think? Don’t you think he’s done a spiffing job?
