With radiators, it’s location, location, location.
The thing about buying a house and doing it up as you go along, is that sometimes you make decisions in a hurry, only to add it back to your to-do list again in a matter of months.
Before we moved in, we had a week where we could work on the house but still live in the comfort of a flat. What we did in that time was have central heating installed. (You can read about it here, and it’s crazy now to look back at how different the house looked!)
We added a radiator into Bedroom 3 – now the nursery – on the right wall as soon as you walk in. As we hadn’t lived in the house yet, it’s hard to say where you want things so it really was a pure guess. To be honest, we still haven’t really lived in that room. It’s mostly been limbo for our household furniture whilst it was waiting to go to its forever home. But now, we have to really start thinking how the room will be used, and how best to maximise space.
Joe decided the radiator would be much better suited to behind the door instead. And so, he’s moved it.
(By the way, if you want some tips on moving a radiator, the lovely Christine over at Little House On The Corner has done this great post on the topic.)
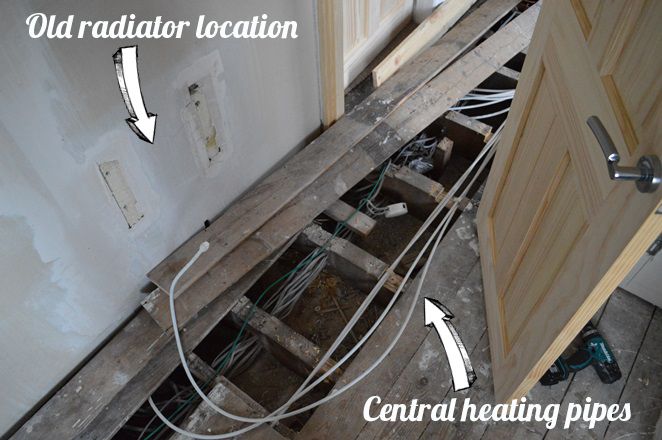
This was done before the room was plastered, but after Joe had added the plasterboard, so there was a bit of cutting to be done.
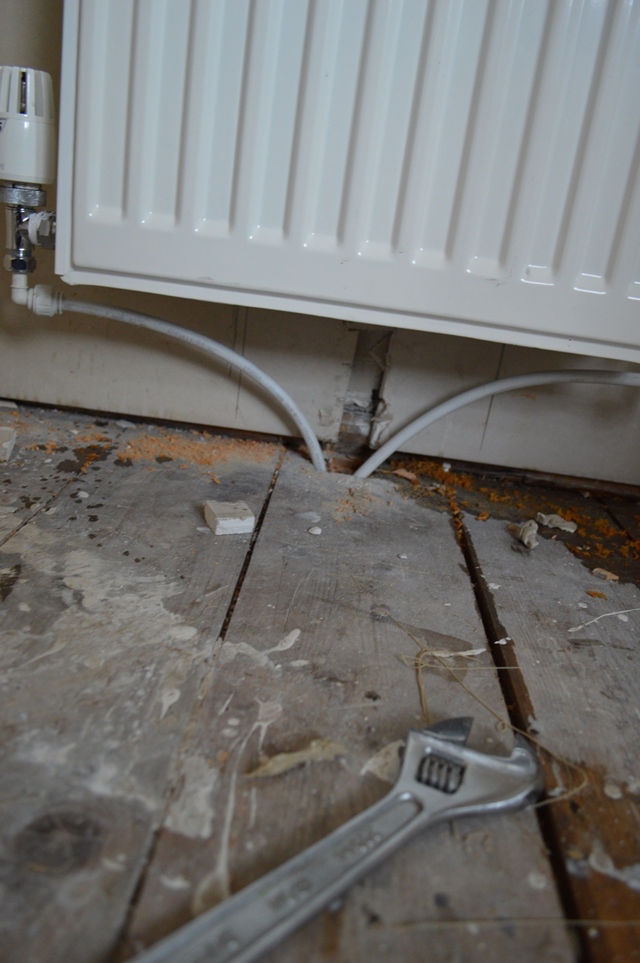
Firstly, the old radiator was removed, the brackets came off and Joe filled the gap in the wall from said brackets. Then, up came the floorboards to move the piping.
In order to make some cuts to the floorboards where necessary, as well as to the plasterboard, he used the Worx Sonicrafter Hyperlock Oscillating Multi tool, and as he’s a good egg, he’s also reviewed it below. Coming soon, a nursery update – we have furniture in now!
Joe reviews Worx:
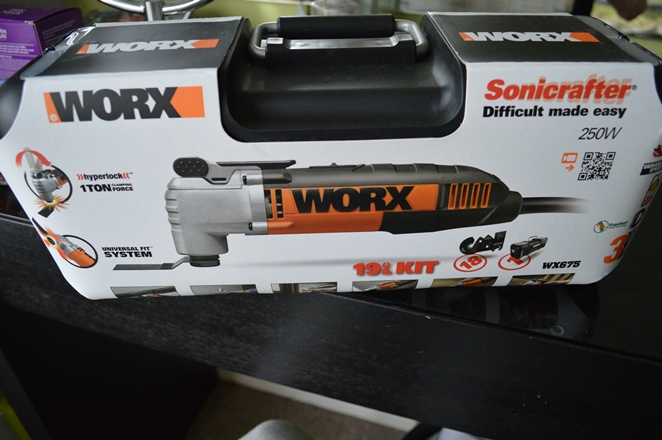
My first thoughts when I opened the package was that it came in an awesome smart, neat and compact box. The box has two compartments at the top to hold blades or sander pads.
Immediately I recognised the best feature which is the keyless chuck which most of you will know is the greatest ever so you don’t have to find and use the fiddly chuck.
[Hey, it’s Karen again! For those who don’t know what a chuck is, which I didn’t have a clue, traditionally it’s an extra key that you have to put into your drill which loosens and tightens the sawing parts. The benefit of the tool having an attached chuck key is that it’s less faf and you’re less likely to lose a part. That’s what Joe tells me anyway…]
Also, its orange which is my favourite colour so that’s nice.
I didn’t have anything I needed it for right away but when I did, it was the handiest tool to have. If you ever want to saw something that cannot be accessed at by a saw because you can’t get behind it, this is what you need as it saws head on.
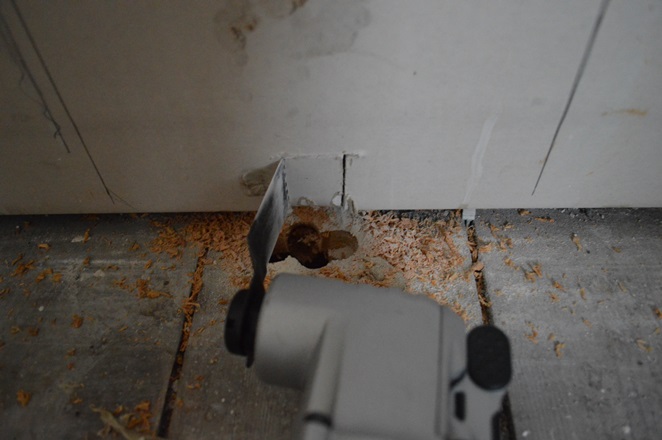
I used it for cutting out a square piece out of the floor board which was right up against the joist so I could feed the radiator PVC flexipipe through. I have used the blade to hack at metal which I used to attack some nails that couldn’t be pulled out by a claw hammer in the stair bannister. I also used it to cut out a small piece of plaster board to feed a network cable through, it is so easy to use.
I also lent it to my mother in law recently who was trying to find out a way to fix a hole in the decking without replacing the whole 2 metre length. She cut out a small piece either side of the hole half way on the joist and fitted in a new cut off piece she had left over after measuring it to fit and fit snugly.
It’s so lightweight and smooth which is great for me as I’m pretty heavy handed. The actual saw bit was brilliant but I would say it blunted slightly quickly when I hit some nails in the floorboards. If there was a wood/nail drill bit combo, it would be ideal, but if you’re just after something for wood, this is immense.


