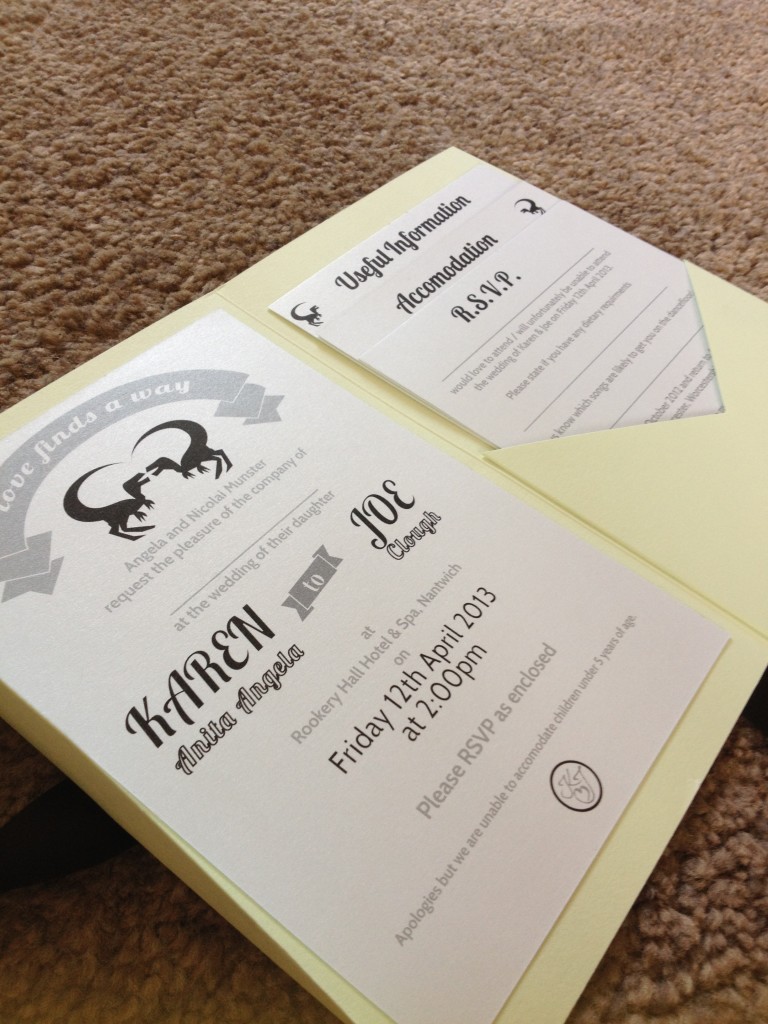
Wedding invitations are expensive. From the absolute beginning, Joe and I knew we wanted to make our own. We had seen lots of designs we loved, in magazines, on forums and at wedding shows, but as usual, it turns out we have expensive taste. We wanted pocketfold invitations which on average were a fiver each, which would put our invites bill into hundreds of pounds, an amount we knew we could save on.
So early on we made the decision to make our own DIY pocketfold wedding invitations. Here’s a sneaky peak as to how we did it.
Why pocketfold?
A few reasons really. Firstly, you can get a lot of information neatly into one little booklet. With our venue not exactly local, we knew it would be fairer to guests to give as much detail as possible in the way of directions, accommodation info, and local taxi numbers. And secondly, we just thought they looked awesome.
What we used
- Pocketfold cut-outs (ordered from PDA Card and Craft)
- Inserts for the pocketfolds (also from PDA Card and Craft)
- Printer (HP Officejet 4500 if you really want to know)
- Ribbon (ordered from Country Baskets)
- Glue
- Scissors
- Envelopes
- Large Stamps
How we did it
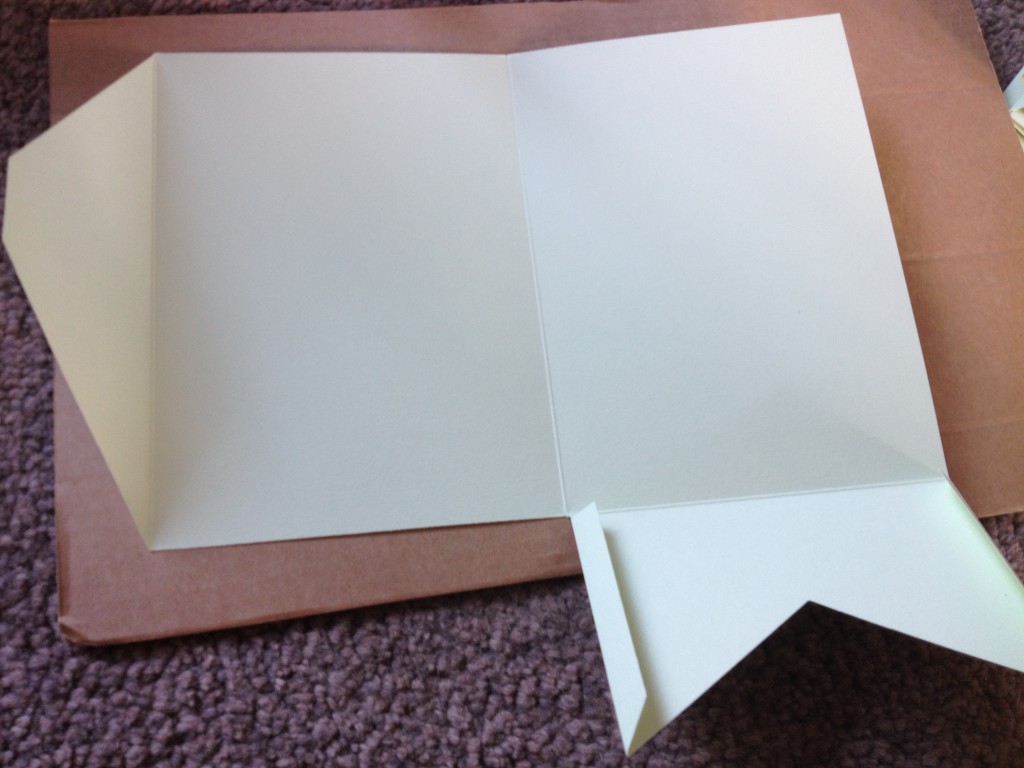
We ordered the card pre-cut. After experimenting with measuring out and trimming to size ourselves, we found that in our case it was actually cheaper to buy pre-cut. And why would we make things more difficult?
We ordered approximately 7 different colours, but when our theme colours were finally chosen as green, black and white, we purchased just under 100 pre-cut pocketfold invitations, size A5 in the colour Pistachio. They arrived flat and we started the first task of folding all the creases into place and weighing them down with books overnight so they’d keep their shape.
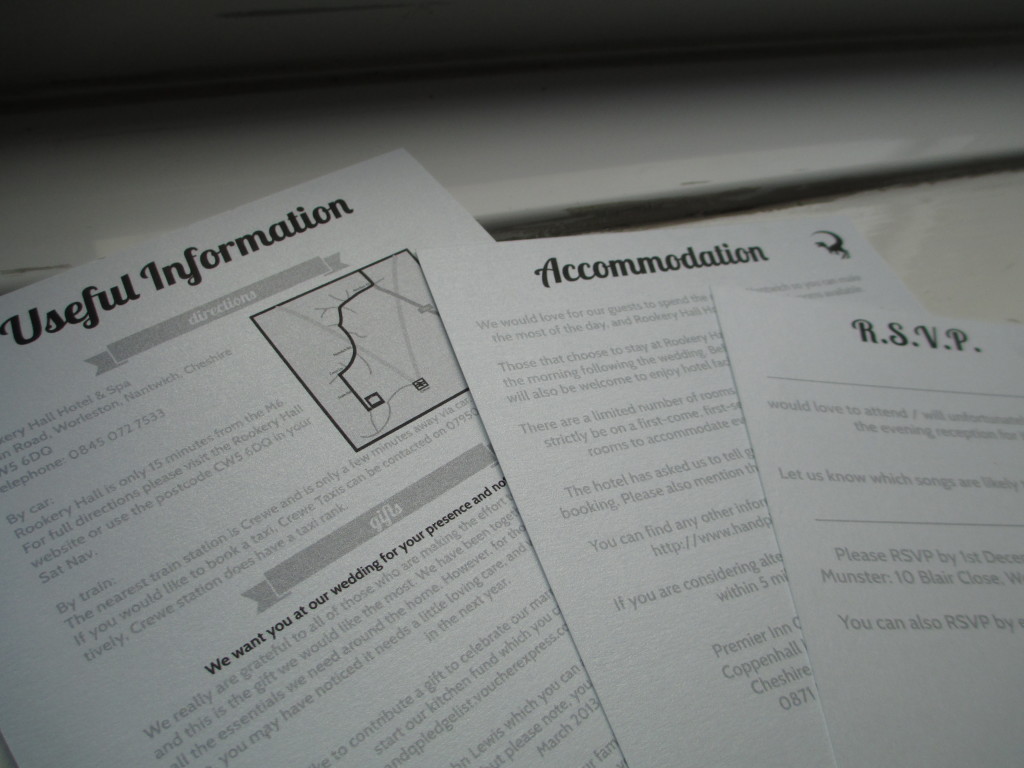
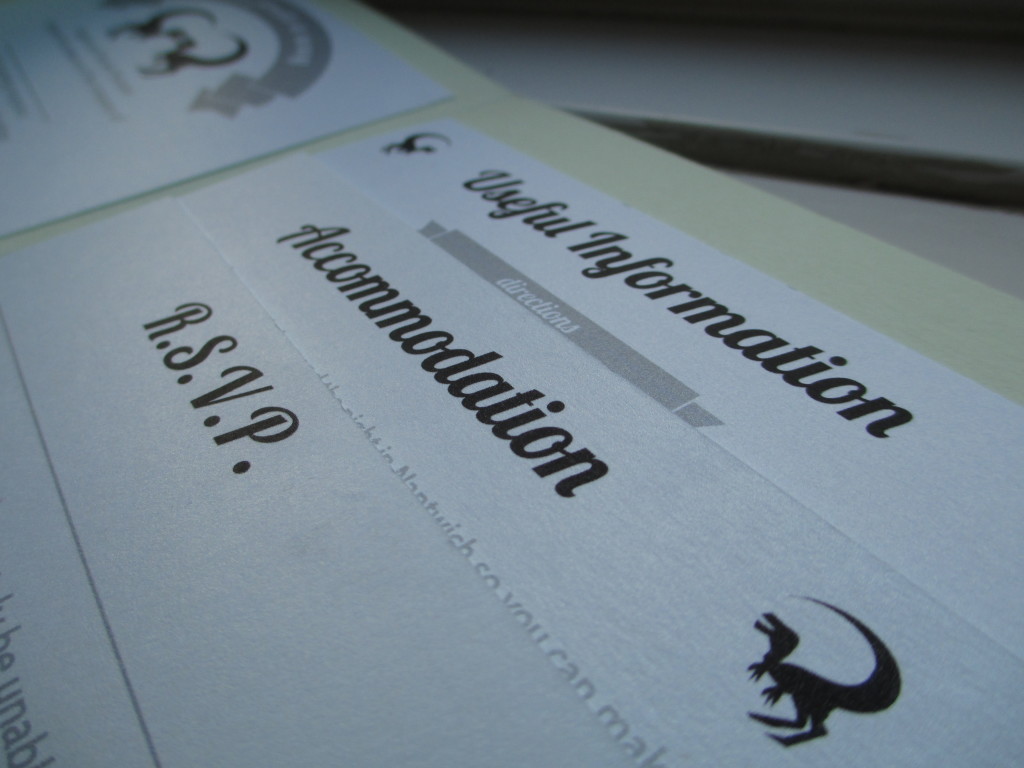
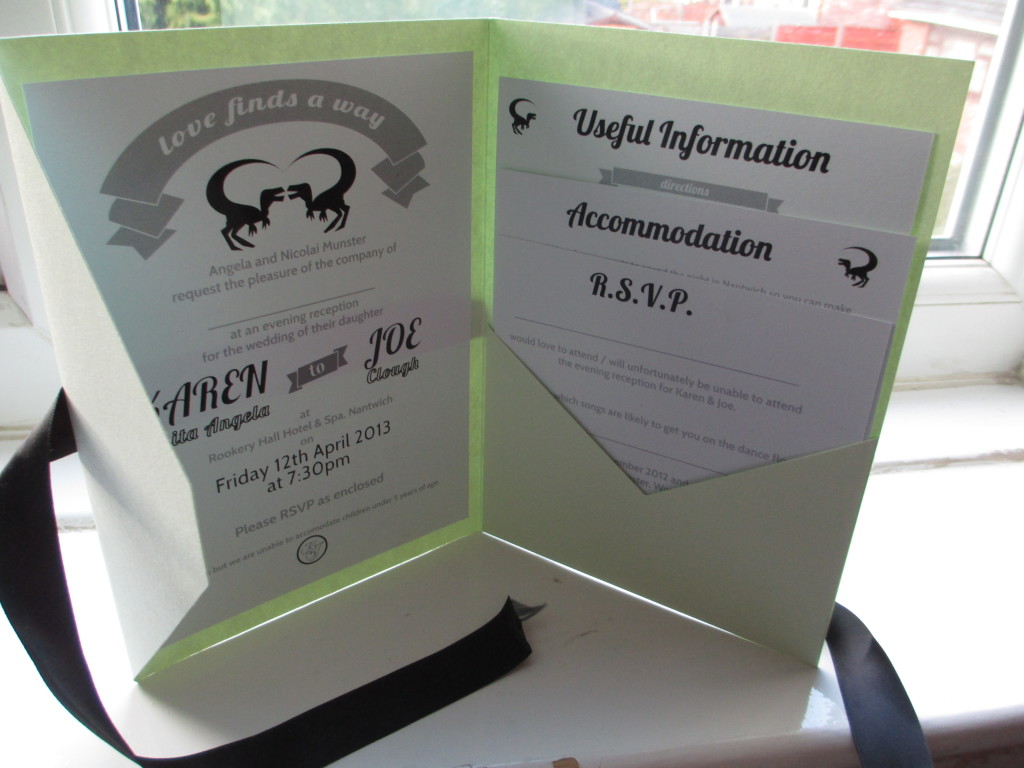
For the details inside, we printed onto pearlescent card. For each invite, we ordered 4 pieces – 1 to be stuck down on the left. The other 3 in different sizes to be inserted in the “pocket” on the right.
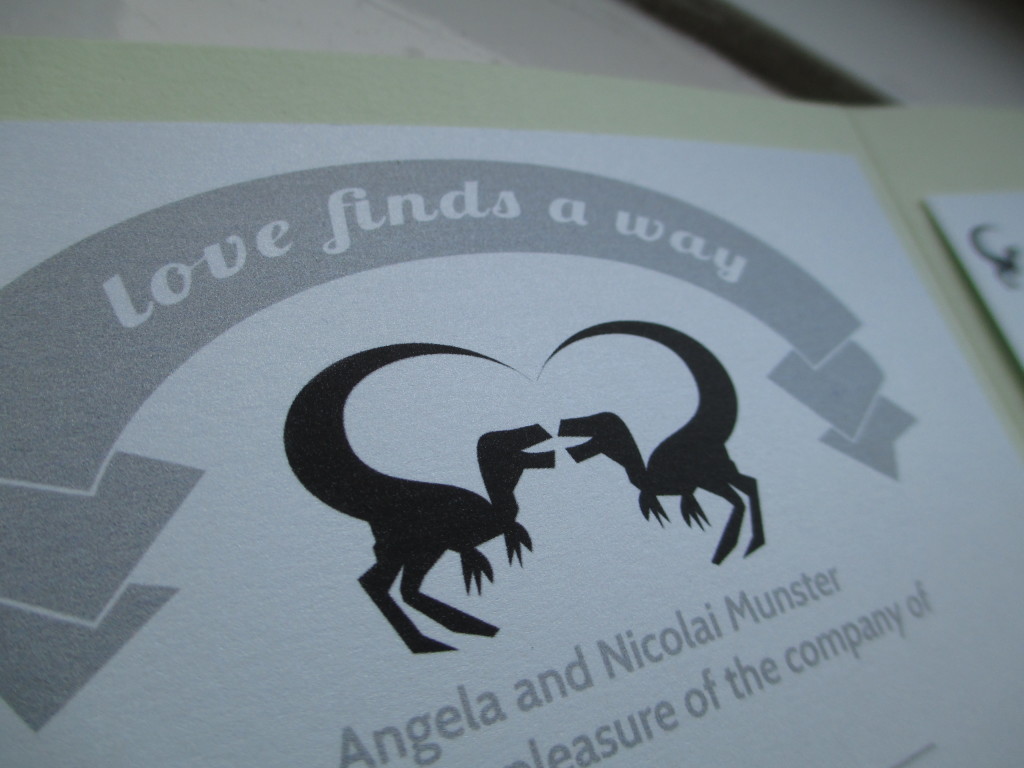
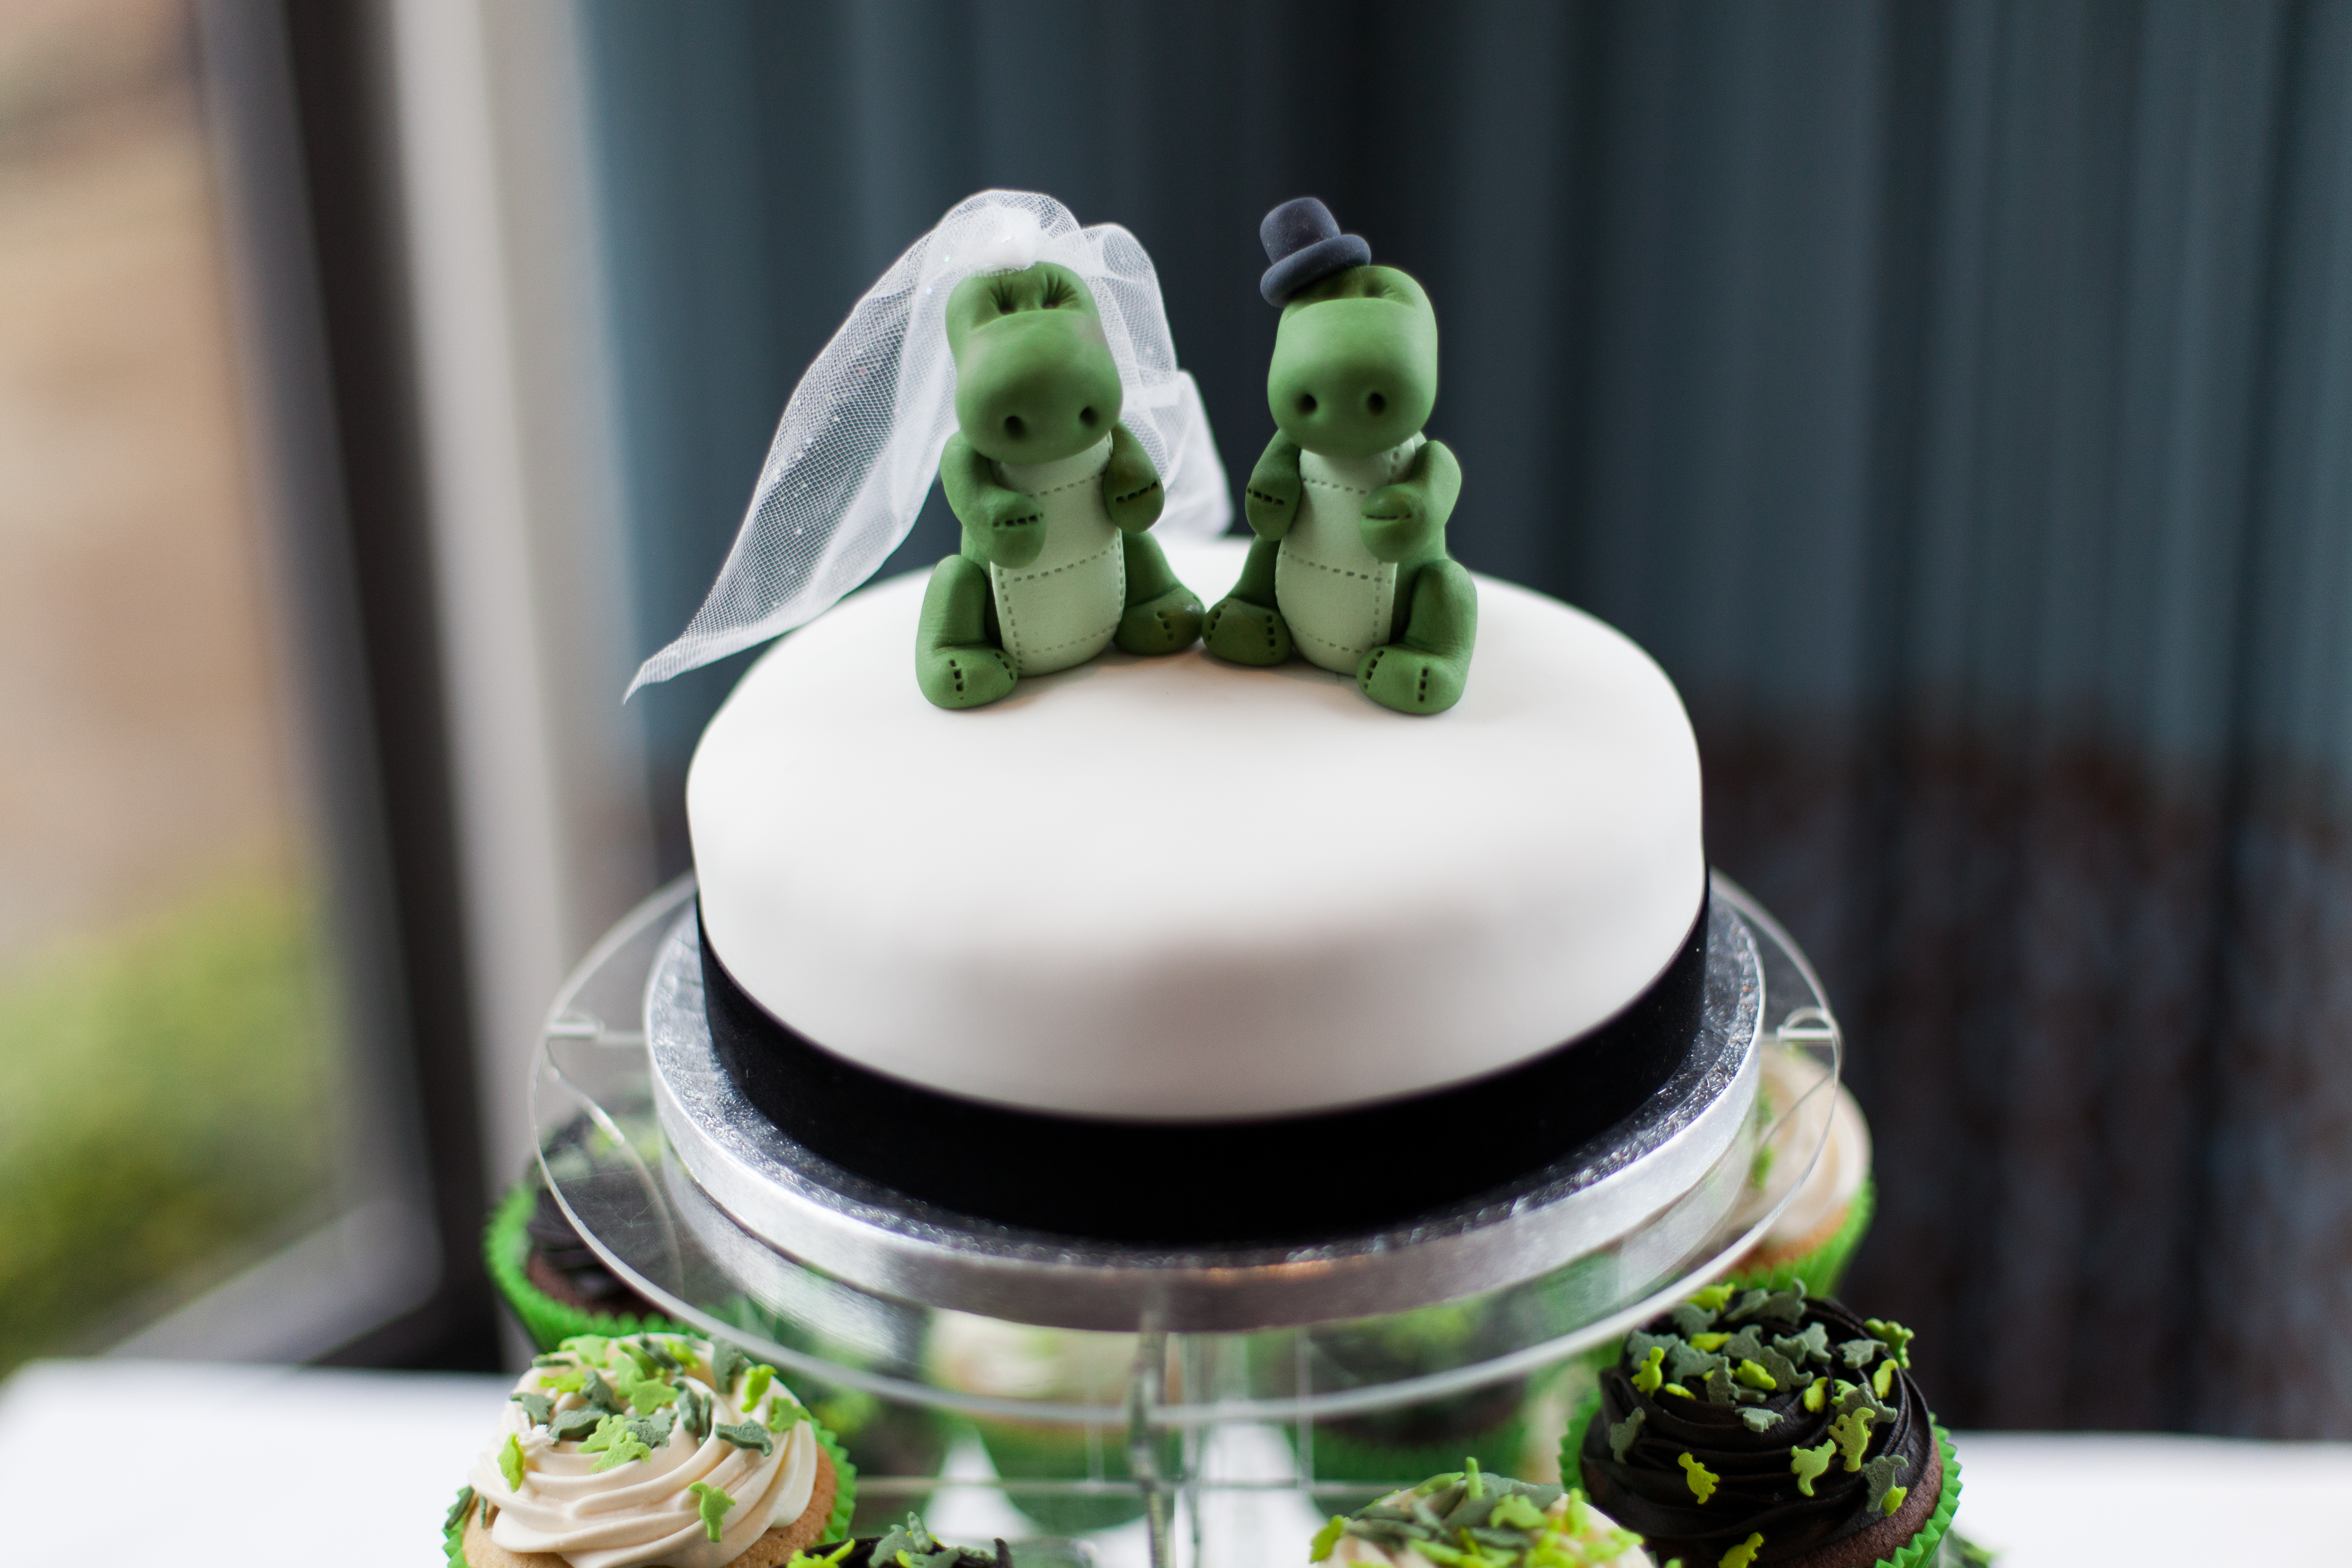
The dinosaur logo was designed by our good friend (and Usher!) Boozy. It forms a heart, and he took the Jurassic Park quote “Life finds a way” and adapted it to fit our dinosaur theme. He’s a legend – We actually used this on plenty other wedding details, which I’ll post about soon!)
We printed these using our own run-of-the-mill printer. As long as your printer allows custom-sized printing, you can do this too. I must say though, it took absolutely bloody ages. On the plus side, I did get to catch up on all of my rubbish TV whilst doing it, which is always a bonus.
The main insert we glued onto the invite itself. I at first used the Pritt Stick Adhesive Roller, closed the invites, weighed them down with a book to help them stick, and left them overnight to dry. However, the next morinng, nothing had worked. Avoid this product. It is pants.
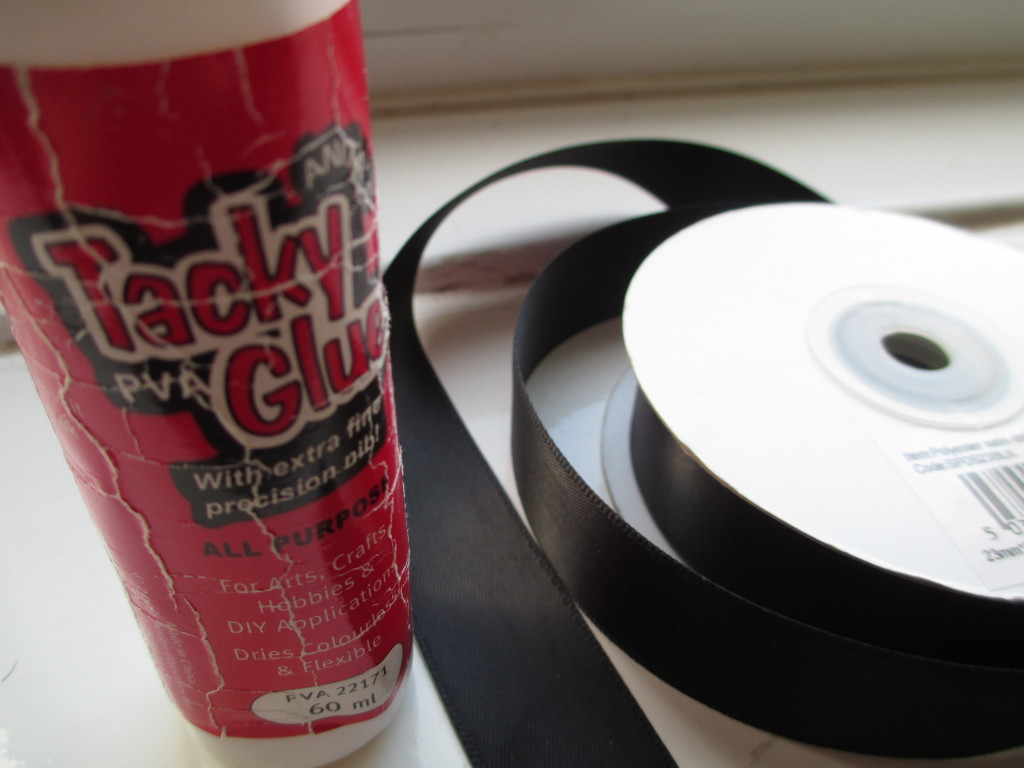
So I started again, but this time used Anita’s Tacky Glue. The nib was great for lining the edges of the card and it stuck solid. Once the first inserts were all glued in, I then stuck down the “pocket” of the pocketfold so that the following day they’s be ready for the 3 inserts to be placed in.
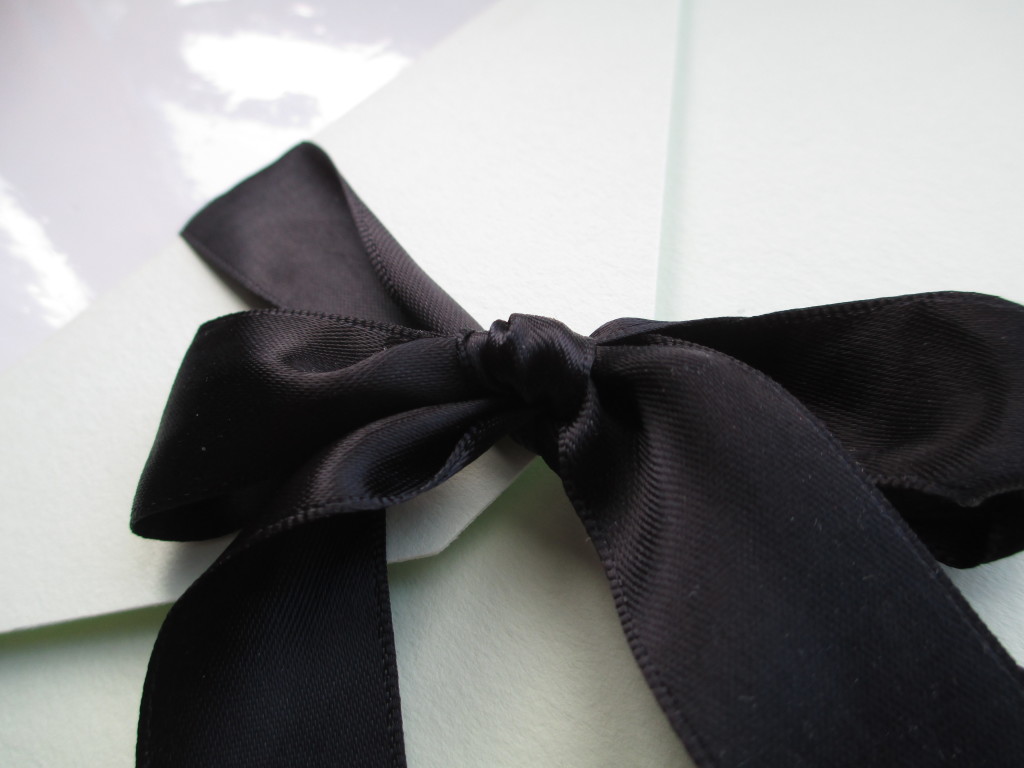
Next, I cut approximately 30 inches of black satin ribbon for each invite. (Note to self: If you ever do this task again, kick the cat out first. She will try to eat all the ribbon!)
I used the glue to stick this down onto the back of the invite so that a bow could be tied as a means of keeping it securely shut – and it looked pretty.
I’m really happy with the way they turned out. We made quite a few mistakes along the way, but generally, we got some fantastic feedback and I was superduper proud of them! And most of all, we did them on budget, at a fraction of the cost had we gone to a professional crafter.
Information we provided included: Date, time and venue, directions, a map, gift information, a link to our wedding website, accommodation recommendations, local taxi numbers and an RSVP slip.
What do you think?
Tips for DIY Wedding Invitations
+ Get someone else to check them first. Although I’m normally the proofreader around here, because I was so stressy about getting the invites sent out as soon as physically possible, I made errors on the first attempt. I should have just taken a chill pill!
+ Order in bulk. Generally, these kind of kits go down in price the more you order. Calculate how many you think you’ll need before ordering and account for a few extra – you never know, you might want to invite more people, some invites may get lost in the post, and some could be made incorrectly thanks to human error. Yes, even I did this.
+Personalise them. If you’re doing it yourself, it’s tempting to just copy a design you’ve seen. But don’t! You’ve got the opportunity to create them exactly how you want. Don;t worry about following all the rules. Be different! You think we would be able to find dinosaur pocketfold invitations at a normal store? No way!
+Don’t forget about envelopes and postage when you are budgeting. Because our invites were A5, and had a bow, this made them thicker and needed a large stamp to get them anywhere (this equates to about £1 an invite for postage) so bear this in mind within your budget and if you can hand deliver any, go and see your family and friends for a catch-up and a brew and kill two birds with one stone, as they say.

