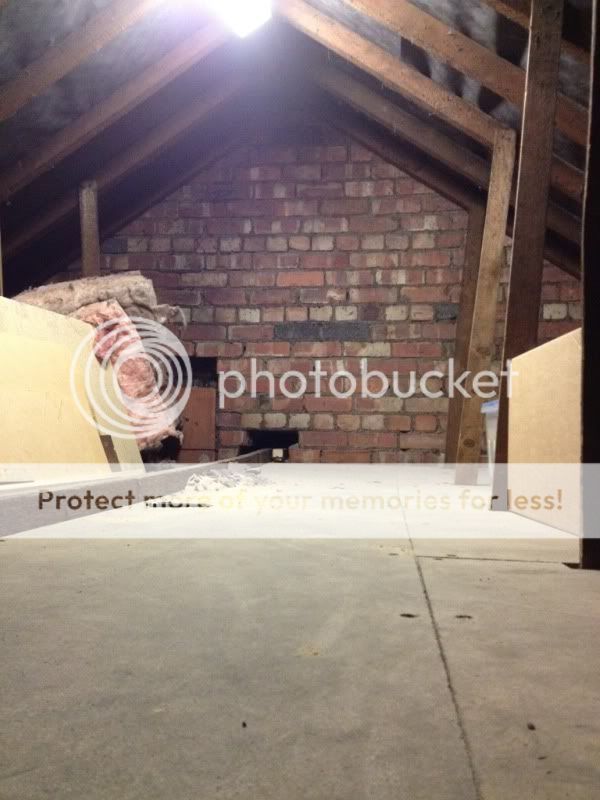
Joe has been a bit shy in terms of this blog so I thought I’d step in and post some pictures from one of his projects: the loft.
(I’m good like that 🙂 )
As an observer only (I’m still a bit scared to go up there. Think of all the spiders!) I’m sure this won’t be the full story or accurate in terms of DIY stuff. I’m a bit like a child with books when it comes to this kind of stuff: “Does it have pictures?”
Either way, I’m really proud of Joe for taking on this job. It was a real mucky one and with his poor back, it can’t have been pain-free.
Here is the original opening for the loft. There was no door or hatch and it was just an open hole. It was also extremely narrow.
 As you can see from this picture, when Joe’s dad, Peter, was viewing the house before we bought it, he tried to get a sneeky peek but it was just too tight!
 So (to my knowledge), the first job was to get up there and make a bigger hole if we ever wanted to use it for storage – which we do. Here is Joe peeking out from his new whopper of a loft entrance complete with wooden edges and duct-tape to hold it up. (I love his creativity!)
 To get an idea of how much we cut out (I say we, but really I didn’t do anything), here is a picture of my cousin with the old ceiling, plus hole, about to throw it on the fire on bonfire night. (Sorry you got cut off the picture Tom!)
 After this, Joe and his dad installed some lighting so they could crack on. The loft was pretty well insulated already so all that was needed so we could store stuff up there (I am a terrible hoarder and need storage space!) was some wood to make into a floor.
As you can see, the current floor/ceiling wasn’t going to cut it…
 After adding a new wooden edge to the new hole entrance….
 …and some wood for the floor, it’s ready for boxes.
 We’re really pleased with the size of the loft. One day we may be able to convert it into an extra room. That’s a long way in the future though. For now, all we need is a proper hatch ladder to get up there, and we’ll be happy.
Great job Joeybean 🙂
Karen x
